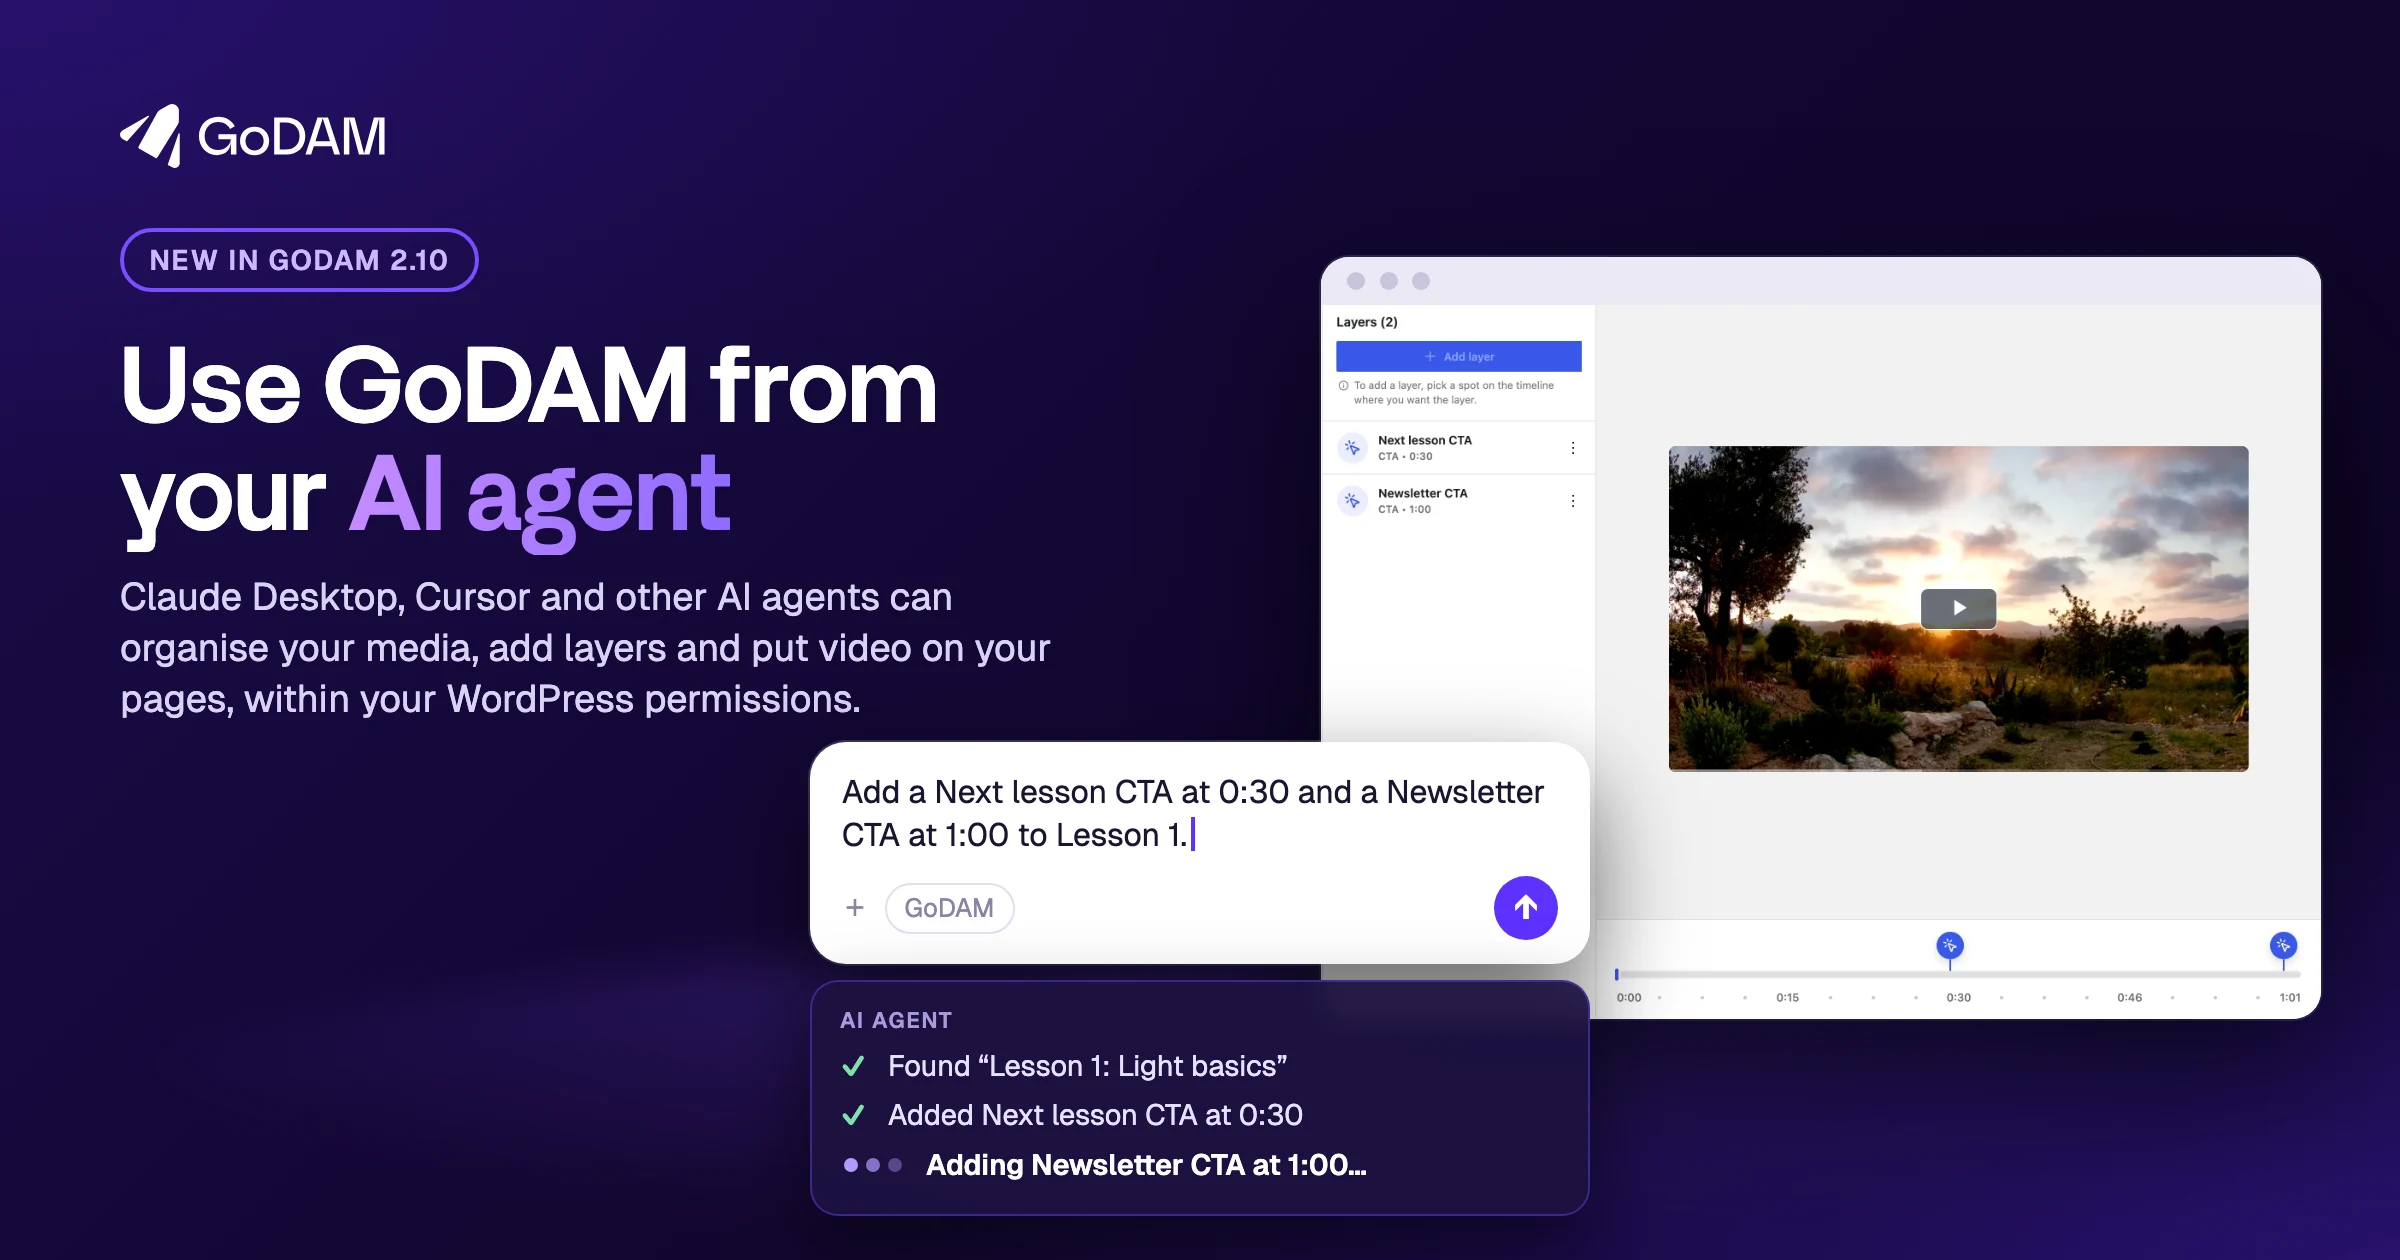
Until now, everything in GoDAM happened in its screens: you uploaded a video, opened the media editor, added a call to action, then went to a page and placed the block. If you already work with an AI agent such as Claude Desktop or Cursor, that agent couldn’t help with any of it.
GoDAM 2.10 changes that. Connect your AI agent to your WordPress site, ask for what you want in plain words, and it does the work in GoDAM, the same way you would in the screens. Everything it creates stays editable.
What your agent can do
- Organise your library: “Make a Lessons folder and import this video into it.” It can also bring media in from GoDAM Central, tidy titles and alt text, and find videos that failed to transcode or aren’t used anywhere.
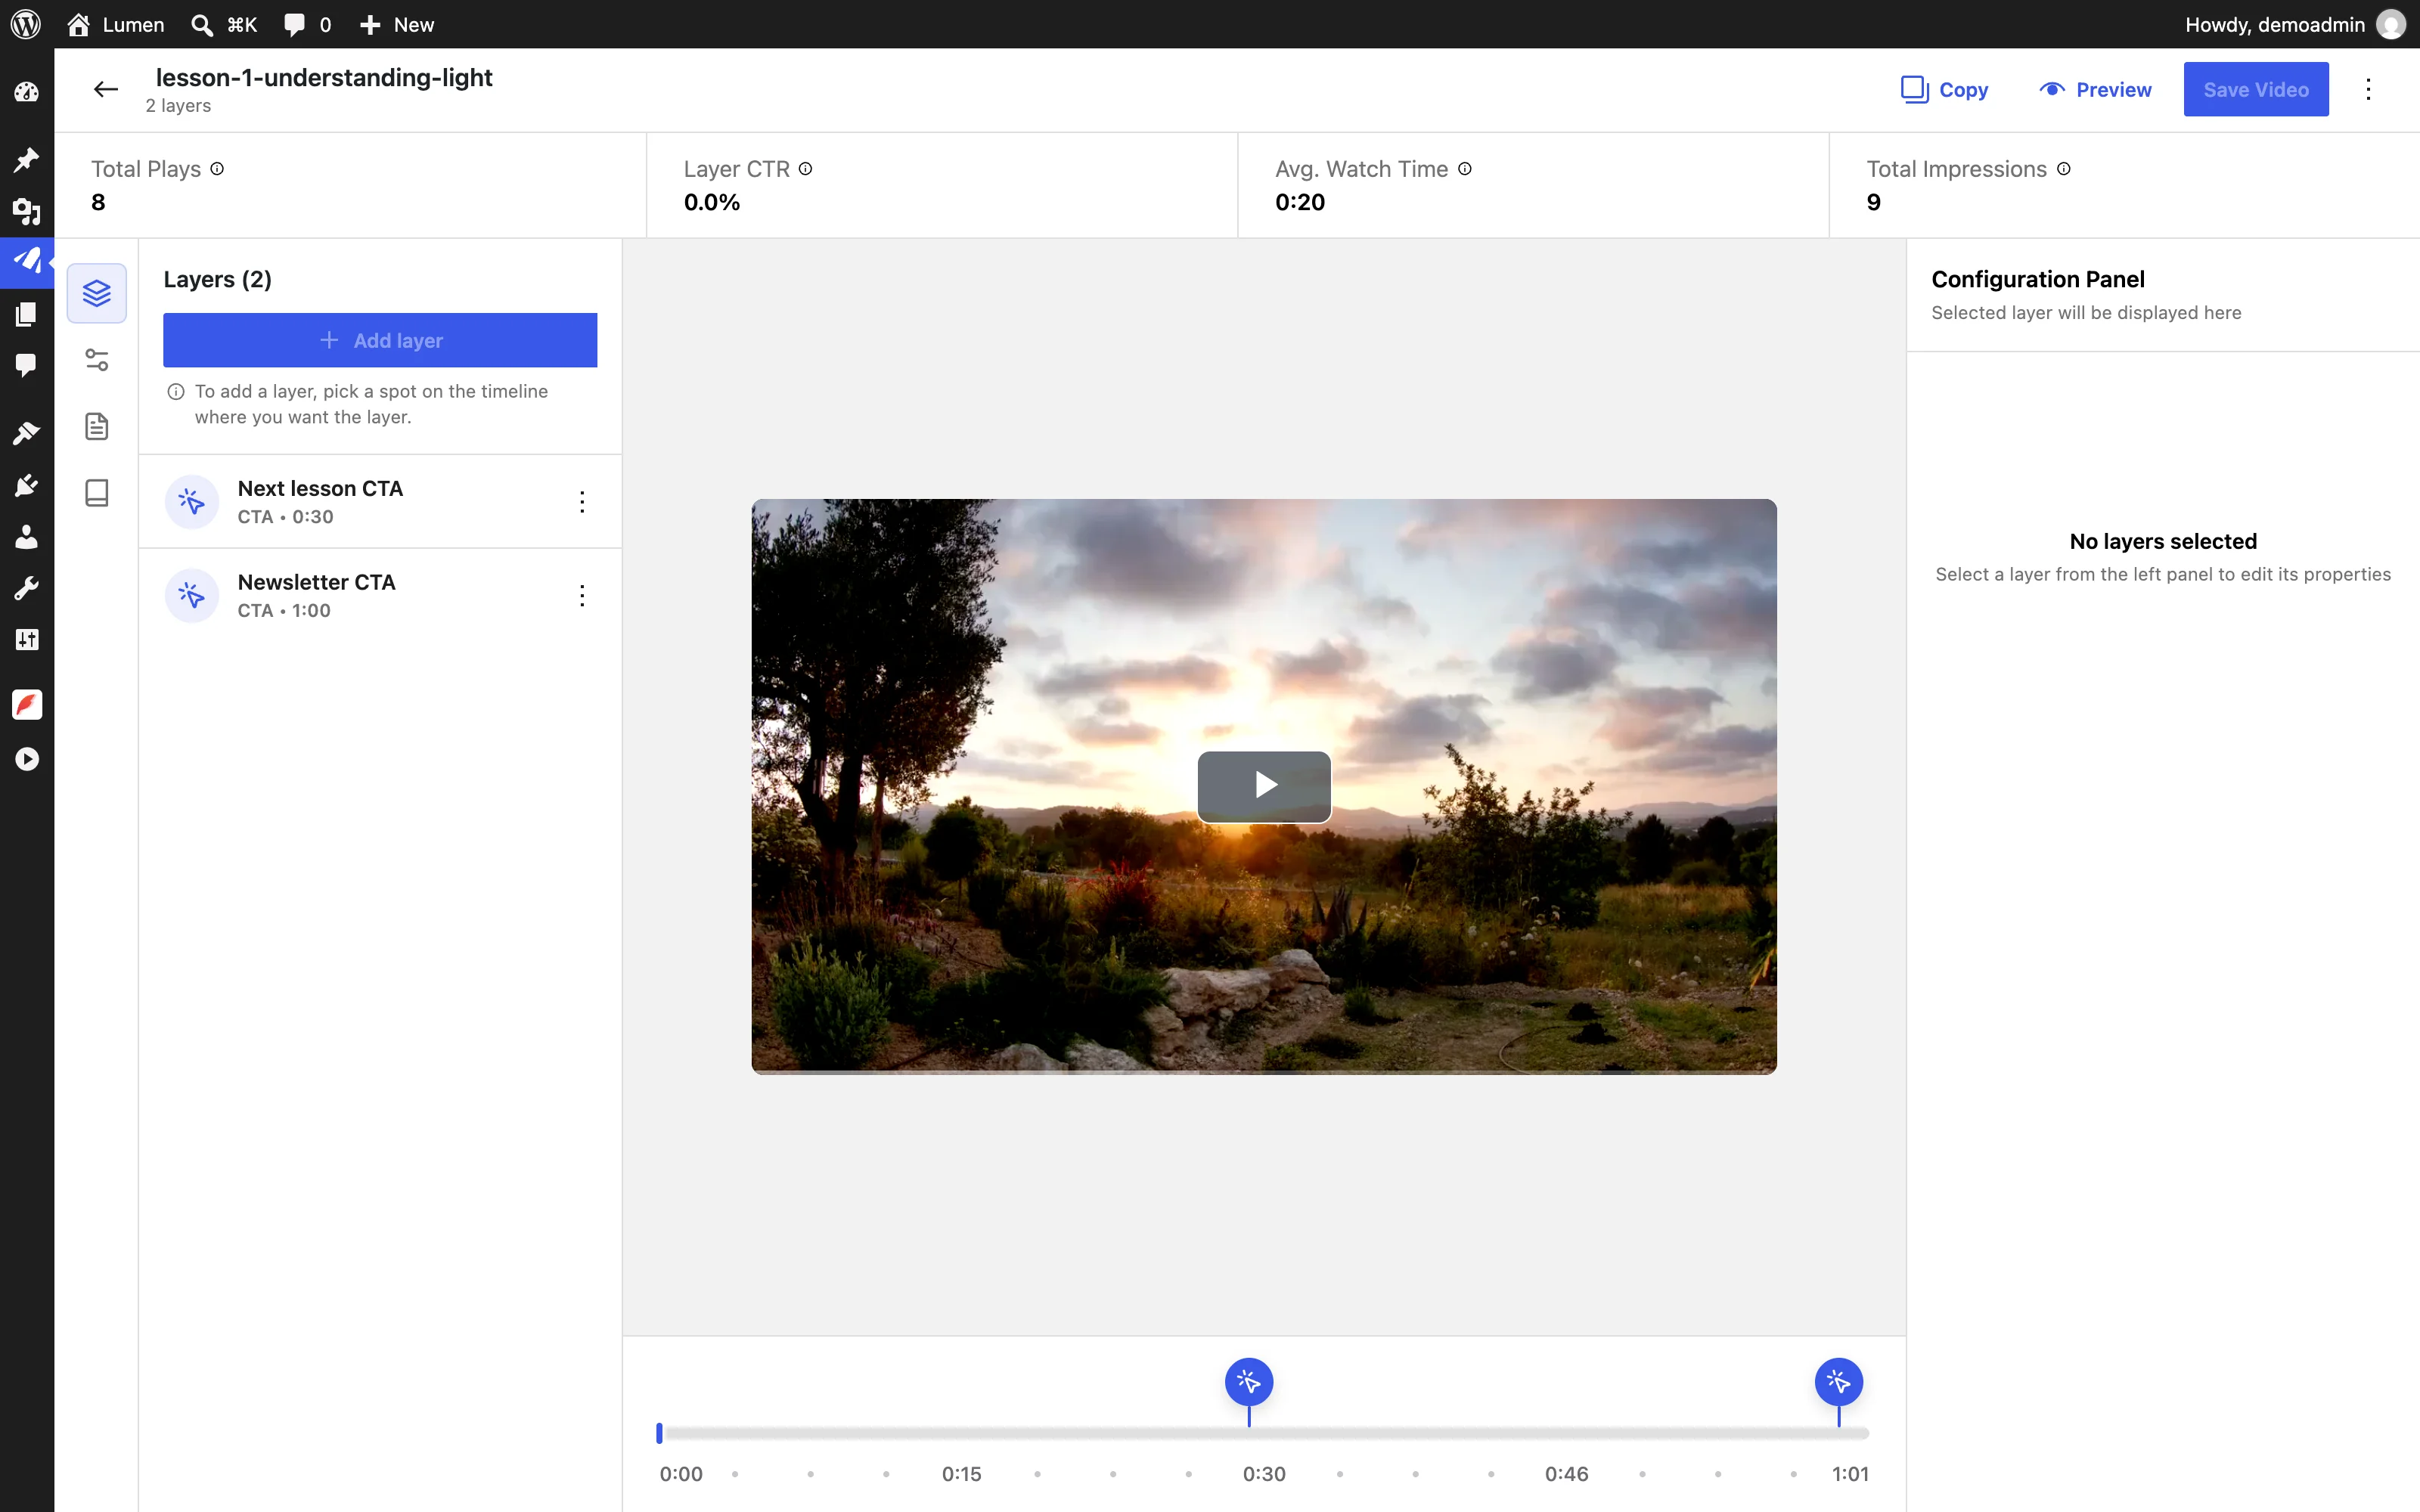
- Add layers and chapters: “Add a Book a demo button at 3 seconds and a poll at the end.” The layers open in the media editor like any other, ready to tweak.
- Put media on your pages: “Put this video in a lightbox on the Pricing page.” It places GoDAM video, audio, image, PDF and gallery blocks, with player settings.
- Answer from your analytics: “Which videos kept viewers watching last month?”
See everything it can do, with an example request for each and the WordPress role it needs: What your AI agent can do in GoDAM.
Build a whole video site with Publishio
Publishio, a free plugin from rtCamp, lets an AI agent build WordPress pages from your theme’s own sections. Connect your agent to both, and it can design the pages with Publishio and fill them with your GoDAM videos, layers and galleries.
In this video, a real Claude session builds a video site from a few prompts, using Publishio and GoDAM together:
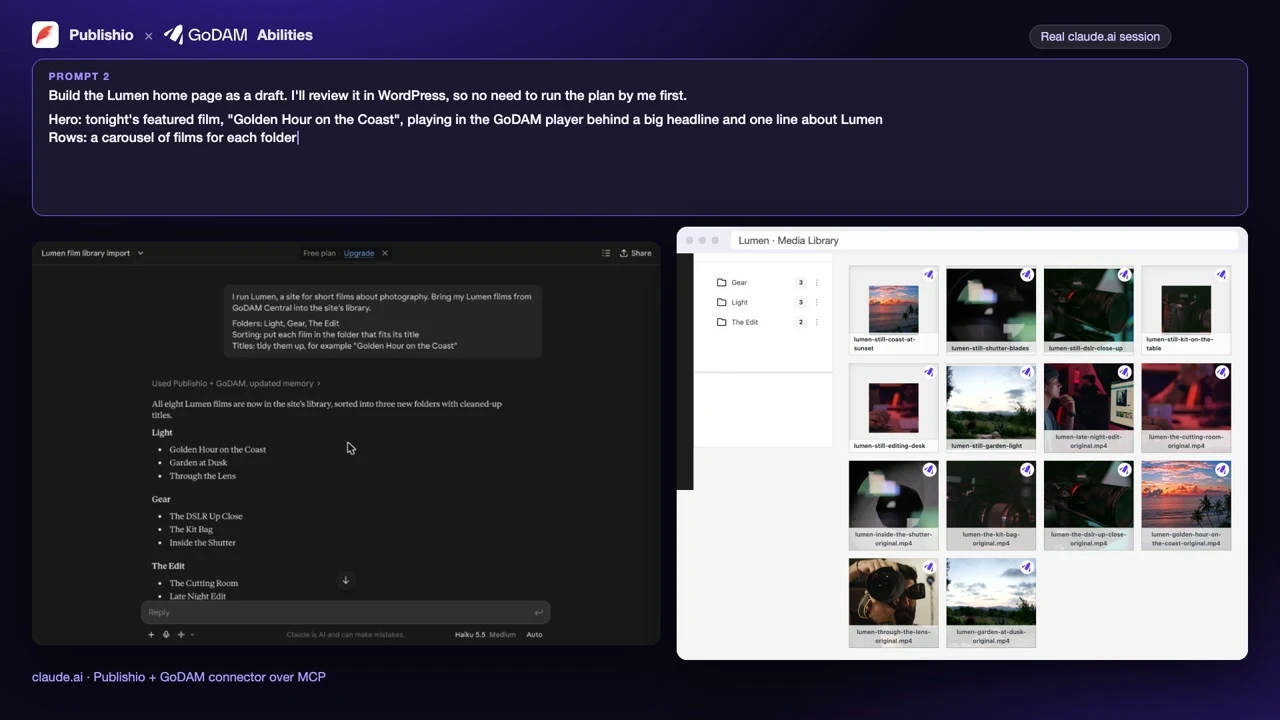
We recorded it in claude.ai. The setup below covers Claude Desktop, Claude Code and Cursor. Today these are two connections in your agent: Publishio’s, and GoDAM’s through the MCP Adapter. Set up Publishio with its guide on WordPress.org, then GoDAM with the steps below.
It stays within your WordPress permissions
- The agent signs in as one of your WordPress users and can only do what that user can. An Author’s agent can change only that Author’s media.
- Nothing connects until an administrator installs the MCP Adapter plugin and someone creates an Application Password.
- Administrators can turn off changes, so agents can only read, in Settings › Writing › GoDAM and AI agents, or turn AI agents off entirely in GoDAM › Settings › General.
- Agents never see your GoDAM API key, and they can’t delete your media.
For WooCommerce stores
With GoDAM for WooCommerce 2.5, the same agent can find products, link videos to them, add product hotspots, and set up Product Reels, gallery videos, Shoppable Video blocks and Reel Pops: “Link this video to the blue backpack and add a hotspot at 0:12.” Product changes stay limited to Shop Managers and Administrators. GoDAM for WooCommerce 2.5 needs GoDAM 2.10, so update GoDAM first.
Connect your agent
- Update GoDAM to 2.10, and GoDAM for WooCommerce to 2.5 if you run a store. You need WordPress 6.9 or later.
- Install the free MCP Adapter plugin from WordPress.org.
- Create an Application Password for the WordPress user the agent should act as, and add your site to Claude Desktop, Claude Code or Cursor.
The full steps, with the exact commands: Connect your AI agent to GoDAM.
Most tasks work on any site. Requesting a transcript, analytics, retranscoding and importing from GoDAM Central use GoDAM’s cloud and need a GoDAM plan.
Already using GoDAM? Update from your Plugins screen, then follow Connect your AI agent to GoDAM.
New to GoDAM?
GoDAM hosts and plays your videos right inside WordPress. Start free for 60 days, then install the GoDAM plugin from WordPress.org and connect it to your account. Connecting an AI agent is part of the free plugin.