
The GoDAM Image block places an image on your page along with the interactive hotspot and product layers you authored in the GoDAM Media Editor. Viewers hover or tap a marker to see its tooltip and follow its link — so a lookbook, a product shot or a feature diagram becomes something people can click through.
The block picks the image and decides whether the overlay shows; the hotspots themselves are created in the Media Editor. Author them there first, then place the image here. Because the layers live on the image attachment, every block using that image shows the same hotspots. The GoDAM Image block is available in GoDAM 2.1 and later.
What you’ll need
- You’re on GoDAM 2.1 or later, installed and connected to your account.
- You have an image in your media library, with hotspots already authored in the GoDAM Media Editor. A block pointed at an image with no layers simply shows the image.
- For product hotspots: the GoDAM for Woo add-on active, with WooCommerce and a valid GoDAM API key.
How to add the block
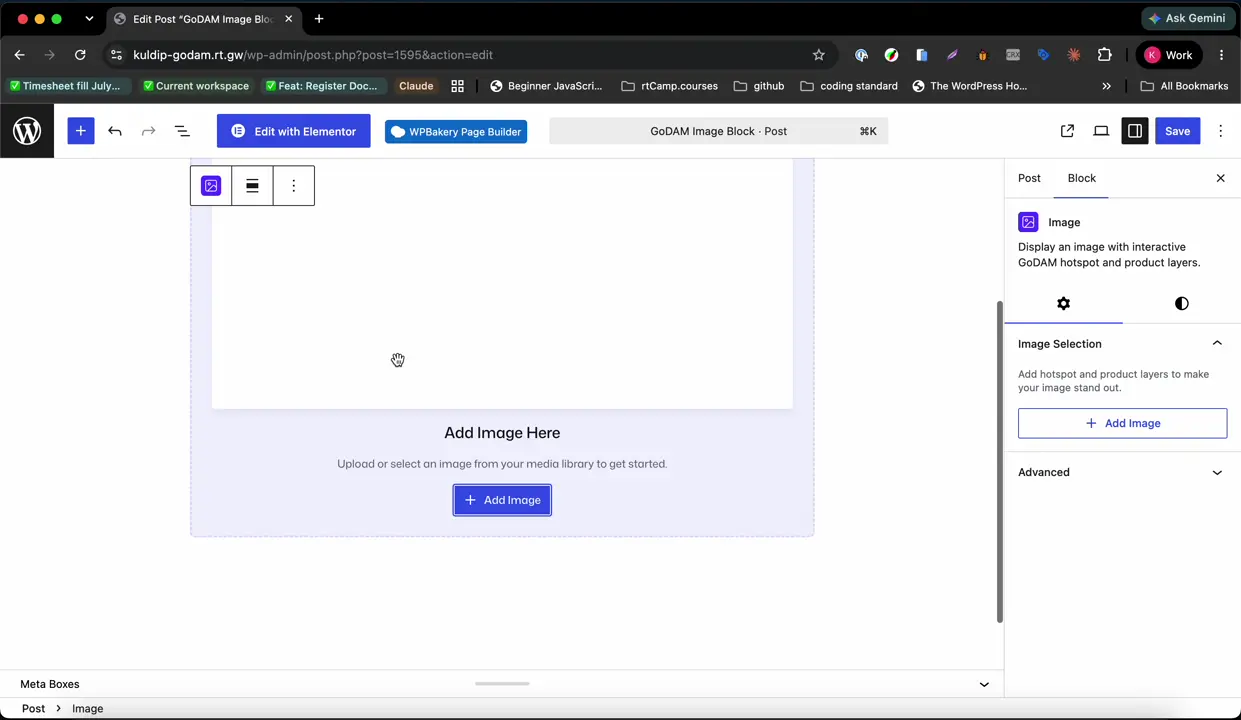
Step 1: Edit a post or page, click the + inserter and search for image, hotspot or shoppable. Choose Image from the GoDAM results — its description reads Display an image with interactive GoDAM hotspot and product layers.
Step 2: The block drops in with an Add Image Here placeholder. Click Add Image and pick an image from your media library, or upload one. Only image files are accepted — anything else is rejected with a notice.
Step 3: Open the block sidebar and find the Image Selection panel. Leave Show image layers on to overlay the authored hotspots. The block canvas previews them straight away, so you can check the markers are where you expect before publishing.
Step 4: Adjust alignment and spacing from the toolbar and block settings, as with any core block.
Step 5: Publish or update the post. On the front end the image renders with its hotspots.
Block settings
Image Selection panel
- Customize Image — opens this image in the GoDAM Media Editor in a new tab, so you can add or edit hotspot and product layers without losing your block edits.
- Show image layers — overlays the hotspot and product layers authored in the Media Editor. On by default. Turn it off to show the plain image at this one placement; the layers themselves are untouched, so other embeds keep their hotspots.
- Remove image — the trash icon on the selected-image row clears the current selection and returns the block to its placeholder.
Toolbar
- Replace — swap in a different image. Appears once the block is selected and has an image.
- Standard alignment, plus margin and padding under spacing.
Alt text is taken from the image attachment’s own alt text, so there’s no alt field on the block. Set it on the attachment in the media library.
Troubleshooting
The image shows but the hotspots don’t. Check Show image layers is on, then open the image via Customize Image and confirm the layers are there and saved. An image with no authored layers renders as a plain image.
Hotspots show in the editor but not on the published page. Make sure the post itself was updated after you toggled Show image layers on.
“Only image files are allowed in the GoDAM Image block.” You picked a non-image attachment. Choose an image, or use the GoDAM Video, Audio or Document block for other media.
The hotspots I just added aren’t showing. The block reads the layers from the attachment, so save in the Media Editor first, then reload the post editor.
There’s no alt text field. Alt comes from the attachment. Edit it in the media library and it applies everywhere the image is used.
Product hotspots render as plain hotspots. The GoDAM for Woo add-on is inactive or its API key is missing or expired. Check GoDAM → Settings.