Add GoDAM Gutenberg Video Block
Step 1: Go to Block Editor screen
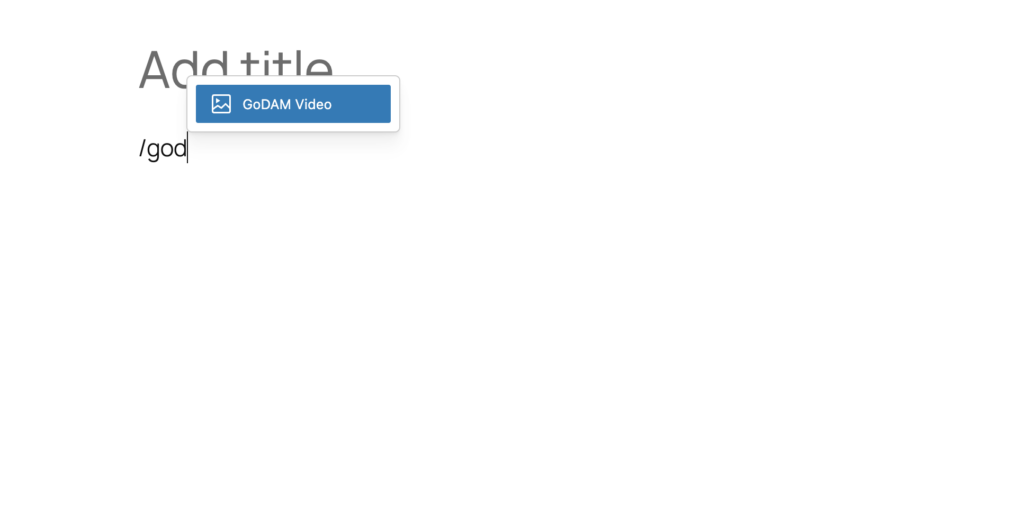
Step 2: Enter /godam in the block editor
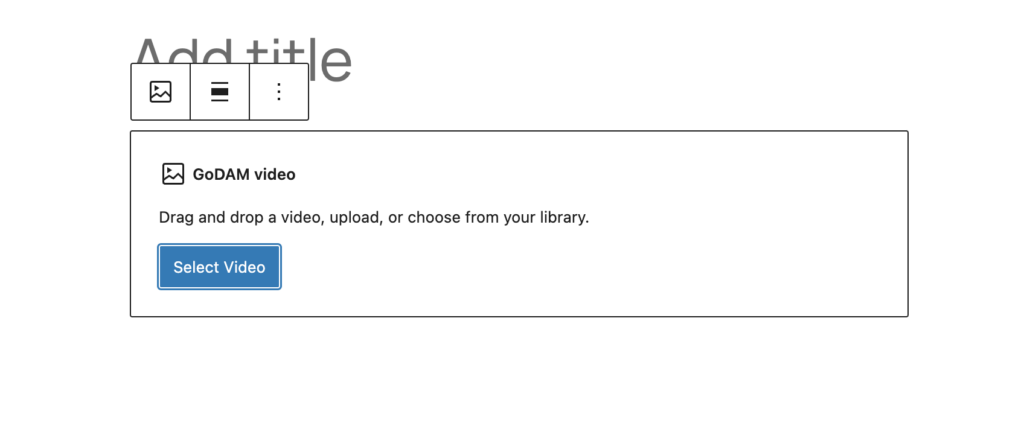
Step 3: Select the video to embed in the editor screen
Step 4: In the right, you can see all the configurations and settings explained below.
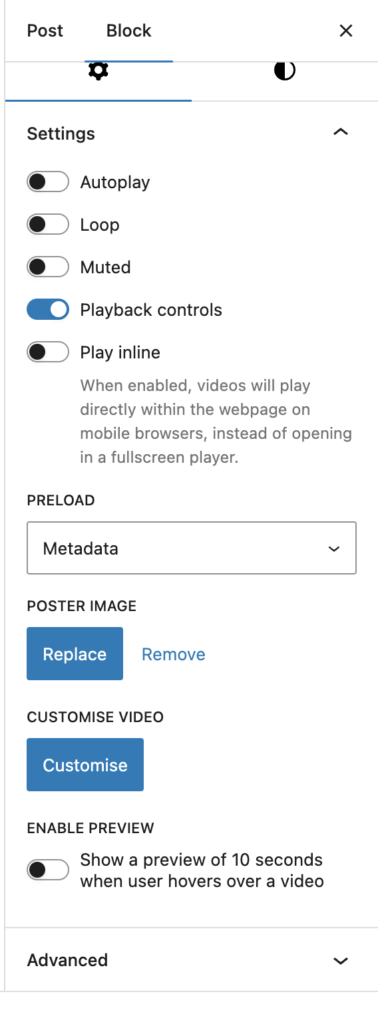
This section explains all the configuration options available for the custom GoDAM Video block.
1. Playback Settings
- Autoplay: Automatically starts playing the video when the page loads.
- Loop: Repeats the video continuously after it finishes.
- Muted: Mutes the video by default.
- Playback Controls: Enables or disables the default video controls (play, pause, volume, etc.).
- Play Inline: Allows videos to play within the webpage instead of opening in fullscreen (on mobile devices).
2. Preloading Options
- Preload: Determines how the browser loads video data before playback.
- None: No preloading.
- Metadata: Preloads only video metadata.
- Auto: Preloads the entire video.
3. Appearance Settings
- Poster Image: Allows setting a preview image before the video plays that appears as the thumbnail image.
- Enable Preview: Shows a 10-second video preview when the user hovers over the video.
4. Customization
- Customize Video: Opens the Customize page for the video, allowing you to modify additional settings such as appearance, interactions, or metadata. For more information, visit: [Insert Link Here]
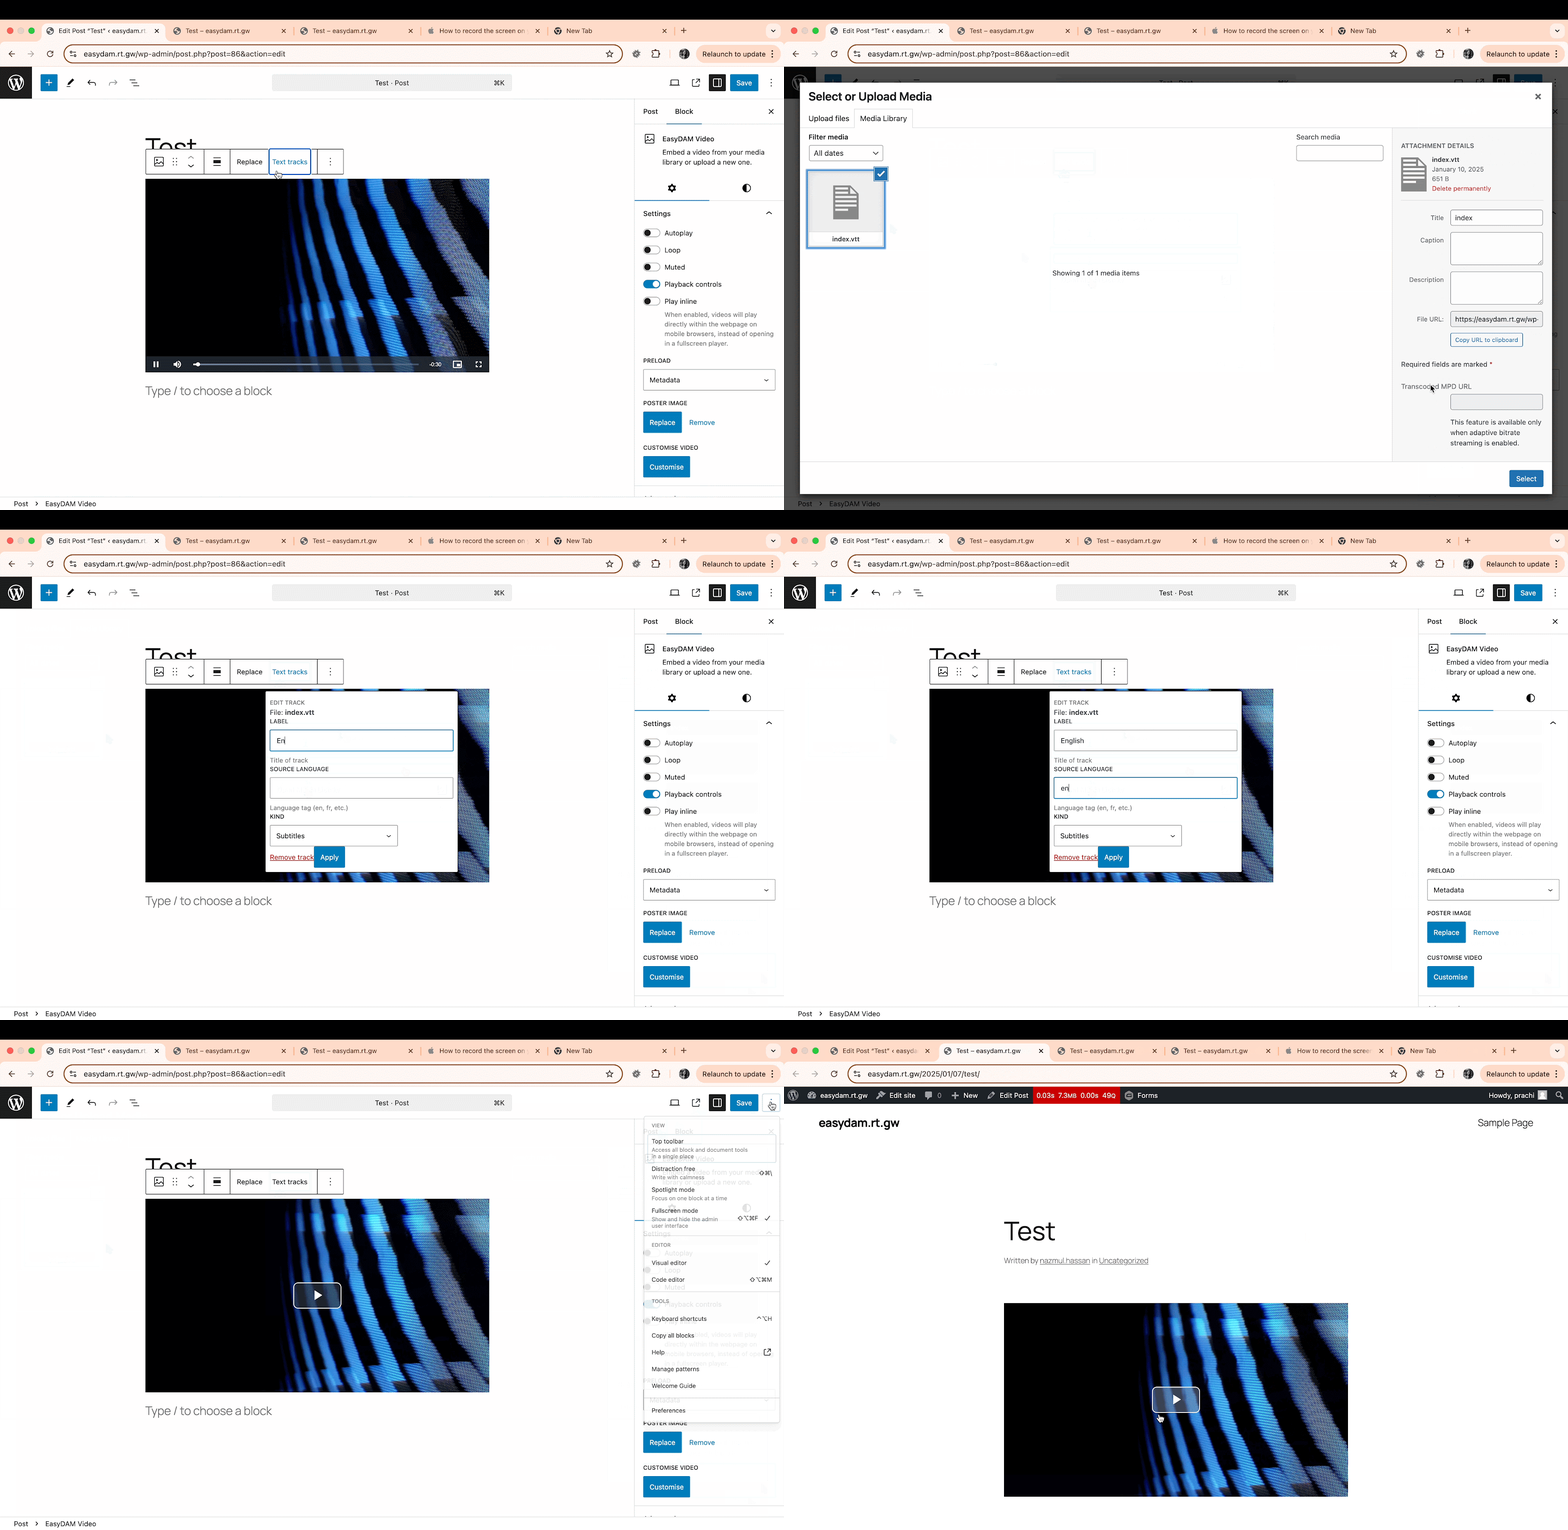
Adding Video Captions
STEPS:
Step 1: Go to the block editor screen
Step 2: Select the video where you want to add the captions
Step 3: Click the “Text tracks” from the toolbar group.
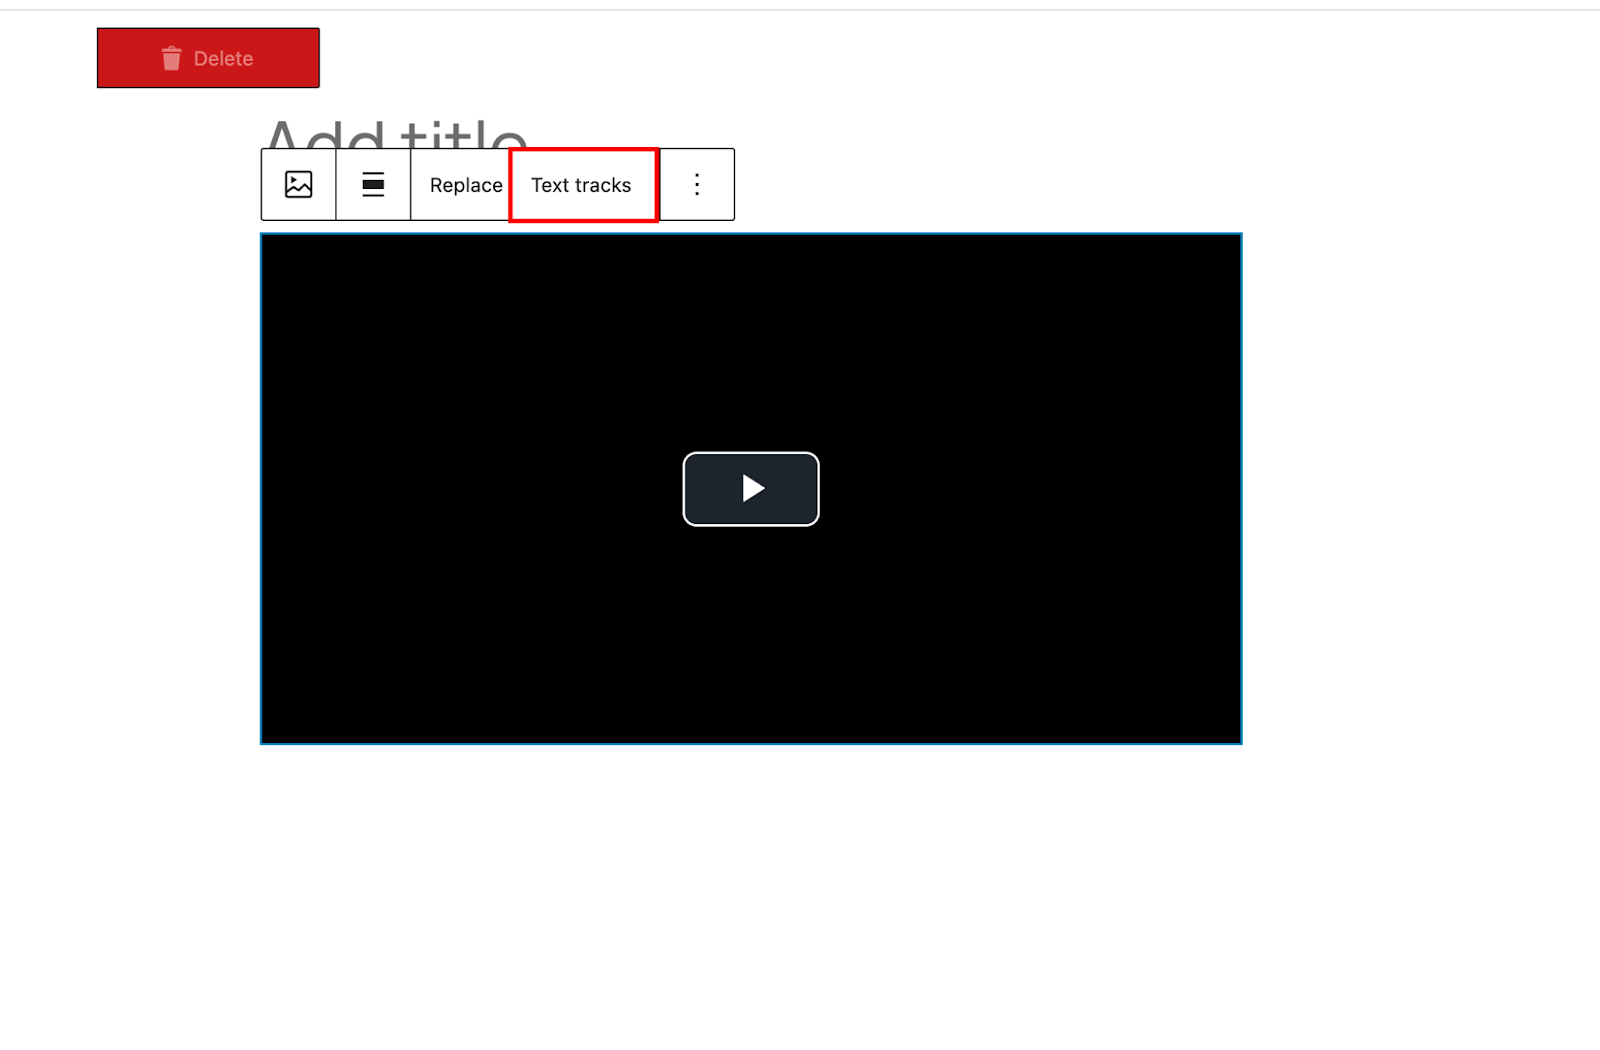
Step 4: Click on “Upload” or “Open Media library” and upload the captions file
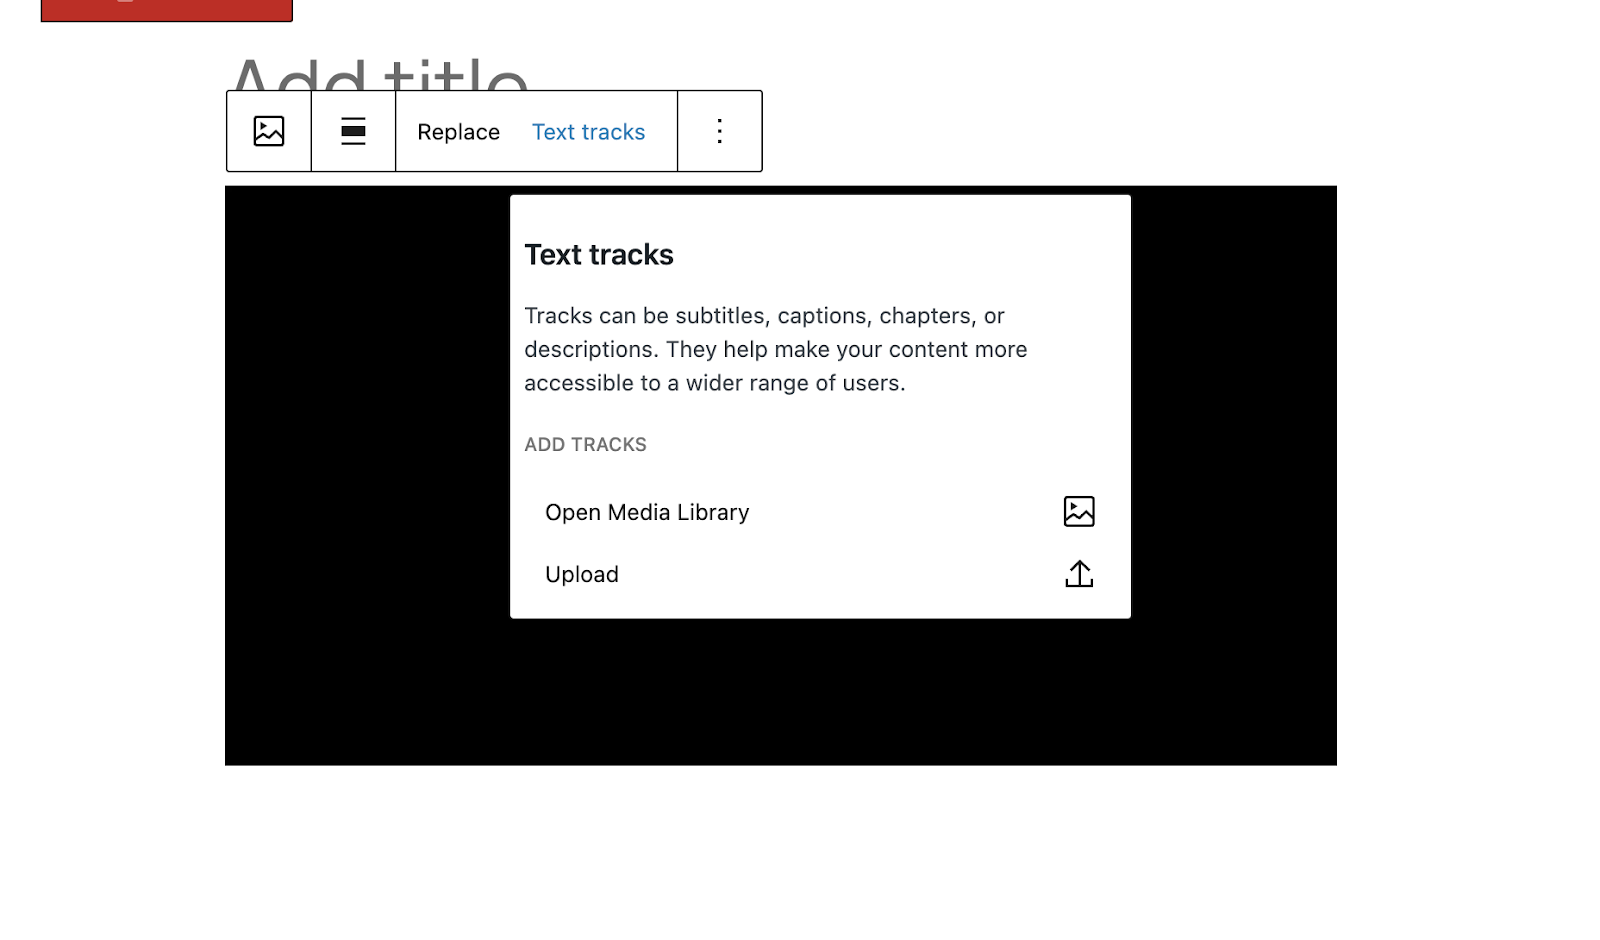
Step 5: Add the respective LABEL and SOURCE LANGUAGE, the label is what will appear as a language option in the control bar for the end user.
Step 6: Save changes.
Step 7: On the frontend, the caption file will now appear as an option for the user to select:
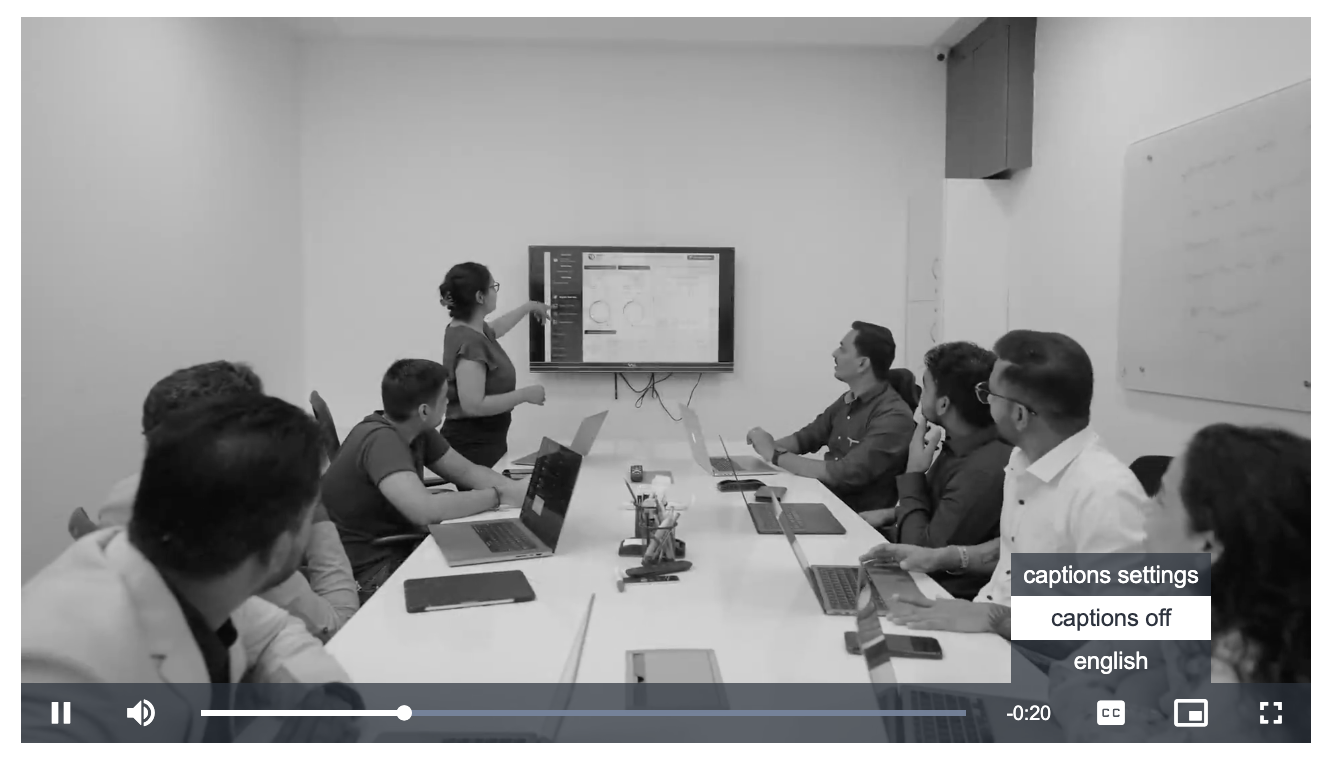
Here is the demo of all the steps mentioned above: