The GoDAM PDF Block lets you embed and display PDF files hosted on your GoDAM CDN directly within the WordPress editor.
How to use the block?
Step 1: Inserting the PDF block
In the WordPress block editor (Gutenberg), click the “+” icon to add a new block. Search for “GoDAM PDF” and select it from the list (alternatively, you can type “/” in a new paragraph block and search for GoDAM PDF to insert it from the block inserter options). The block will be inserted into your post or page, ready for setup.

Step 2: Adding the PDF
Once the block appears, you get 2 below options:

- Upload – Use this if you are adding a new PDF that hasn’t been uploaded to your site or GoDAM Central yet.
- Media Library – Use this to insert a PDF you have already uploaded. You can also select files from the GoDAM Media tab if you are a paid user, which includes PDFs stored in GoDAM Central or synced from other connected sites.
On selecting either of the methods, your PDF will be inserted into your desired page/post and you can proceed with saving the page or post and see the changes go live.
Optional steps
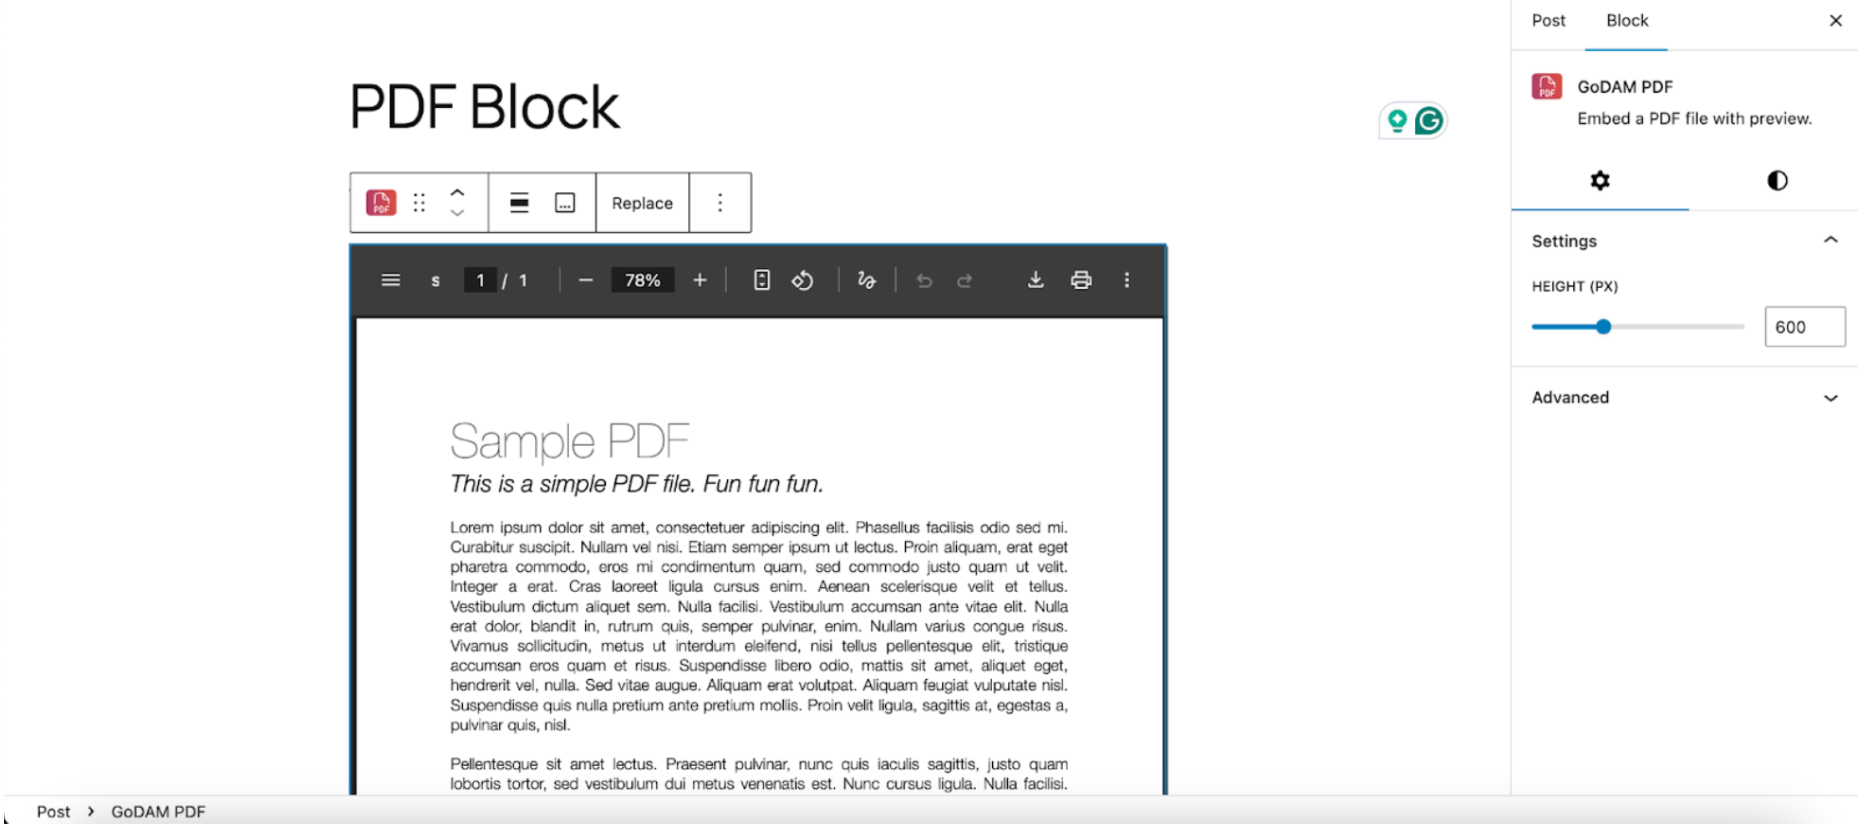
Step 3: Configure viewer settings (Optional)

You can optionally use the PDF block settings panel in the right-hand sidebar to customize the viewer. You can adjust its height between 300px and 1200px to fit your layout. By default, it sets the height to 600px.
Step 4: Adding PDF block caption (Optional)
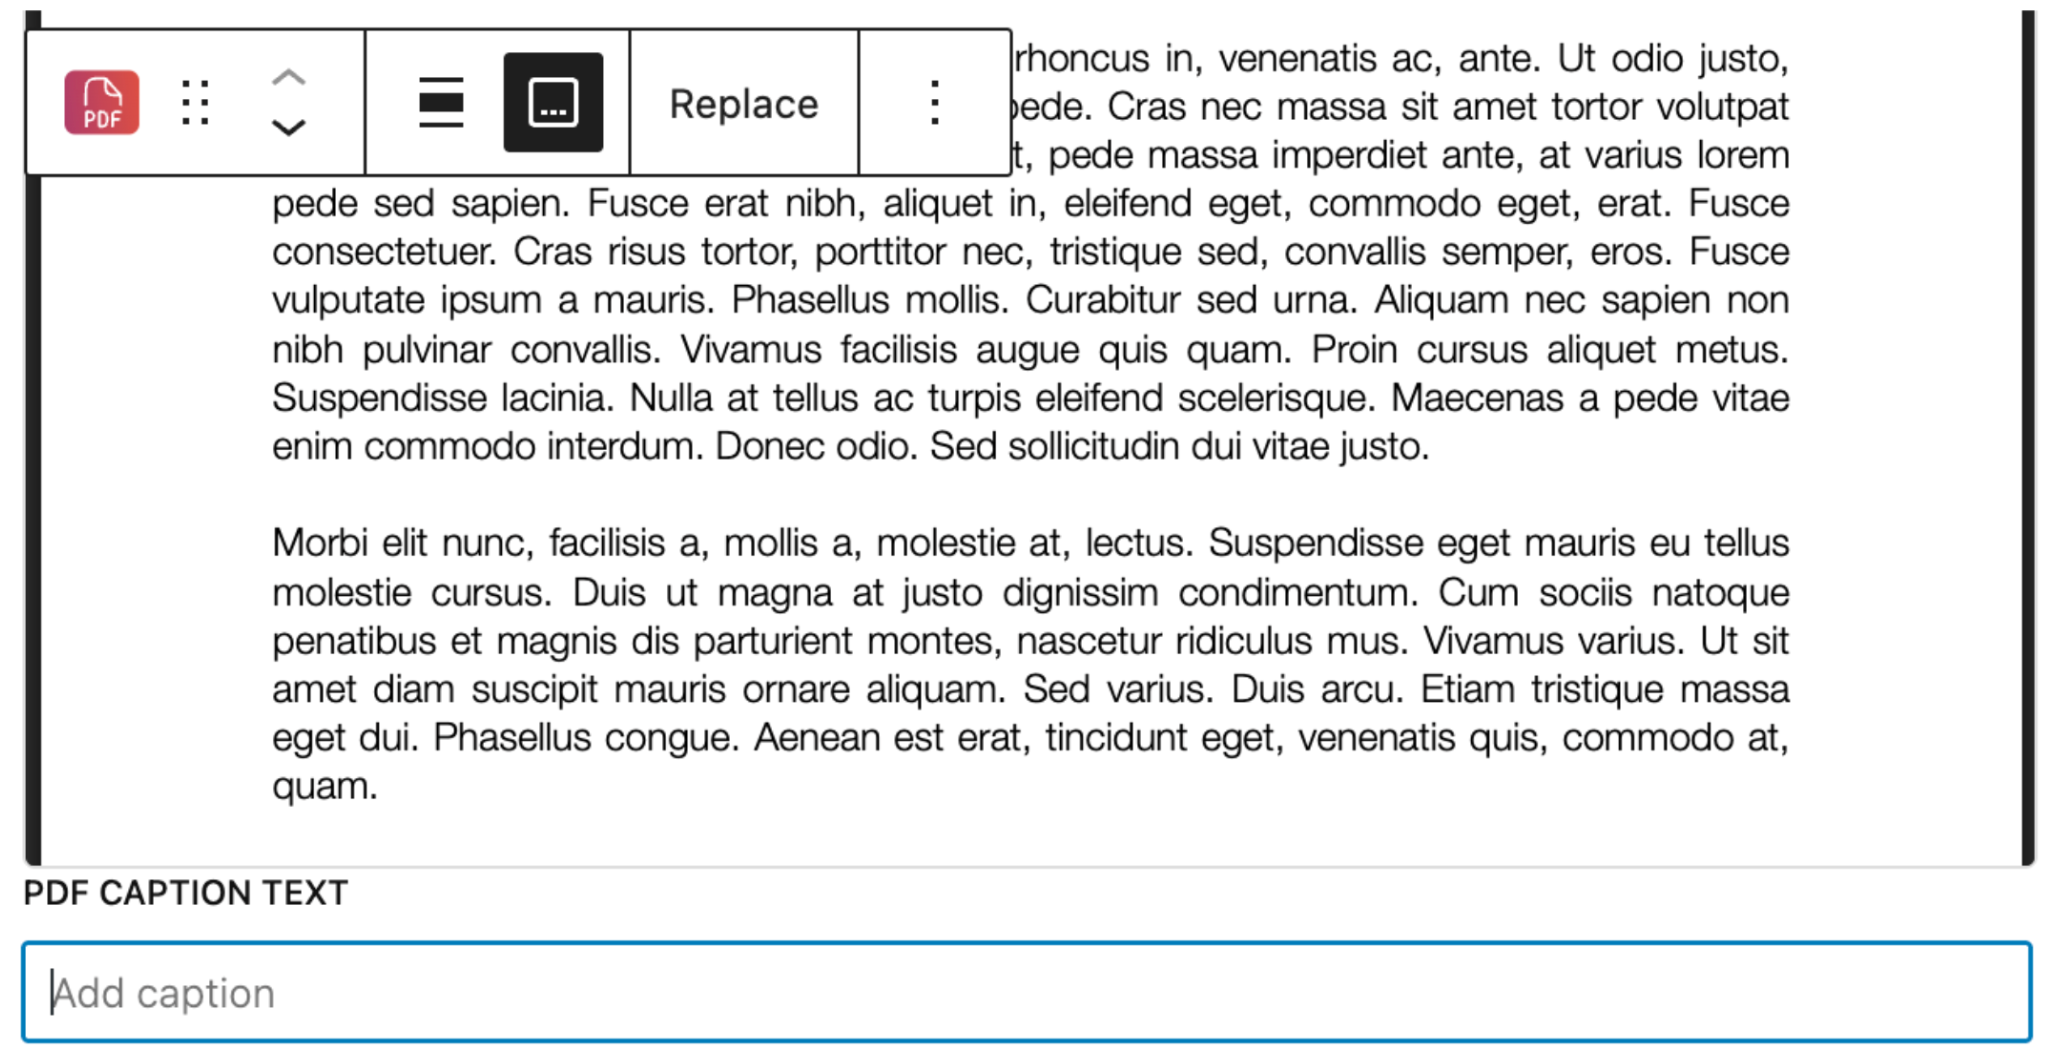
You can optionally click the caption icon in the block toolbar to add a caption below the PDF viewer. This is useful for providing context or additional information about the document.
This feature is available for free, for paid users once the PDF is synced to GoDAM Central, they will be served via the CDN for faster, more reliable delivery.