GoDAM media library manager user guide
This GoDAM WordPress media library manager user guide walks you through all available features to help you organize your media library, create unlimited folders, bookmark for quick access, lock private folders, and download them as ZIP files.
CREATE A FOLDER
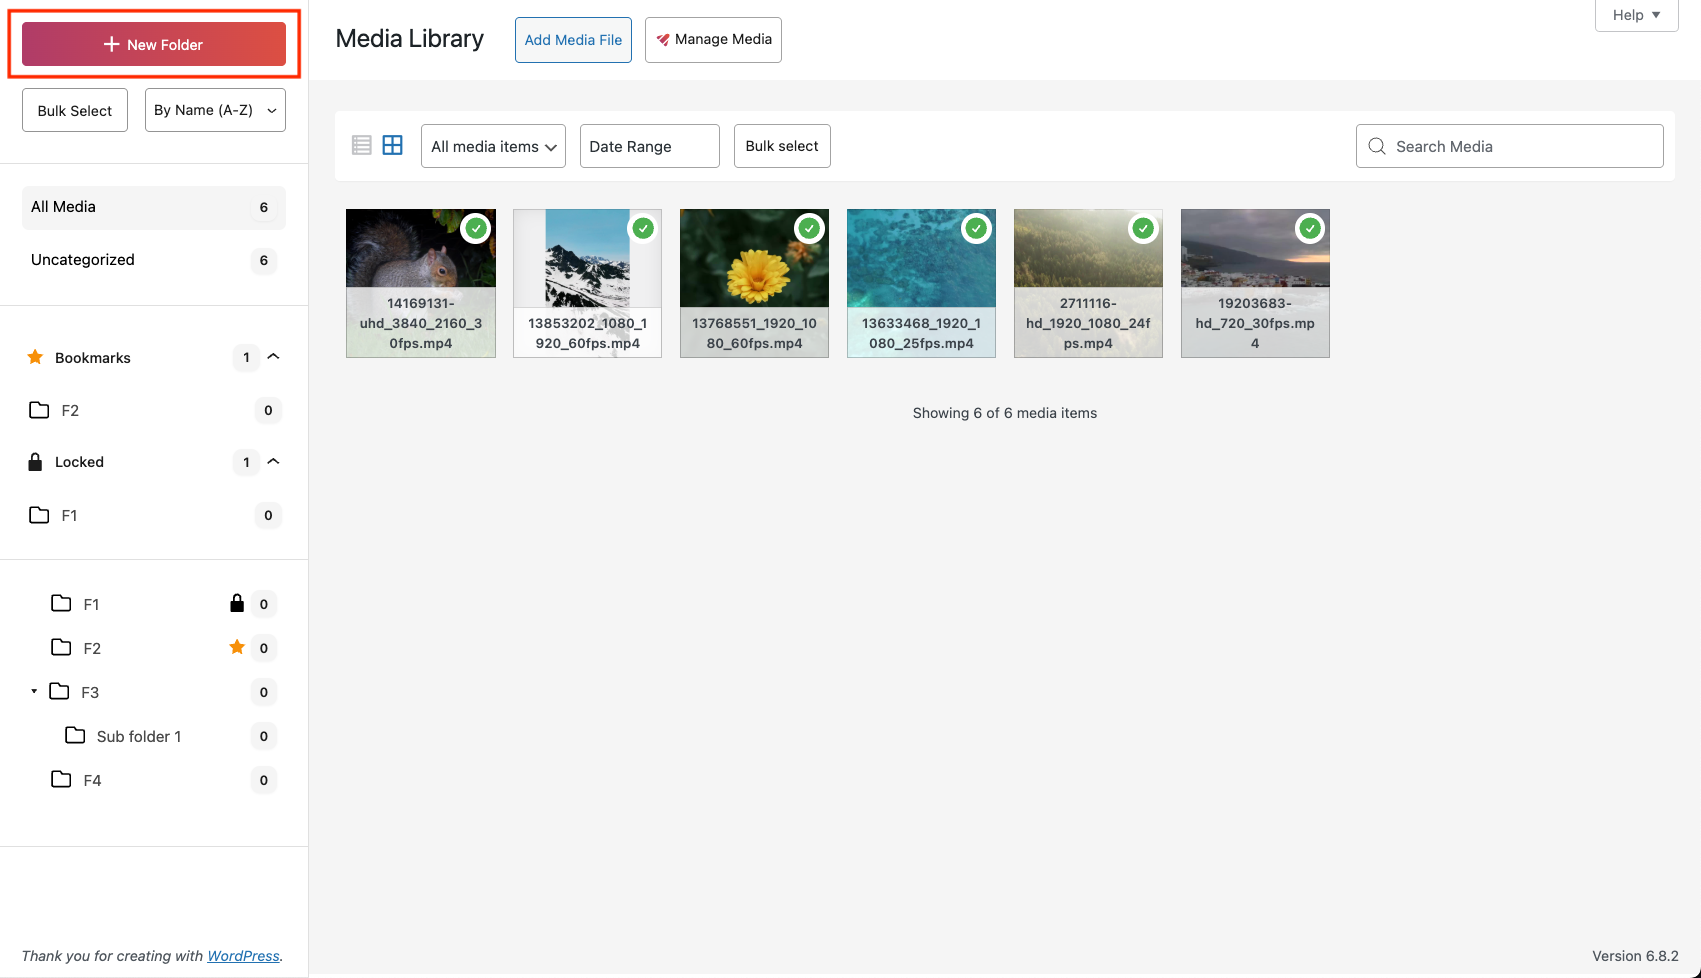
Step 1: Click on “New Folder”
Step 2: Add the name of the folder and click on the Create button
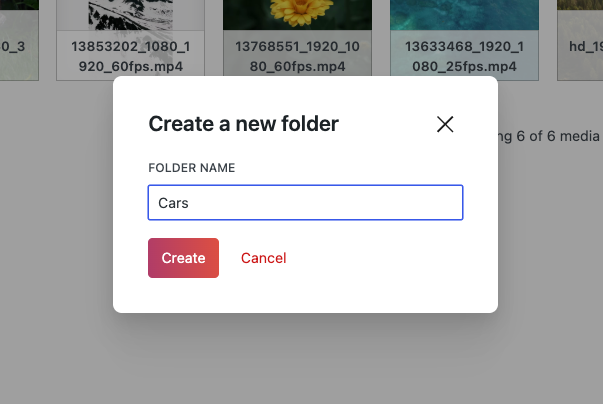
Step 3: You will see a popup with the message “Folder created successfully” upon success.
Here is the complete demo of all the steps mentioned above:
NOTE:
If an existing folder is selected, the new folder will be created as a child of the selected folder.
DELETE A FOLDER
Step 1: Right Click on the folder you want to delete.
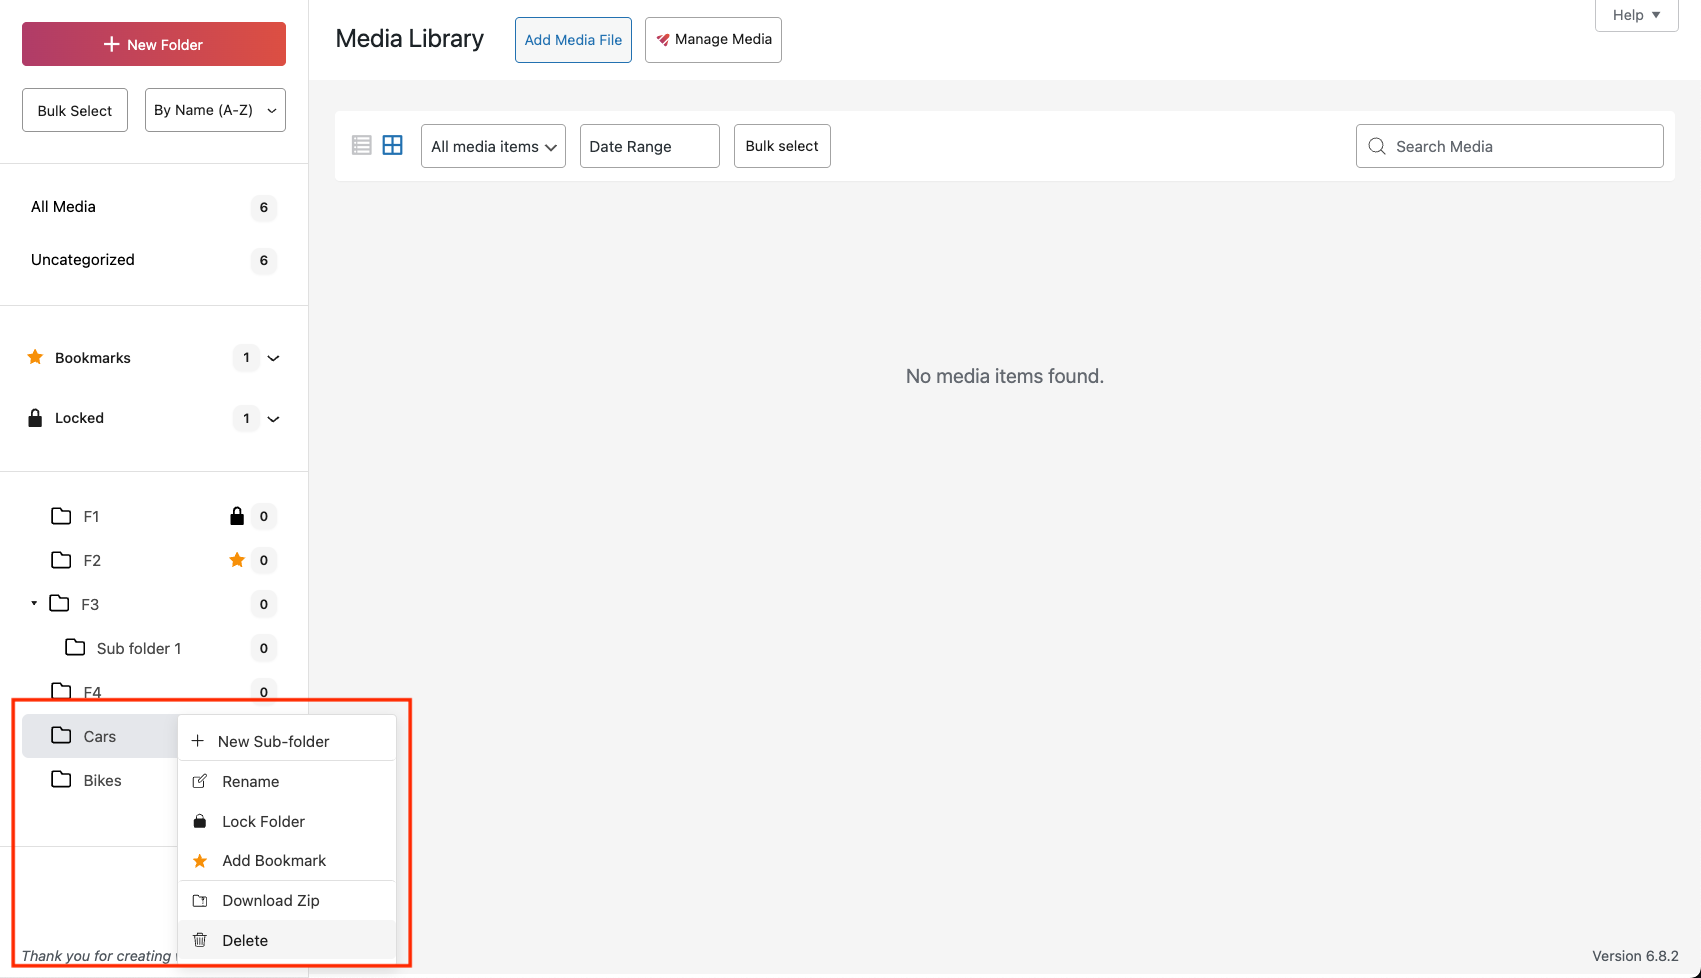
Step 2: Click on the Delete button.
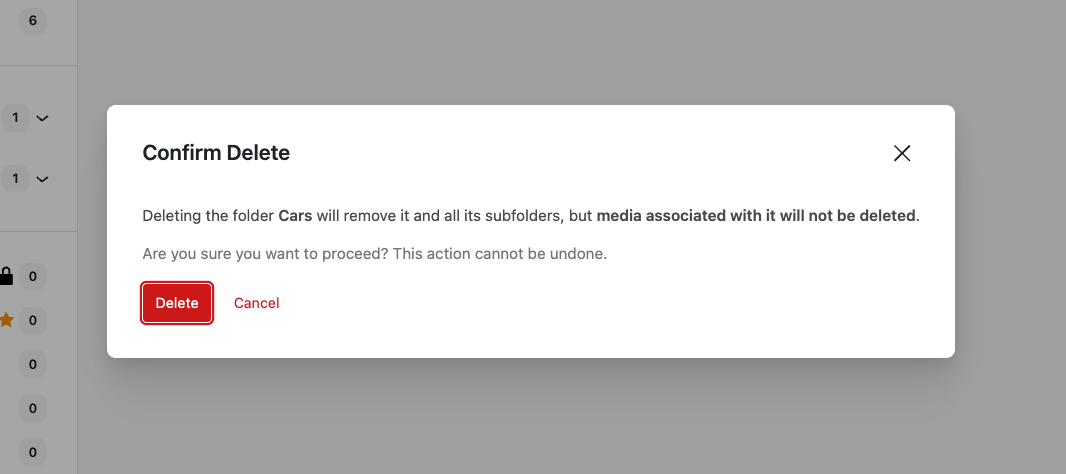
Here is a complete demo of all the above mentioned steps:
RENAME A FOLDER
Step 1: Right click on the folder you want to rename from the left sidebar with folders list.
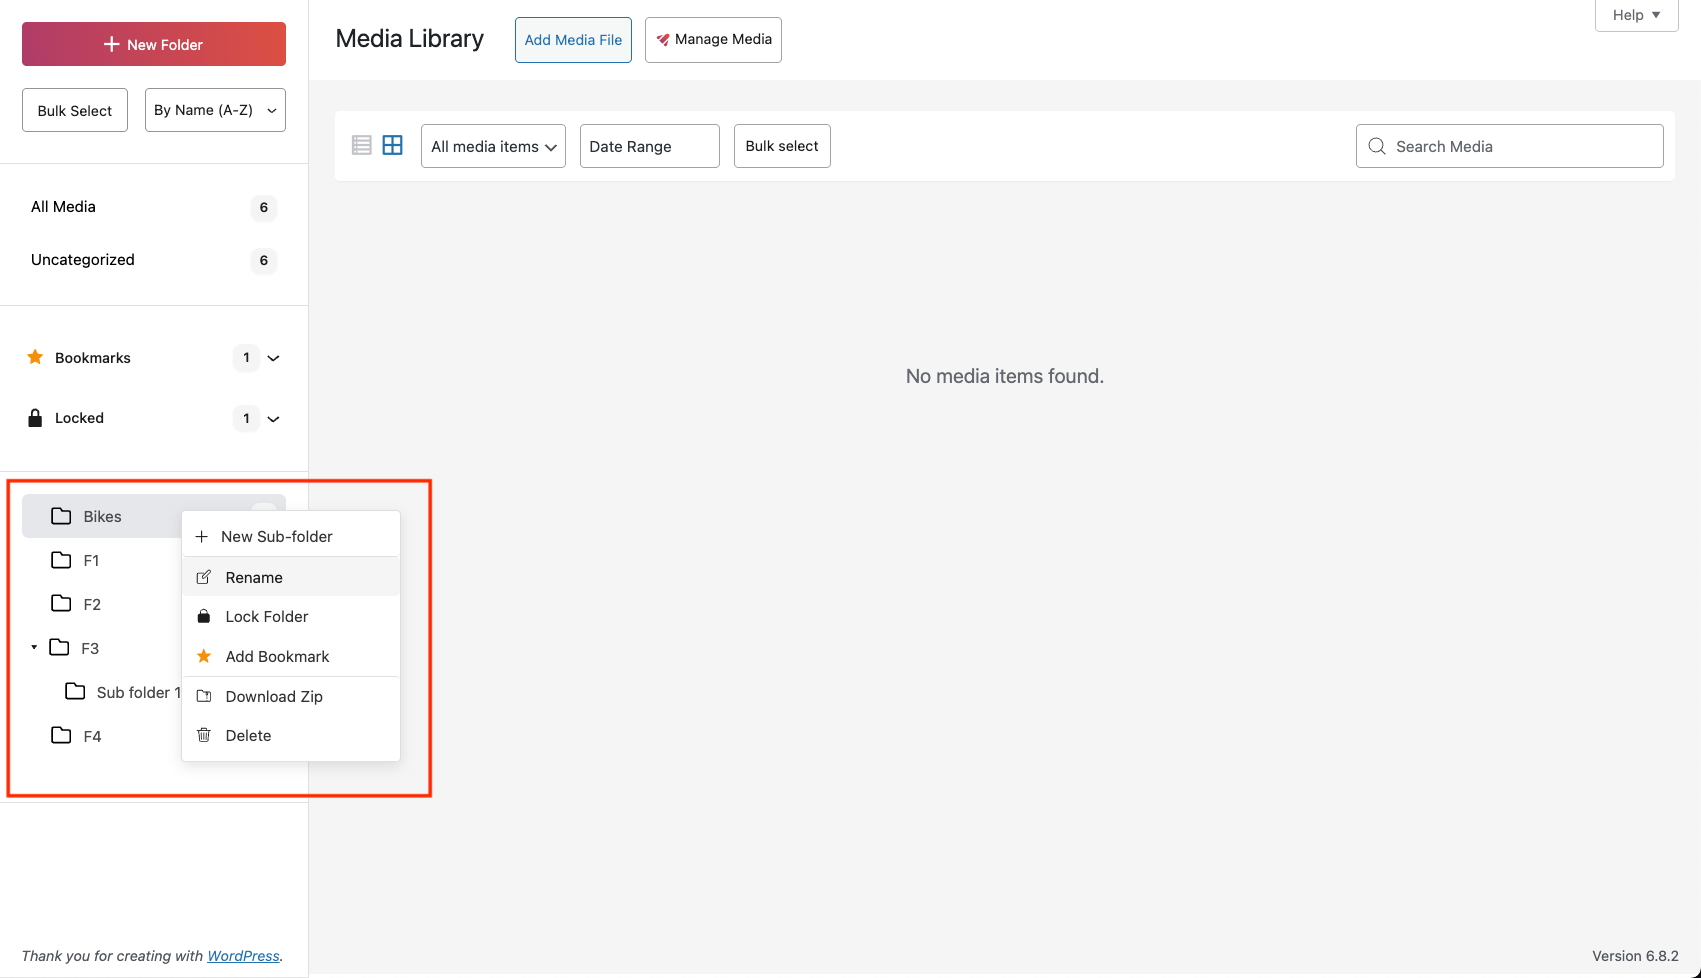
Step 2: Click on the “Rename” button
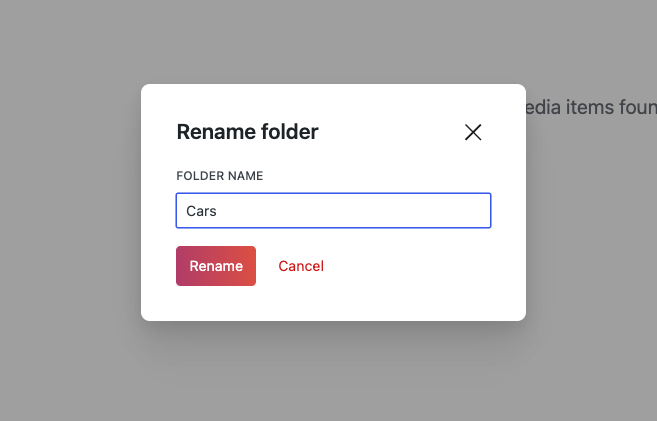
Step 3: Enter the name of the folder in the popup, and click “Rename” button.
Step 4: You will see a popup with the message “Folder renamed successfully” upon success.
Here is a demo of all the steps mentioned above:
REORDER FOLDER
Users can reorder folders and create nested folders using the drag-and-drop functionality. Simply drag a folder, and a helpful indicator will appear to guide the user in reordering the folders as desired.
STEPS:
For reordering, you need to click on the folder for which you want to change the position and then drag and drop it to the appropriate folder.
ASSIGN MEDIA
Users can assign one or more media items to a specific folder by dragging the them to the desired folder.
NOTE: When you upload an image, it is initially placed under Uncategorized or All Media, even if you upload it after selecting a specific folder. To assign the image to a folder, manually drag and drop it into the desired folder.
FILTER IMAGES
In addition to the default WordPress filters, the plugin offers a custom date range filter, allowing users to query images uploaded within a specific date range.
BOOKMARK FOLDERS
Users can bookmark folders, bookmarked folders also appear separately on the top in the “Bookmarks” tab. Bookmarked folders can be identified by the star icon next to them.
STEPS:
Step 1: Right click on the folder you want to bookmark, in the menu select Bookmark Folder button.
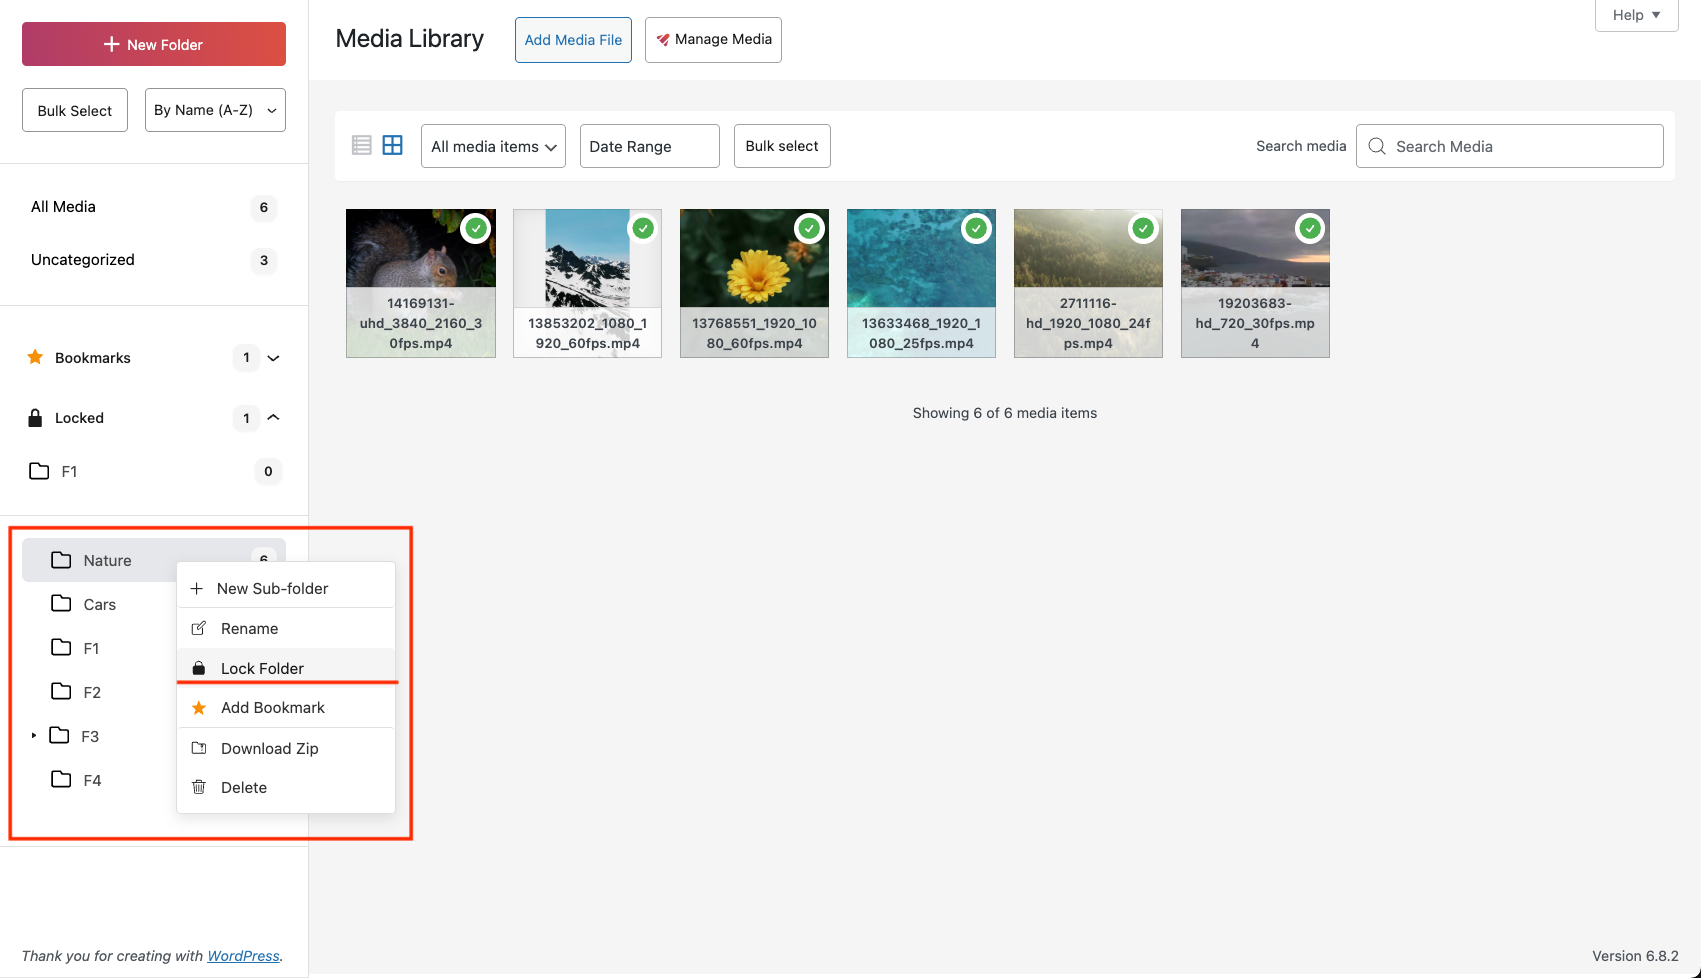
Step 2: A Bookmark is added and the folder shows up in the “Bookmarks” tab.
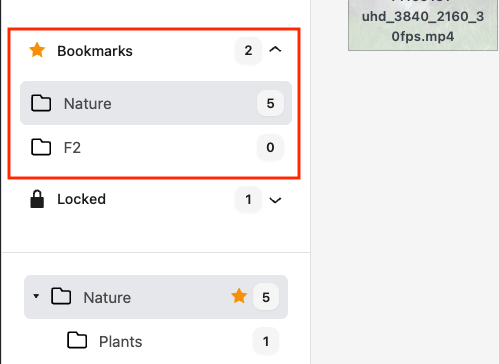
A bookmarked folder can also be removed from bookmarks using the same steps, by selecting the “Remove Bookmark” option.
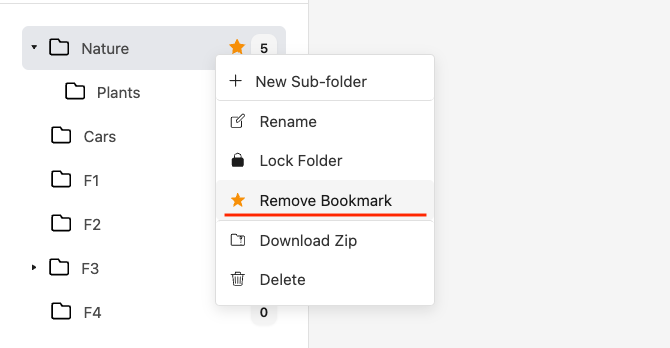
Here is a demo of all the steps mentioned above:
LOCK FOLDERS
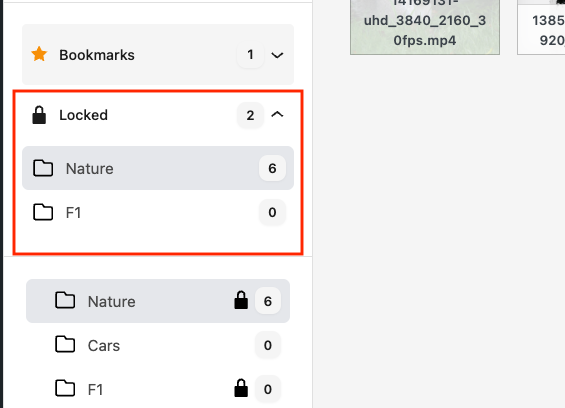
Users can lock folders to prevent changes to its structure. Locked folders can be identified by the lock icon next to them, they are shown separately in the the “Locked” tab.
STEPS:
Step 1: Right click the folder you want to lock, in the menu select the Lock folder button.
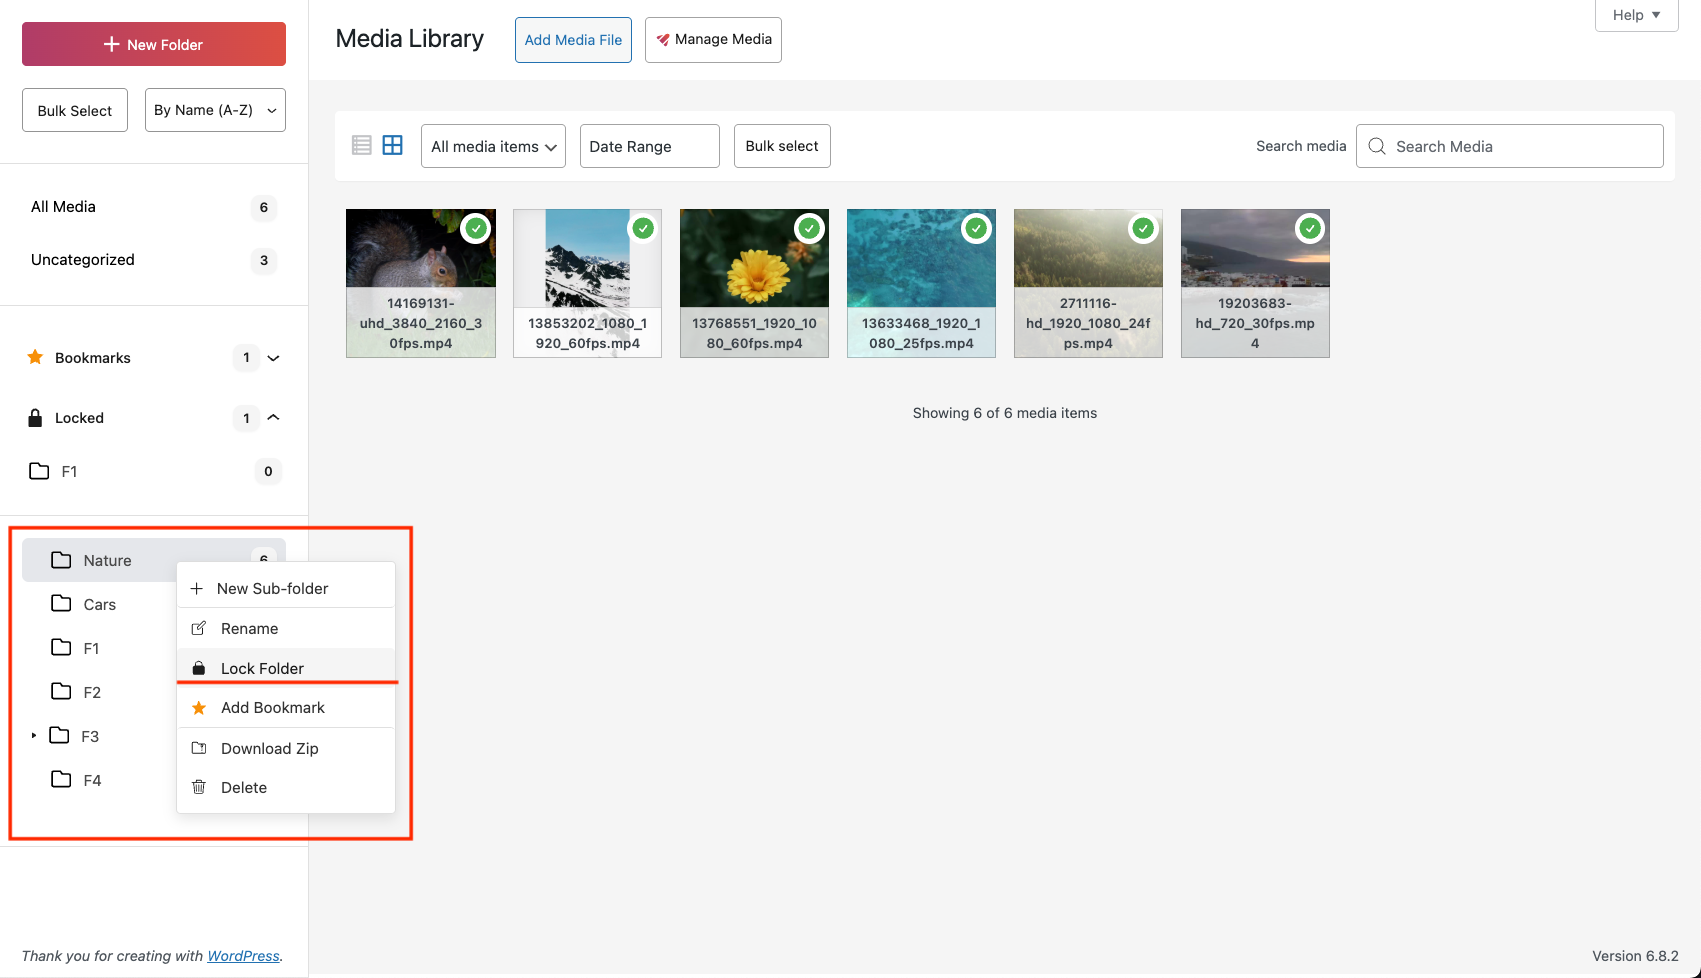
Step 2: The folder is locked and a “lock” icon appears. The folder is also visible in the Locked folder tab.
A locked folder can also be unlocked using the same steps, by selecting the “Unlock Folder” option.
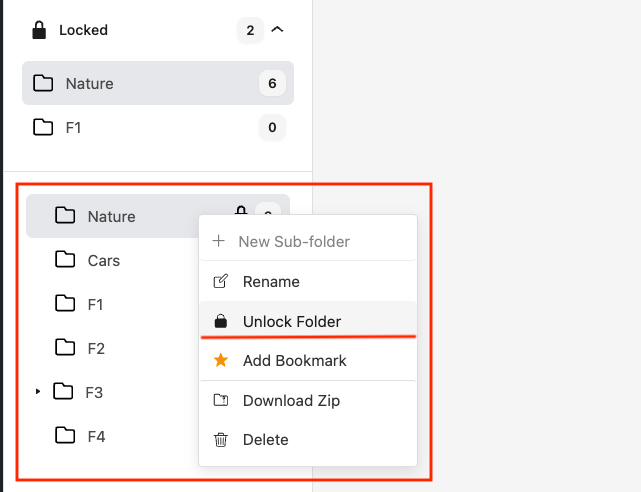
Here is a demo of all the steps mentioned above:
NOTE: Locking a folder prevents any changes to its immediate contents – you cannot add or remove media or subfolders directly within it. However, if the subfolders themselves are not locked, you can still modify their contents (such as adding or removing media inside them).
Here is a demo showing this behaviour:
DOWNLOAD ZIP
Users can download media contents of a folder in a zip file.
STEPS:
Step 1: Right click the folder you want to download, click on the “Download Zip” button.
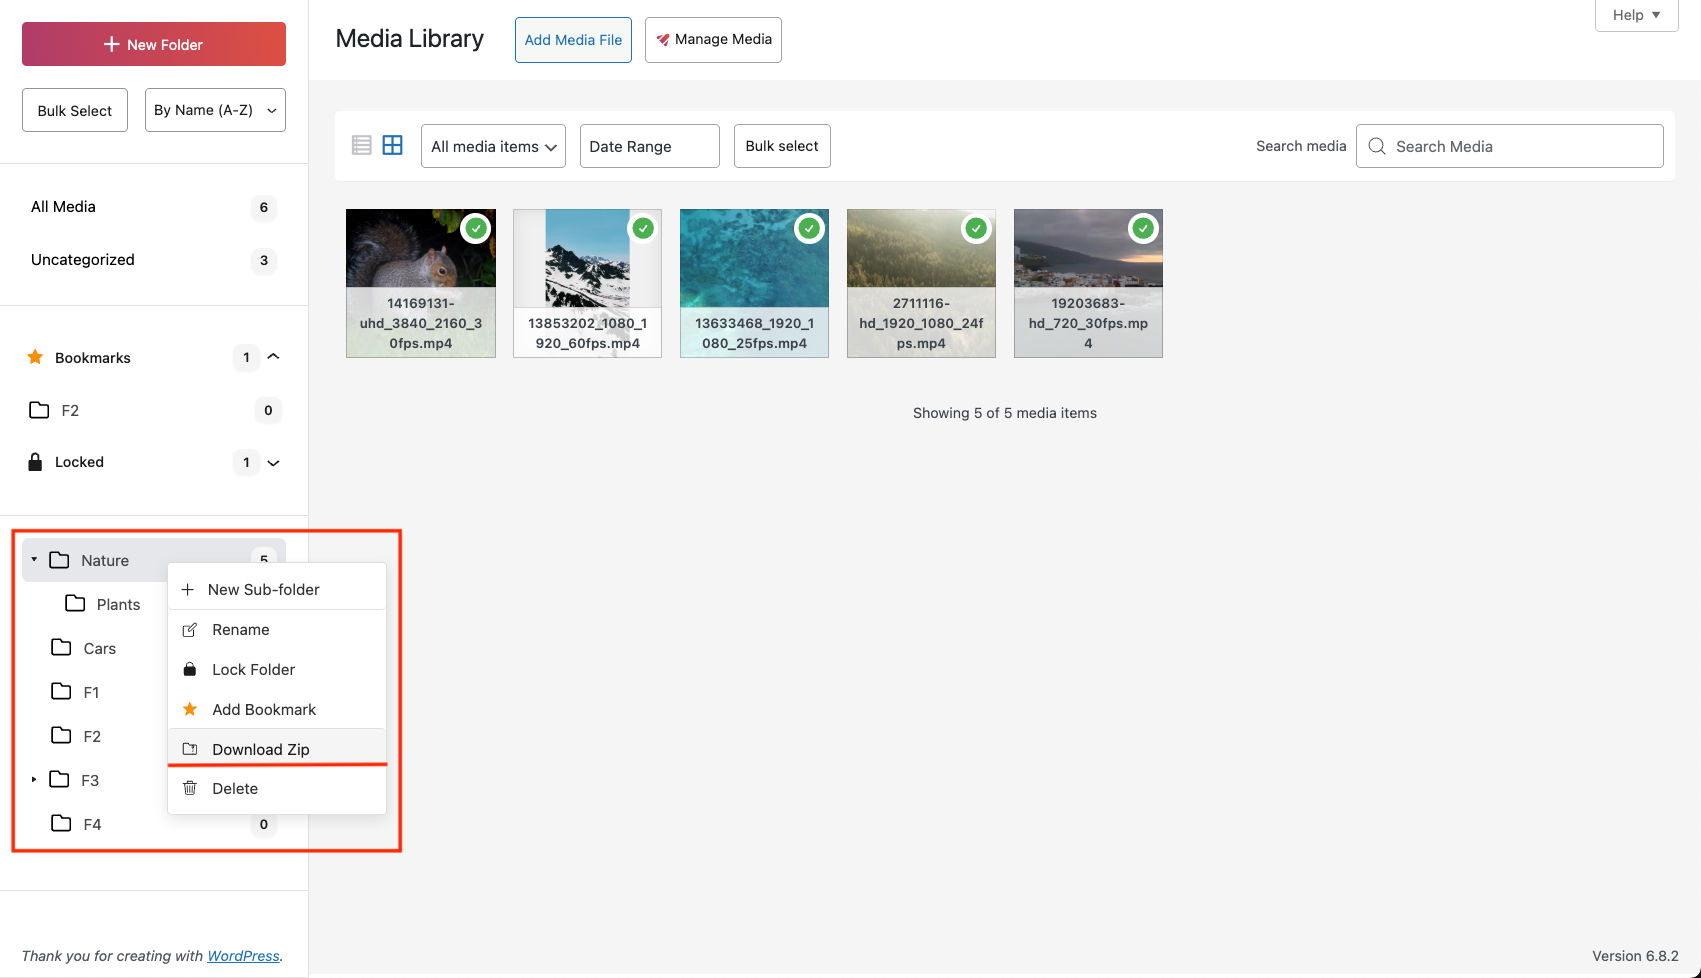
Here is a demo showing this behaviour:
NOTE: When downloading a folder, it only includes the files directly inside that folder. It does not include any media that are inside subfolders.
FOLDER MULTISELECT
Multi-select allows user to perform an operation on multiple folder by first selecting them and then selecting the operation. The operation will be applied on all selected folders.
STEPS:
Step 1: Click on the “Bulk Select” Button on the sidebar.
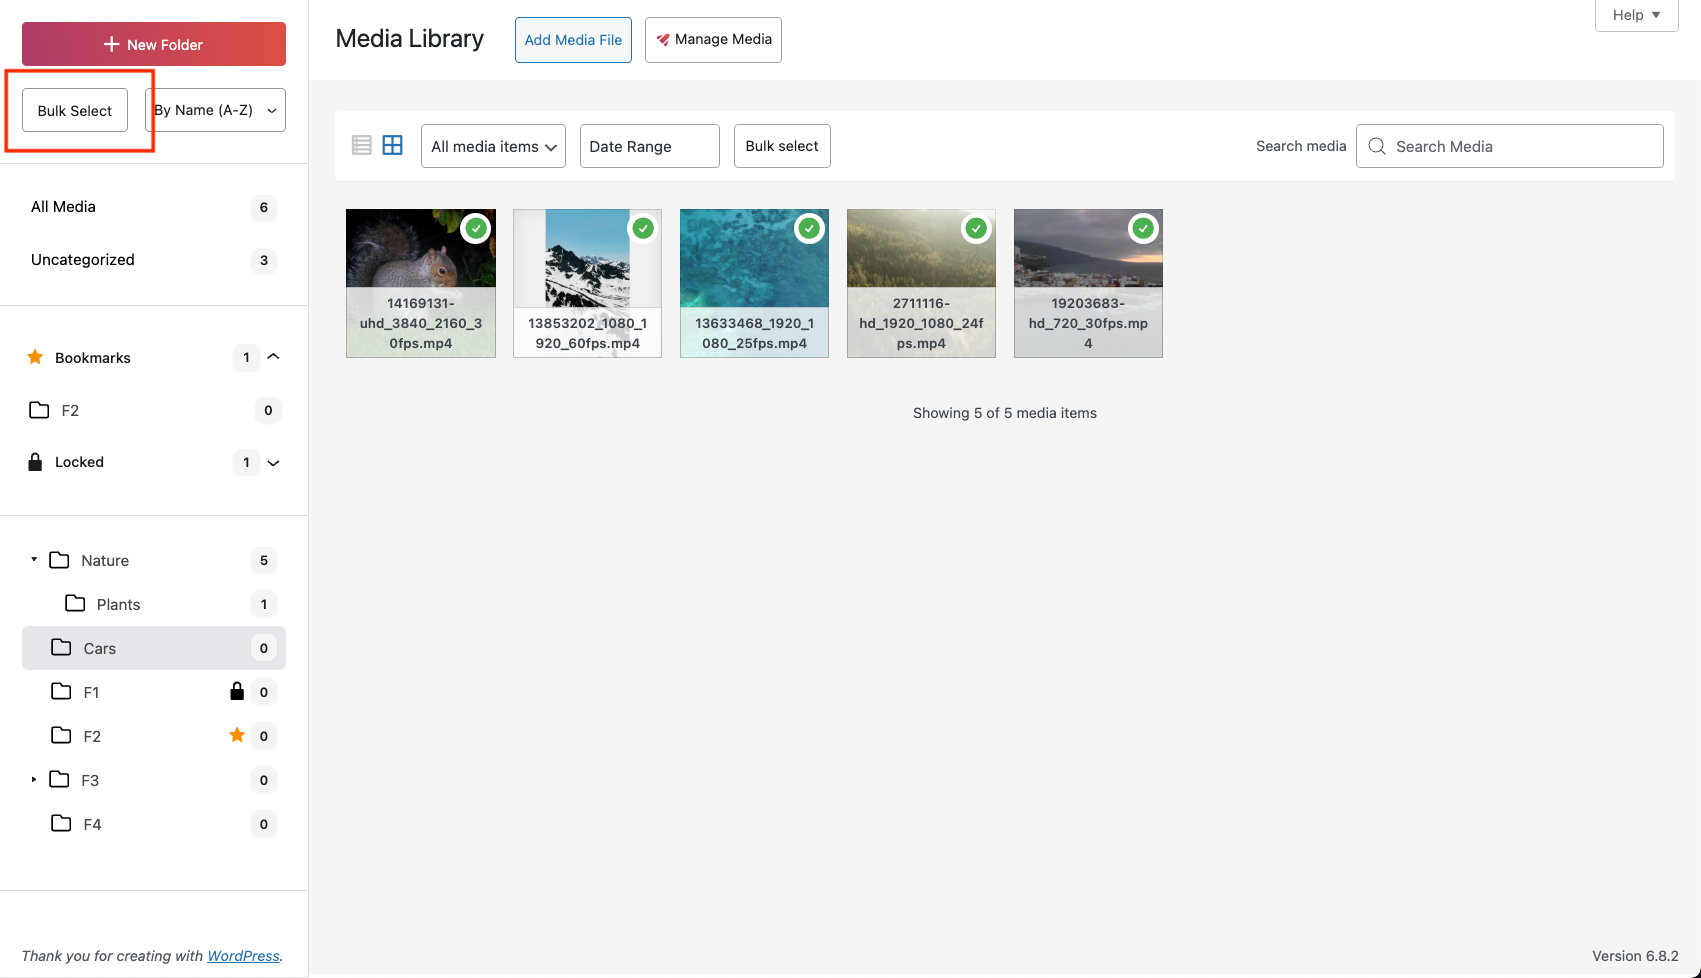
Step 2: Check and select all the folders for the operation.
Step 3: Right Click and Select the operation.
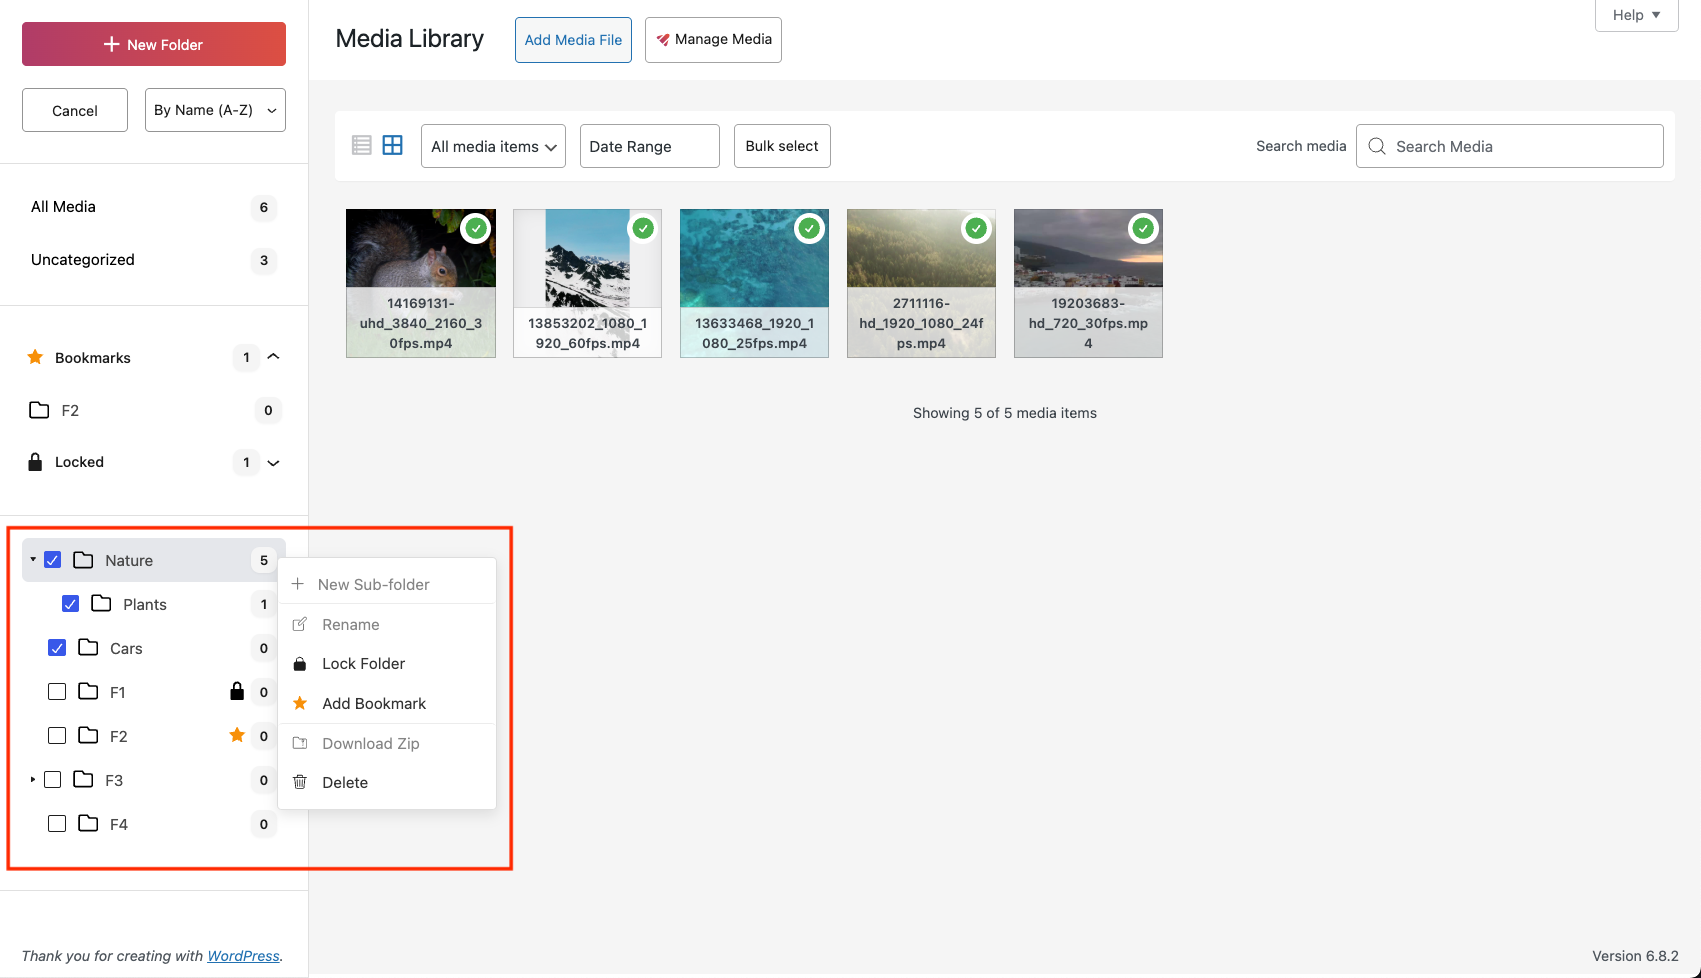
Here is a demo of all the steps mentioned above:
SORTING FOLDER
Apart from Custom sort by dragging folder, users can also sort folders using the “Sort By” button.
STEPS:
Step 1: Click on the Sort button and select the sort type.
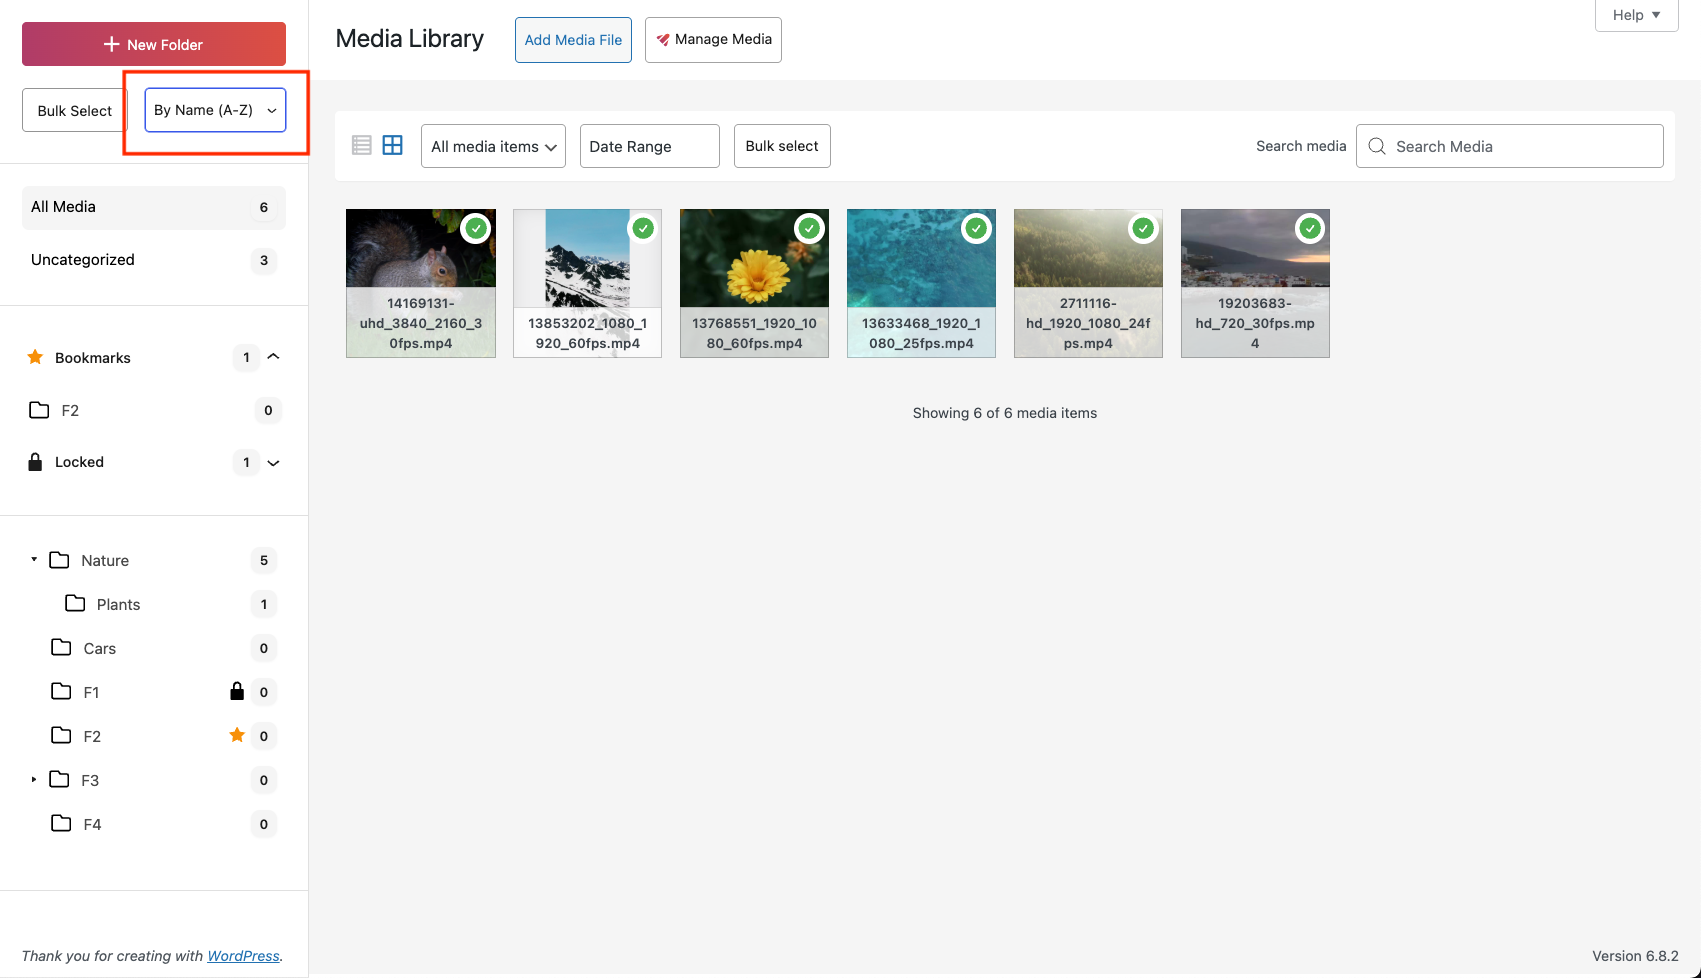
Here is a demo showing this behavior:
EXIF METADATA
Opening a specific image in the grid view allows the user to access additional EXIF metadata associated with the image.

All the WordPress media library manager features are available to use for free in the GoDAM WordPress Plugin.
