
Method 1: Direct Installation from the WordPress Dashboard
Installing GoDAM
- Access your WordPress admin panel by logging in at
your-site.com/wp-admin - Navigate to the plugins section:
- Click on “Plugins” in the left sidebar
- Select “Add New”
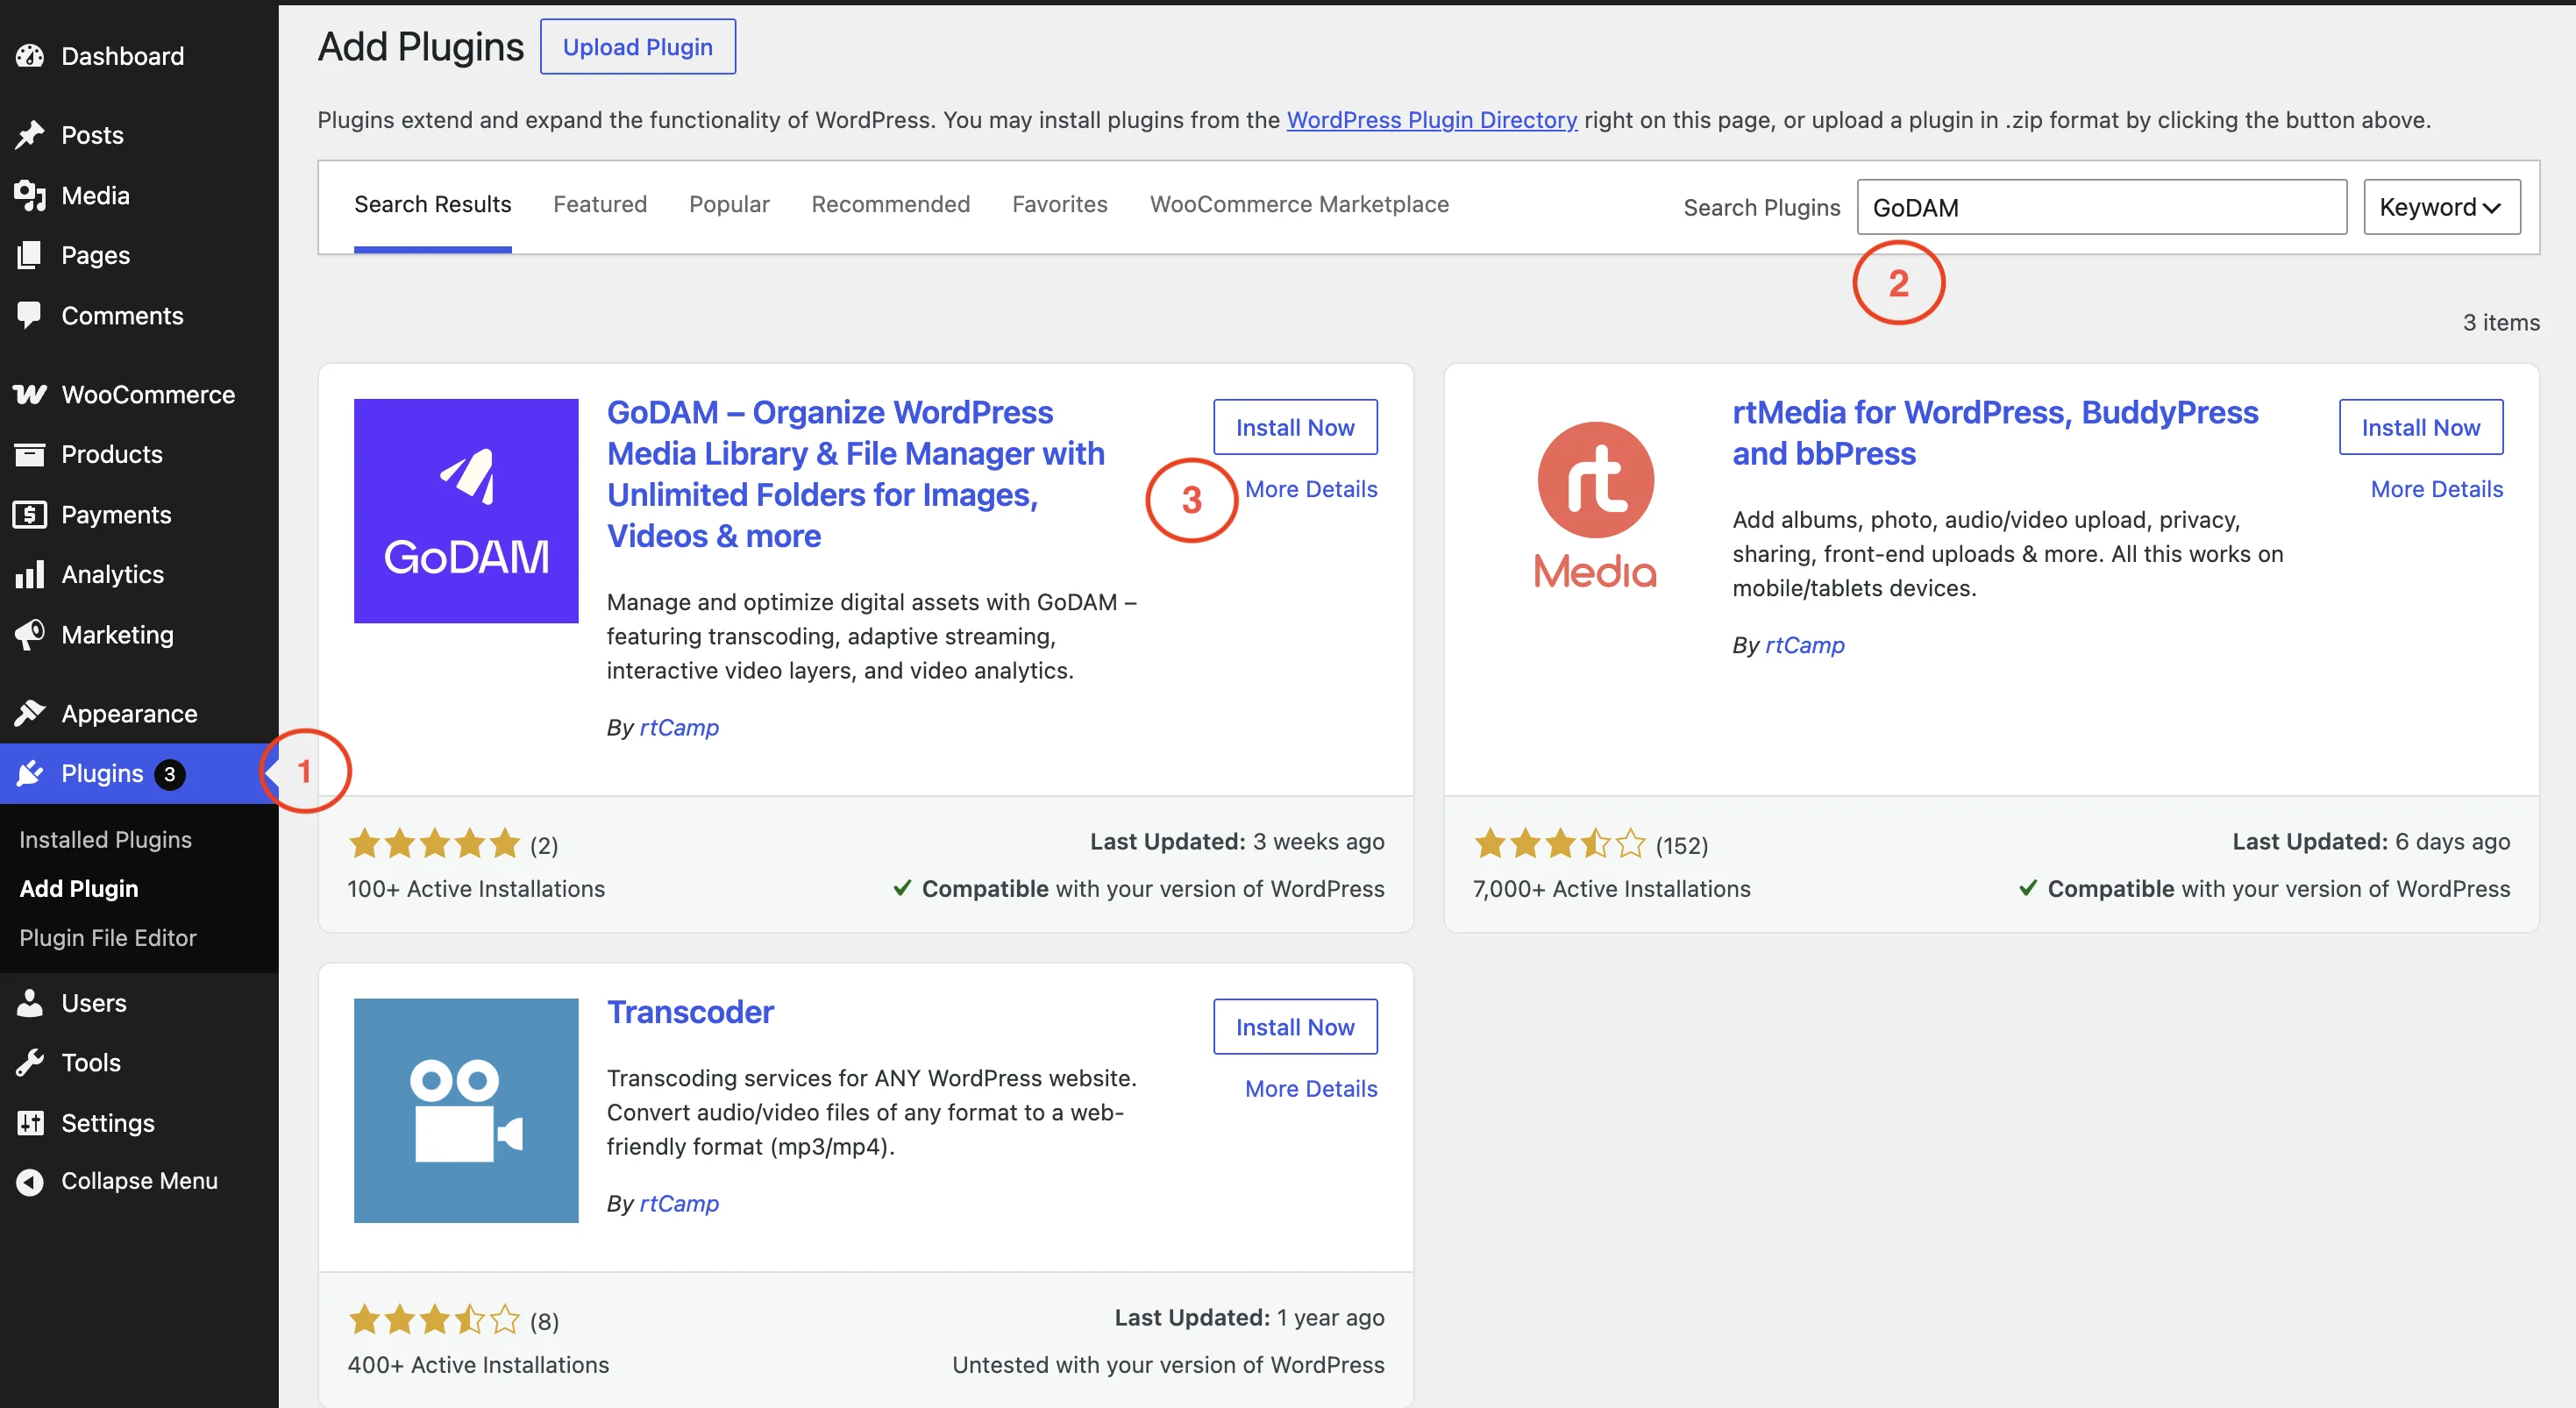
- In the search field, type “GoDAM”
3. Once you locate GoDAM in the search results:
- Click the “Install Now” button
- Wait for installation to complete
- Click “Activate” to enable the plugin
Method 2: Manual ZIP Installation
If you prefer manual installation or are unable to install directly from WordPress:
1. Download the zip file
2. Upload to WordPress:
- In your WordPress dashboard, go to “Plugins” → “Add New”
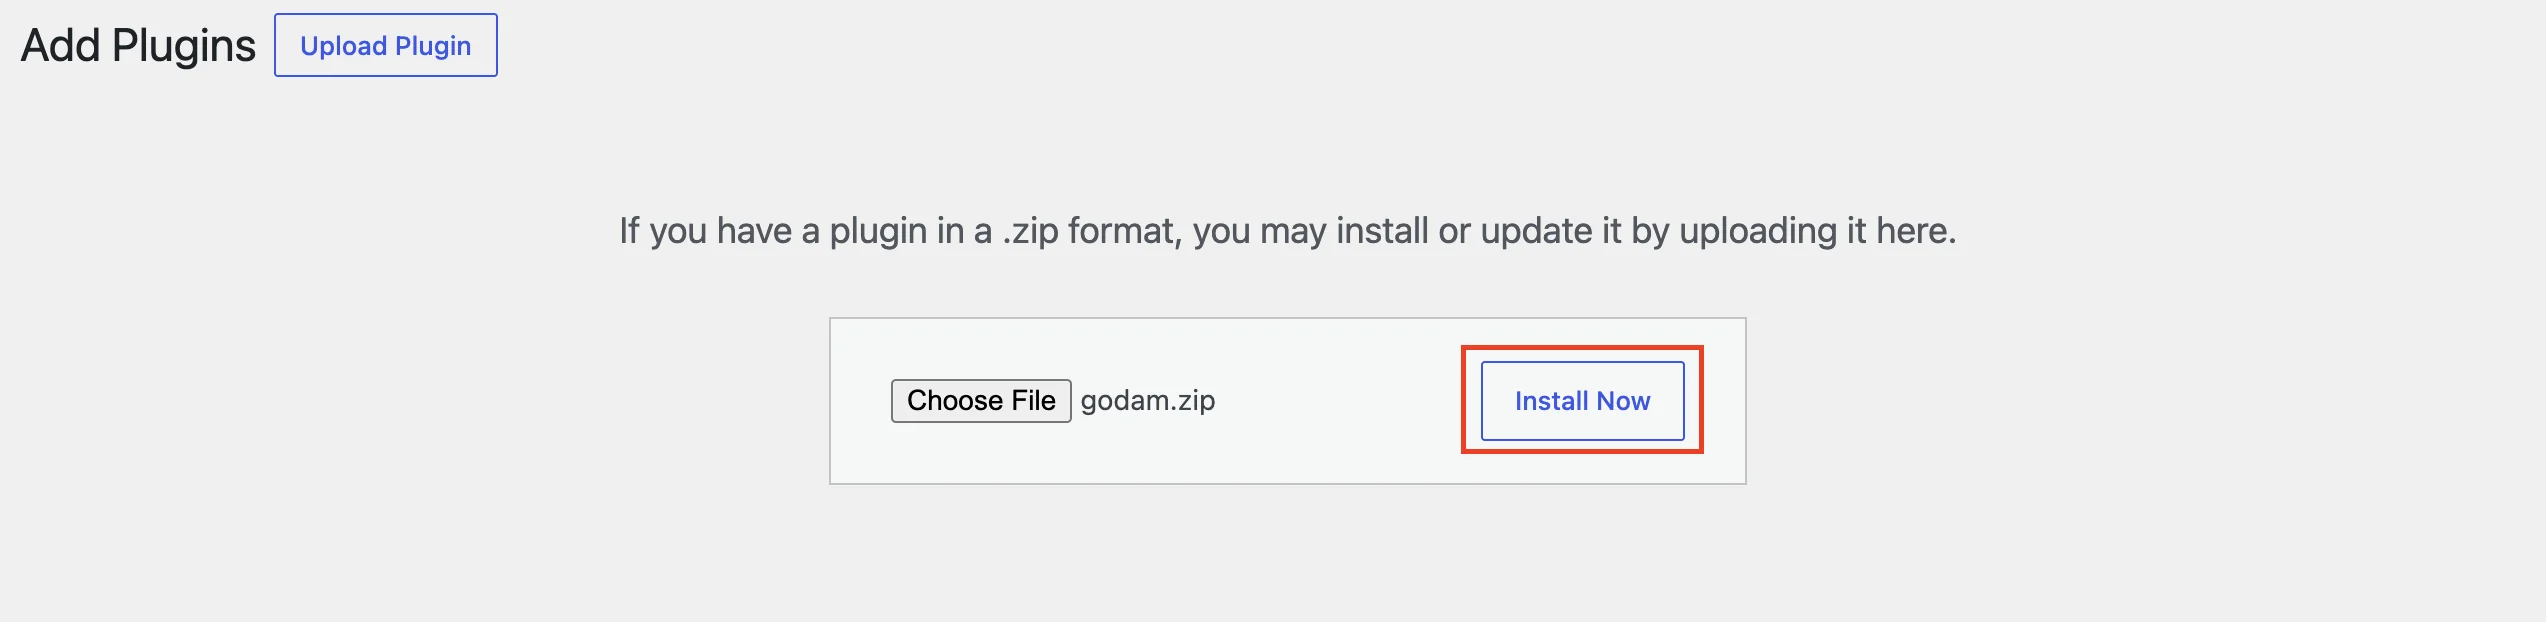
- Click the “Upload Plugin” button at the top

- Choose “Browse” and select the downloaded ZIP file
- Click “Install Now”
- After installation completes, click “Activate Plugin”
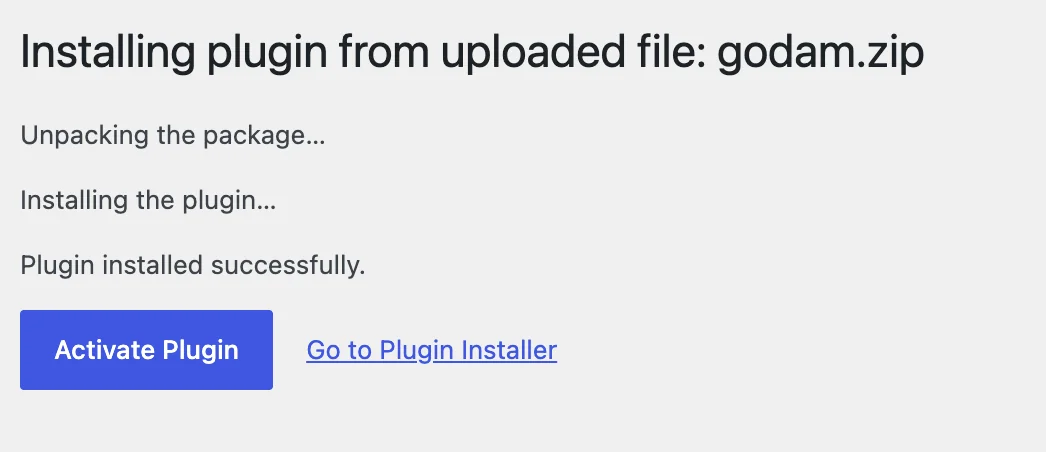
Verification
After successful installation:
- Check your WordPress dashboard
- You should see:
- A new “GoDAM” menu item in the left sidebar
- Gravity Forms menu (if installed)
- Status indicators showing both plugins are active
Troubleshooting Tips
If you encounter issues during installation:
- Ensure your WordPress version meets the minimum requirements
- Check your server’s PHP version compatibility
- Verify you have sufficient server permissions
- Clear your browser cache after installation
- Deactivate other video plugins to avoid conflicts
Next Steps
Once installation is complete, you can:
- Configure GoDAM settings
- Set up your first video project
- Create interactive video layers
- Use DAM features and much more!