
Image layers turn a flat picture into something people can click. You place hotspots directly on the image in the GoDAM Media Editor — each one carries a tooltip and a link, styled as a pulsing dot or an icon of your choosing — and viewers explore products, offers or related pages straight from the picture. With the GoDAM for Woo add-on you can point hotspots at WooCommerce products instead, turning the image into a shoppable visual.
What you’ll need
- You’re on GoDAM 2.1 or later, installed and connected to your account.
- You have an image in your media library.
- For product hotspots: the GoDAM for Woo add-on active, with WooCommerce and a valid GoDAM API key.
How to add hotspots
Step 1: Go to GoDAM → Media Editor and set the media-type filter to Image. You can also get here from the media library: open an image attachment and click Edit Image.
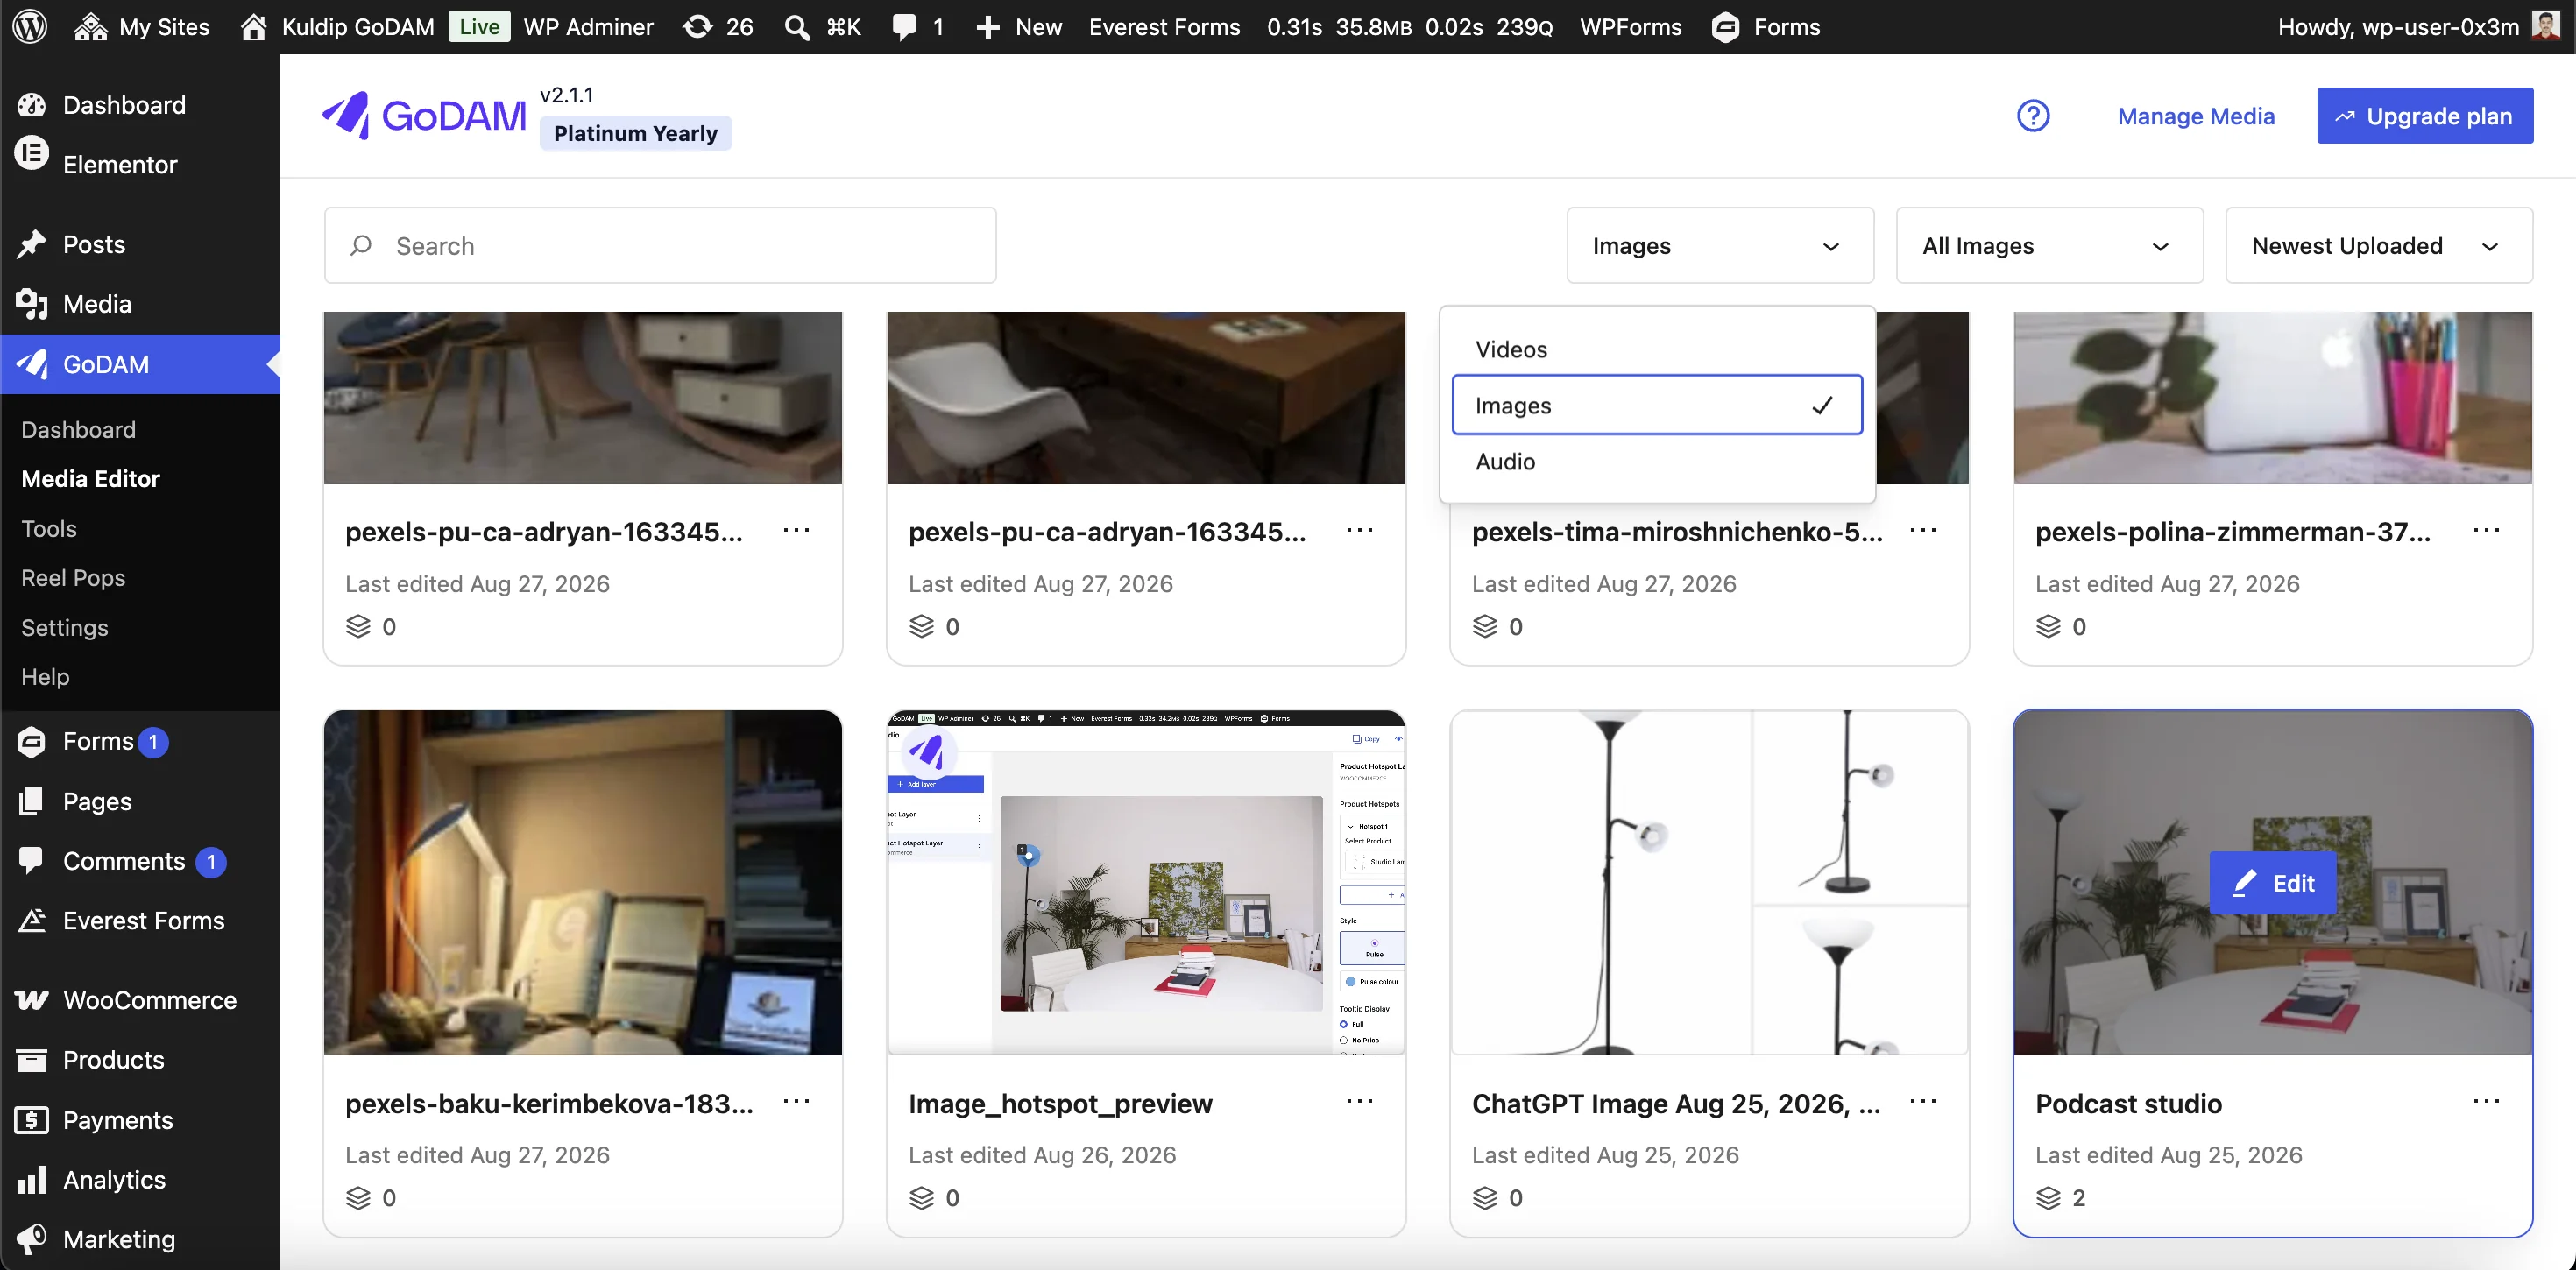
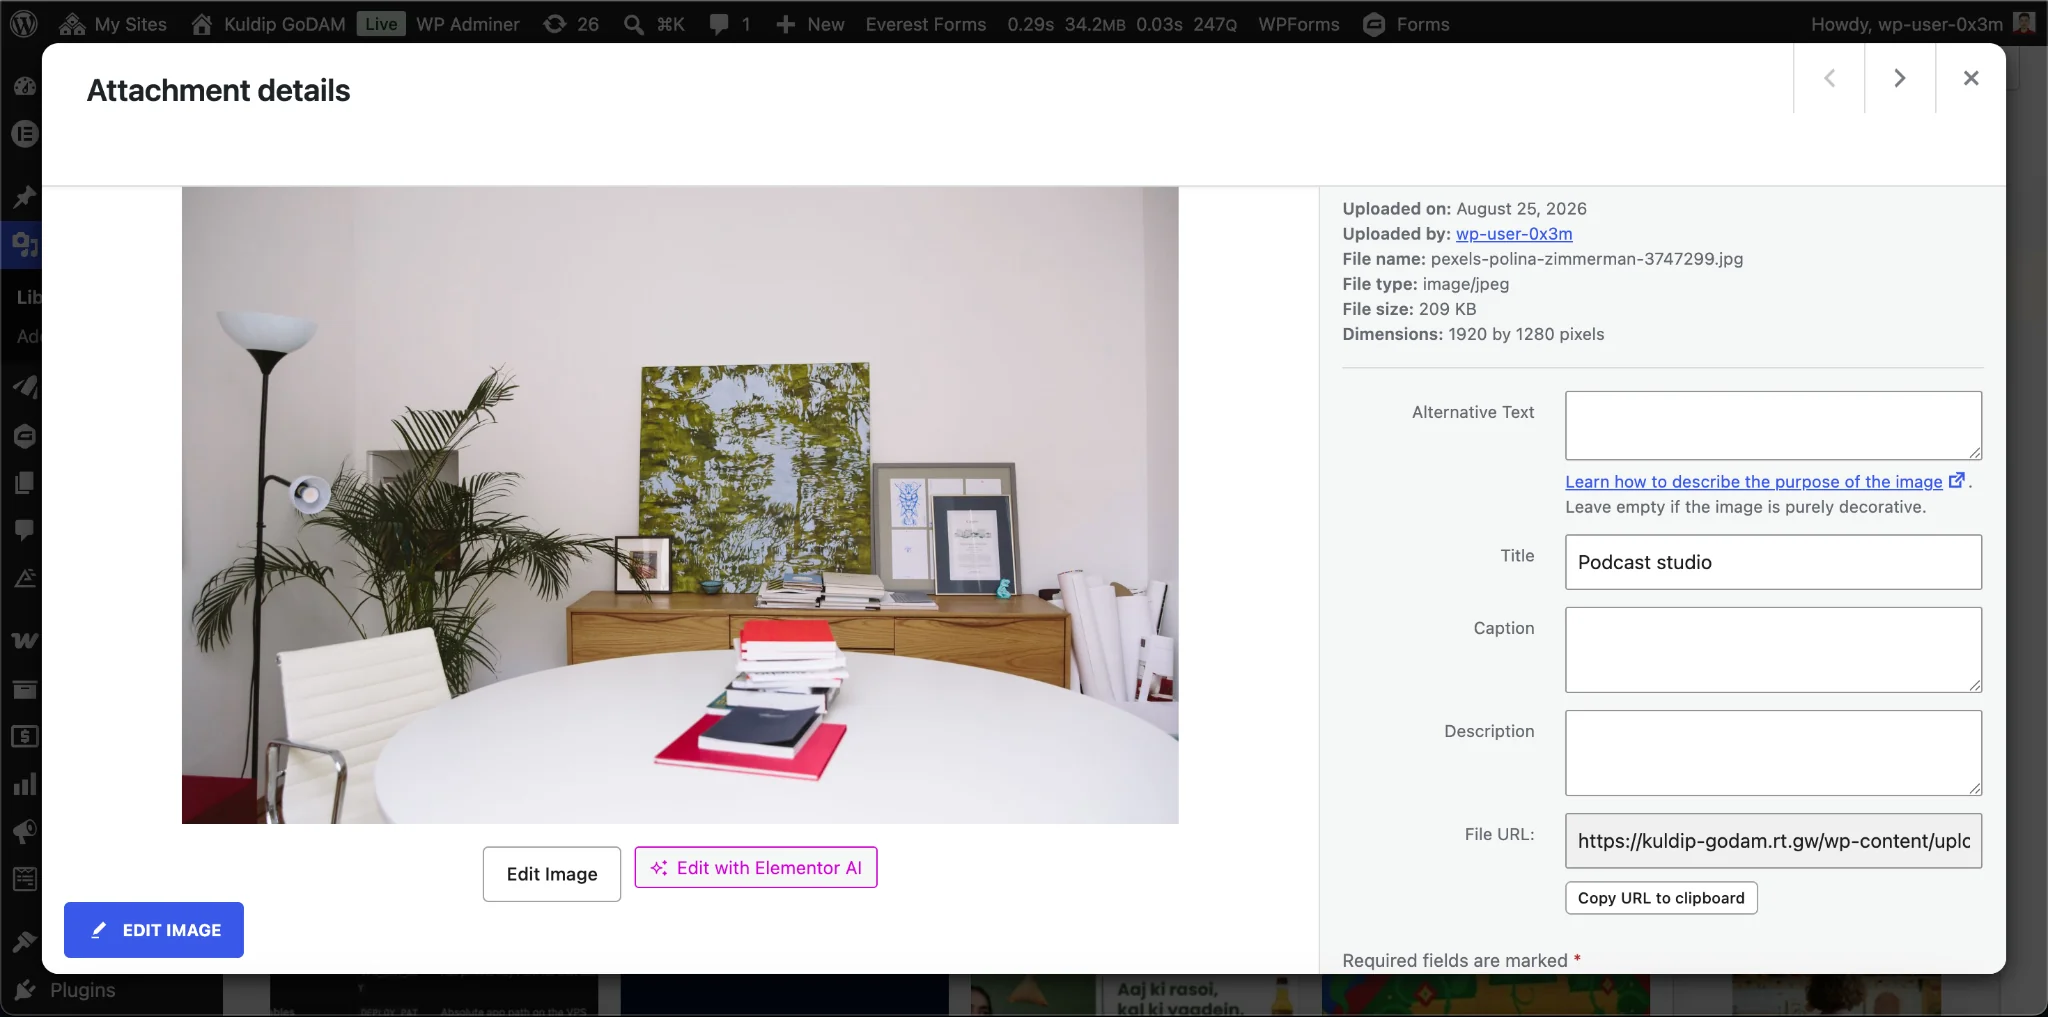
Step 2: Open the image you want to make interactive. The editor opens with a single Layers tab
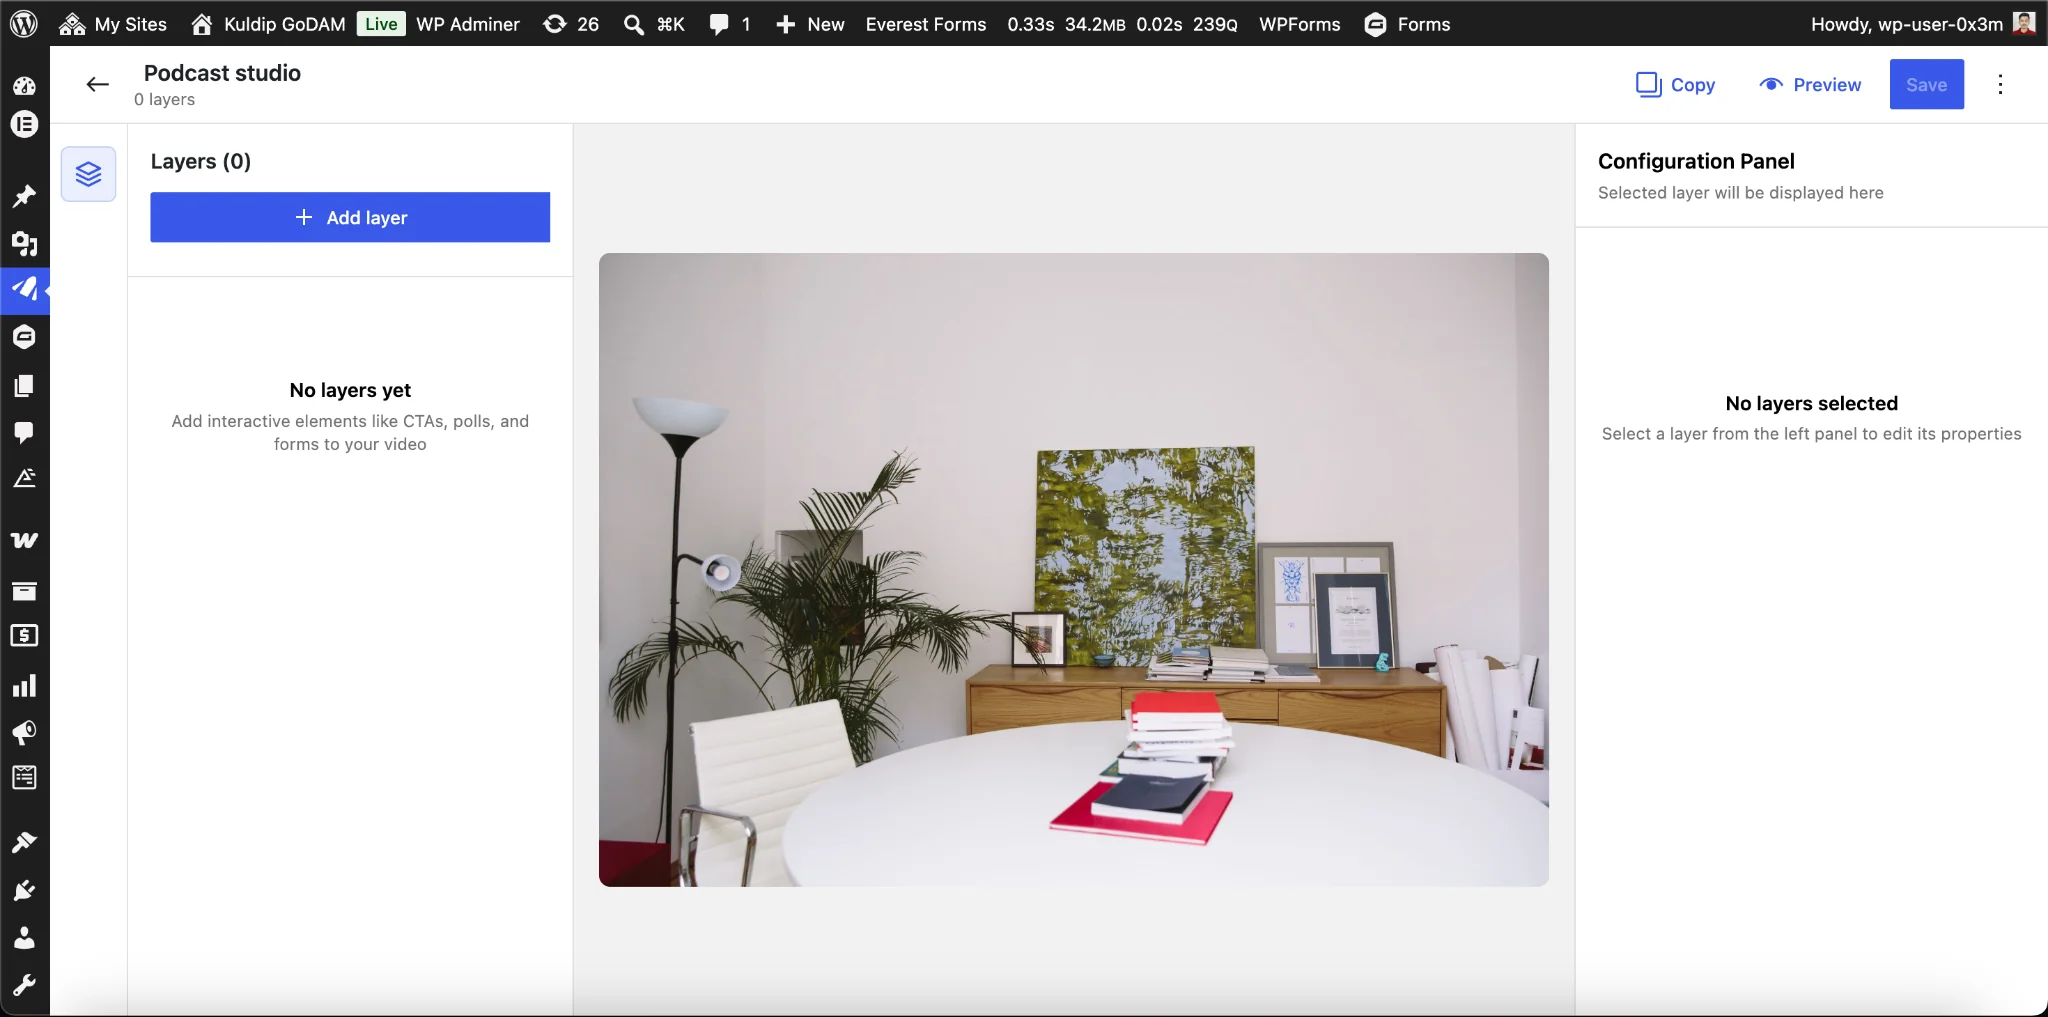
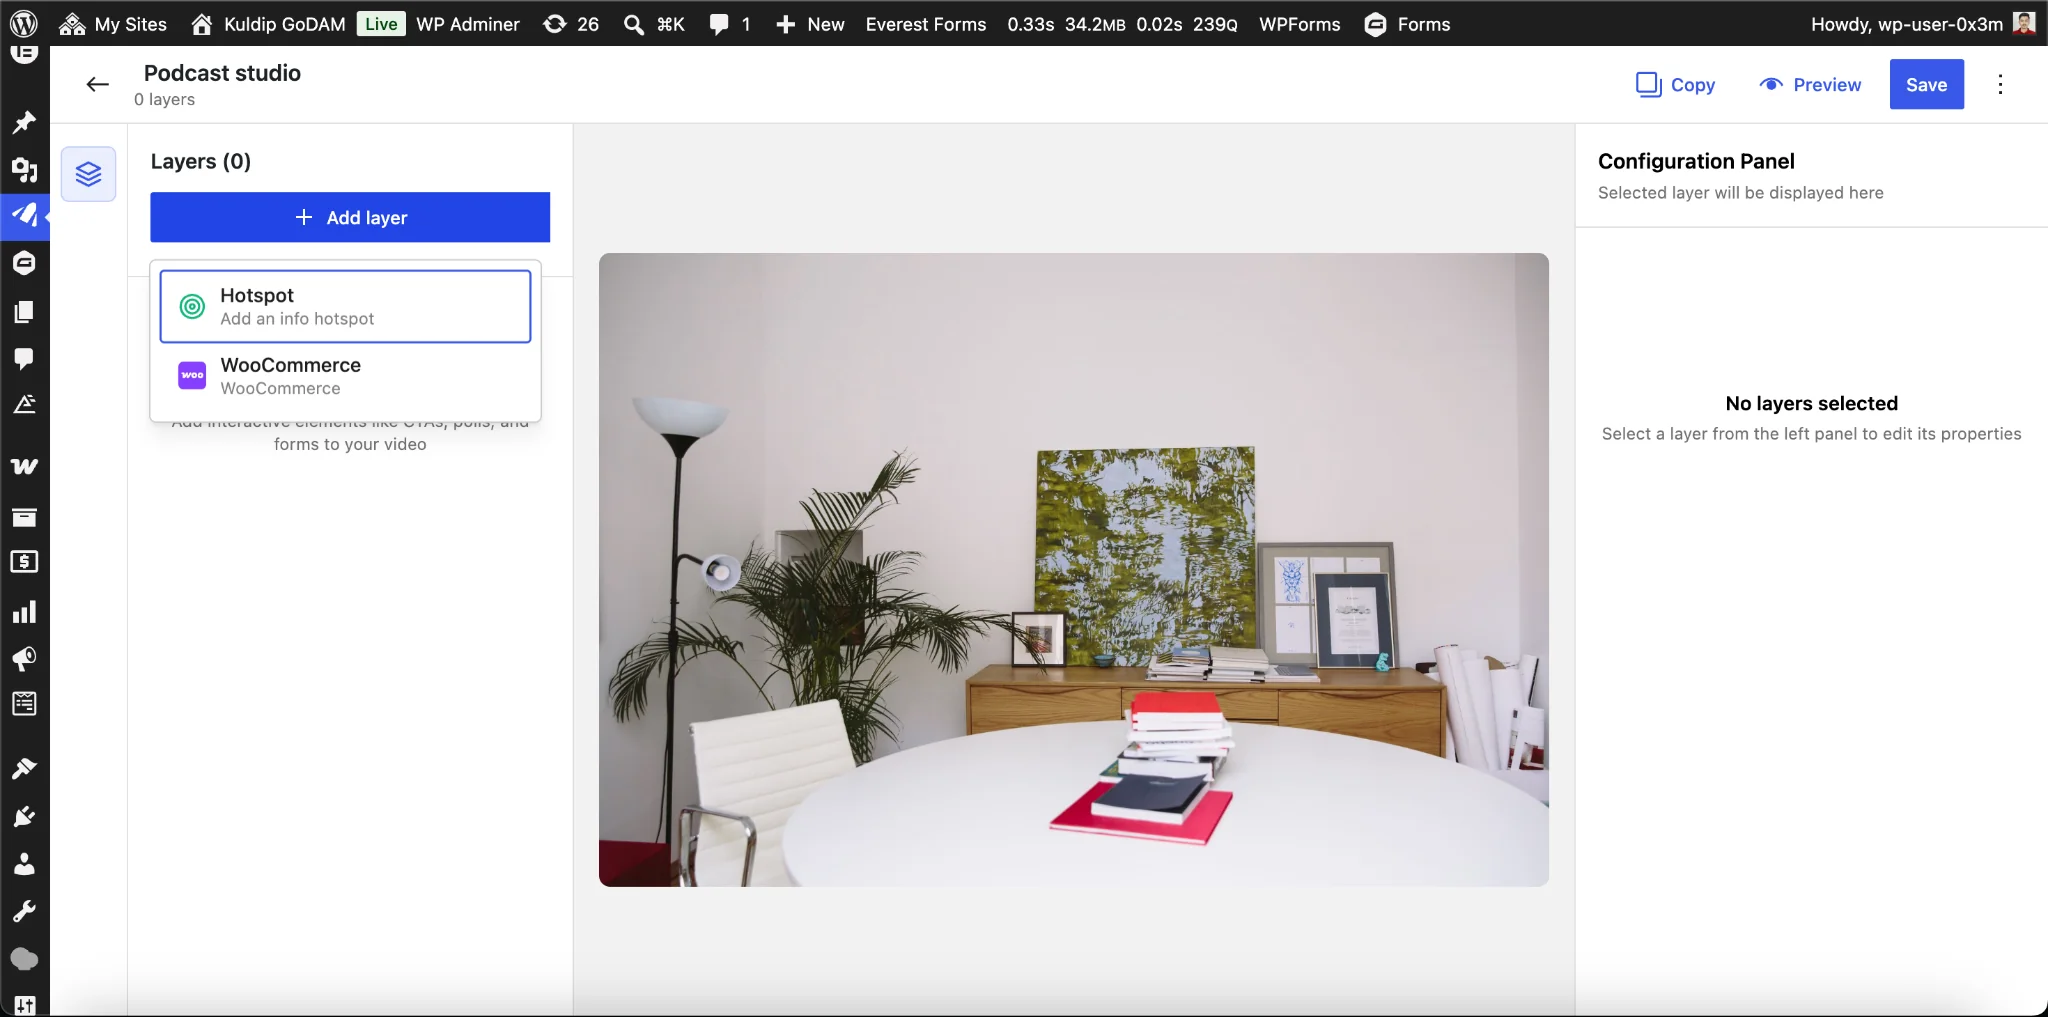
Step 3: Click Add layer and choose Hotspot.
Step 4: A marker appears on the image. Drag it to the spot you want to highlight, and drag its edge handle to resize it. The marker keeps its circular shape and stays inside the image.
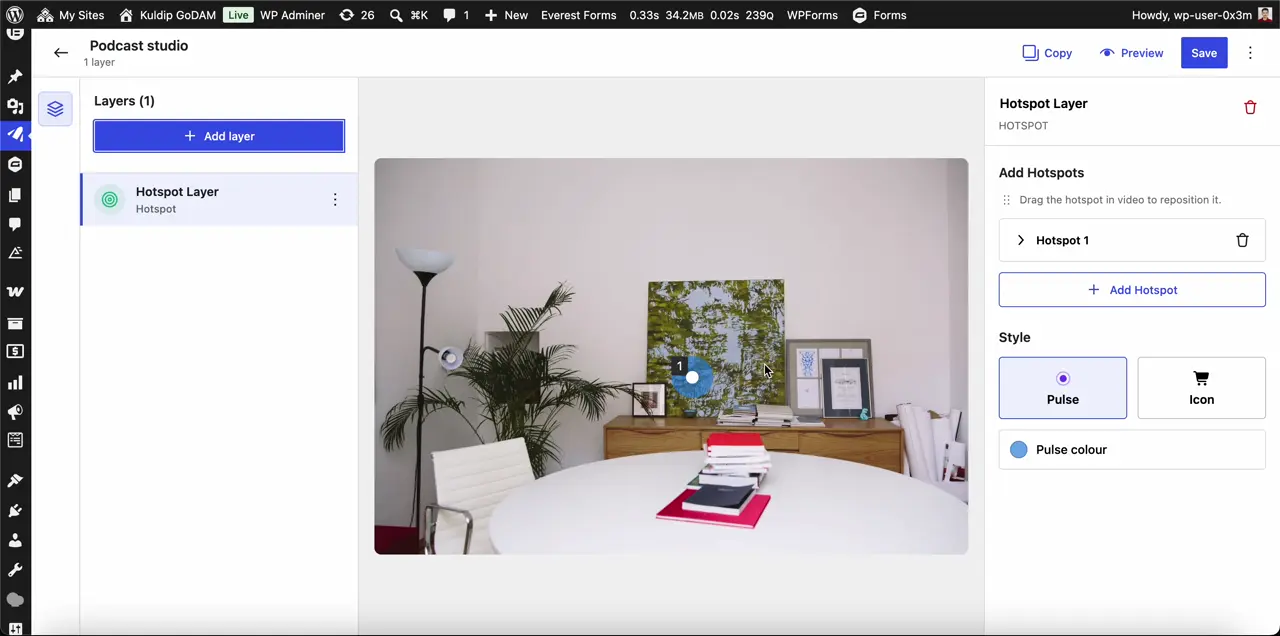
Step 5: Fill in the hotspot’s settings:
Tooltip Text — the label viewers see when they hover or tap the marker.
Link — where the hotspot takes them. It must be a full web address; the field flags anything that isn’t.
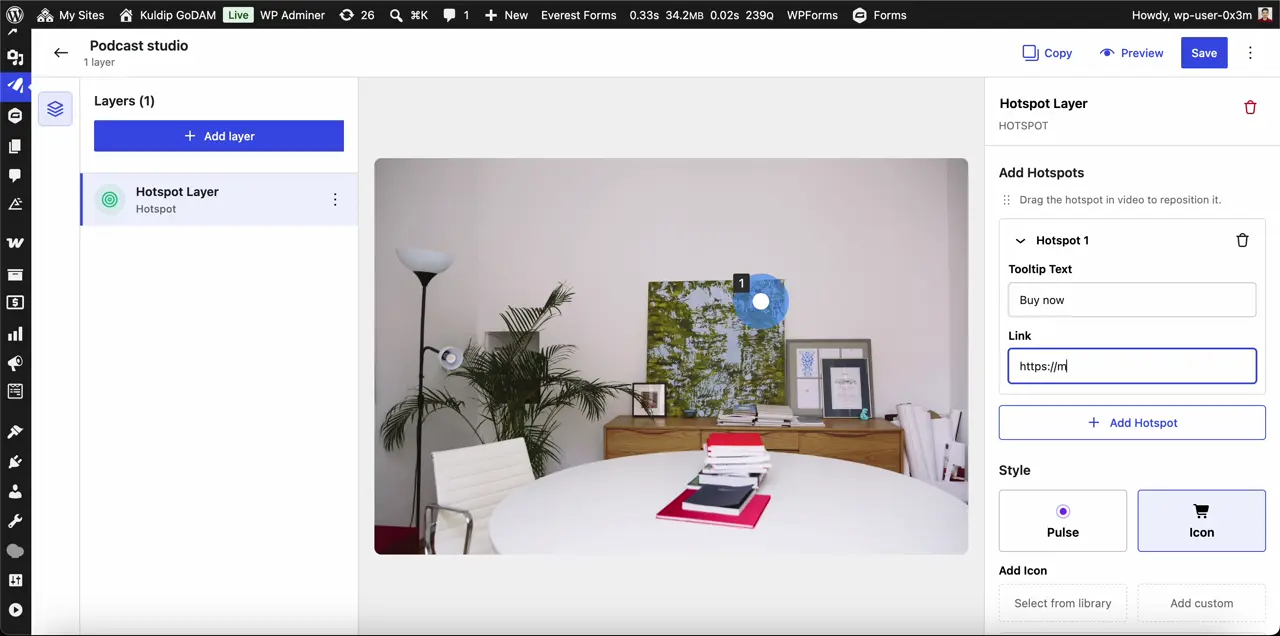
Step 6: Click Add Hotspot to place more markers in the same layer, each with its own tooltip and link. You can also add several hotspot layers to one image — use Add layer again.
Step 7: Click Save. Leaving the editor with unsaved changes prompts you first.
How to add WooCommerce product hotspots
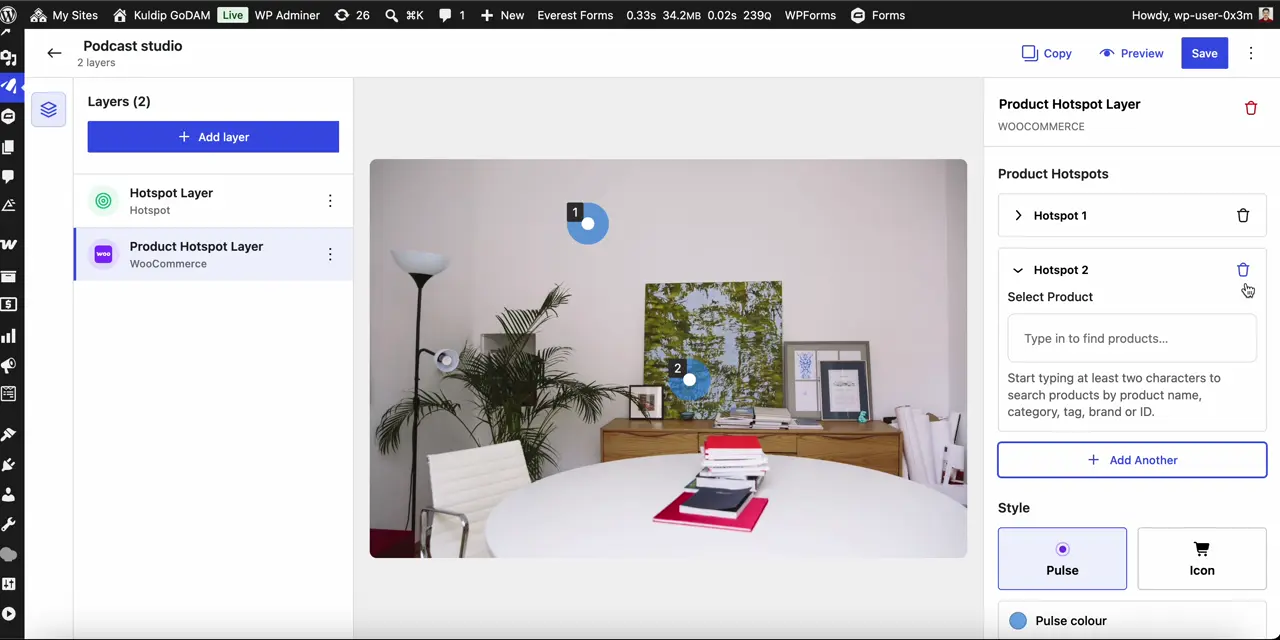
Step 1: With your image open in the GoDAM Media Editor, click Add layer and choose WooCommerce — the entry described as Display products using hotspots.
If the option is greyed out, the GoDAM for Woo add-on is inactive or your API key is missing or expired; hovering the entry explains which.
Step 2: Place and size the marker exactly as you would a regular hotspot.
Step 3: Link each marker to a WooCommerce product. On the front end the hotspot shows the product’s image, name and price, with an action button — so viewers can buy without leaving the page.
Step 4: Click Save.
Show your image layers on a page
The GoDAM Image block displays an image with the interactive hotspot and product layers you authored in the GoDAM Image editor. Use it to place a shoppable or interactive image anywhere in the block editor.
The block itself just picks the image and controls whether the layers are shown — the hotspots are created in the GoDAM Image editor. See GoDAM Image Editor – Add Hotspots to Images to author them.
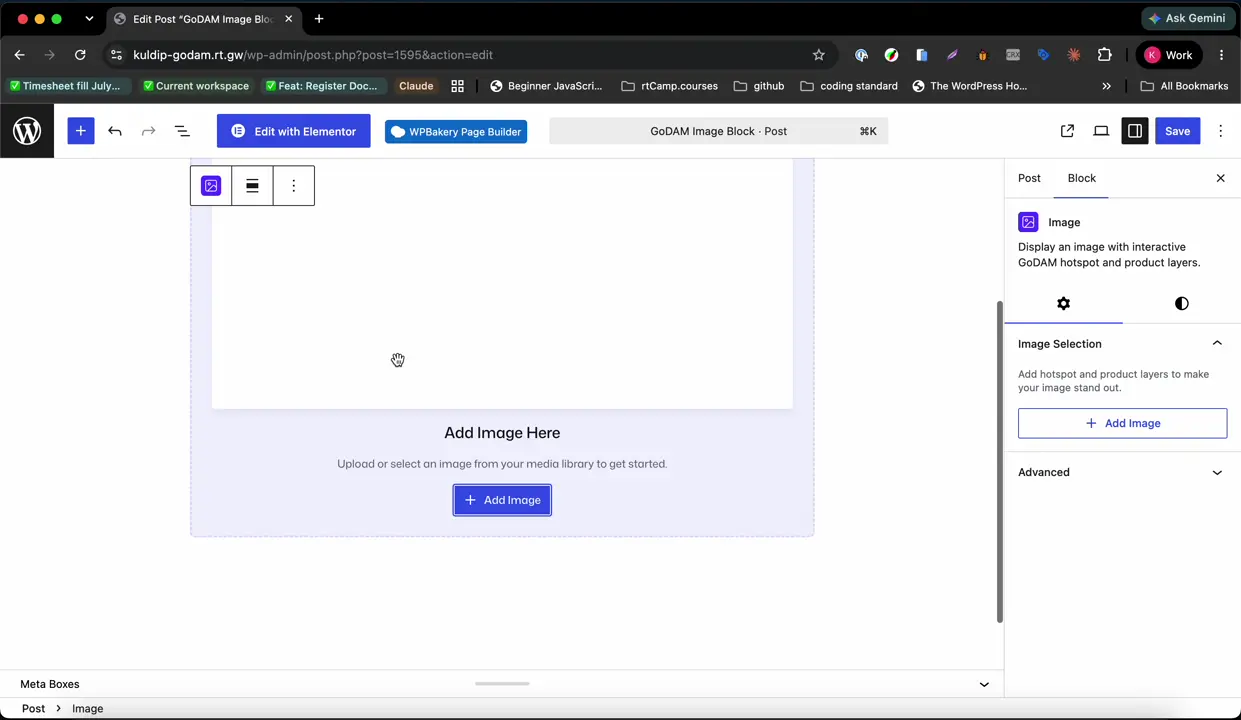
STEPS
- Edit a post or page. Click the + (block inserter) and search for Image, hotspot, or shoppable, then choose the GoDAM Image block.
- On the block placeholder (Add Image Here), click Add Image and pick an image from your Media Library (or upload one). Only image files are allowed.
- Open the block sidebar (Settings) → Image Selection panel. From here you can:
- Customize Image – opens the GoDAM Image editor in a new tab to add or edit hotspot / product layers on this image.
- Show image layers – toggle the authored hotspot / product overlays on or off for this placement (on by default).
- Remove image – clear the current image (trash icon on the selected-image row).
- (Optional) Replace the image at any time using Replace in the block toolbar.
- Adjust alignment and spacing (margin / padding) from the toolbar and block settings, like any core block.
- Publish or Update the post. On the front end the image displays with its hotspots (when Show image layers is on).
The same output is available outside the block editor — the shortcode, the GoDAM Image Elementor widget, and the GoDAM Image WPBakery element all render identically, each with its own Show image layers control. Pass the attachment’s id, since that’s what the layers hang off:
[godam_image id="123" show_image_layers="true"]Customize your hotspots
- Tooltip Text and Link — set per hotspot, so one layer can carry several different destinations.
- Style — choose Pulse for an animated dot, or Icon to use a glyph.
- Pulse colour sets the dot’s colour.
- In icon mode, pick a marker from the icon library or upload your own image. Icon sets the glyph’s colour (library icons only — an uploaded image keeps its own colours), and Background sets the circle behind it.
- Position and size — drag the marker to move it, drag its edge handle to resize it.
Troubleshooting
Hotspots don’t appear on the live page. Check that Show image layers is on for that placement, on the godam/image block. For shortcode make sure show_image_layers attribute is set to true (e.g. )
The WooCommerce layer is greyed out in the Add layer menu. The GoDAM for Woo add-on isn’t active, or your API key is missing or expired. Hover the entry for the reason, and add a valid key under GoDAM → Settings.
I can’t find display duration or pause-on-hover. Those are timeline settings and images have no timeline, so every hotspot is always visible. Use a video if you need hotspots to appear at a particular moment.
Hotspot interactions aren’t showing in analytics. Image hotspots aren’t tracked. Analytics covers video only.