If you’ve been running your WordPress site for a while, maybe a food blog, an online store, or a learning platform, you’ve probably noticed how quickly the media library turns into a mess.
At first it’s just a few photos and maybe a video or two. Then you start adding banners, product shots, blog images, training clips, reels, thumbnails and suddenly you’re scrolling endlessly trying to find that one file you uploaded last month.
In this article, we will present you a step by step guide to organize your WordPress Media Library so that it takes less time to find and navigate to the required files which will lead to a faster and efficient workflow.
Organize into Folders and Subfolders
One of the biggest pain points with WordPress is that everything just sits in one big bucket.
Start by thinking in folders. For example, if you’re running a food blog:
- A main folder for each recipe, let’s say, “Avocado Salad”
- Inside it, subfolders like “Videos”, “Step-by-Step Images”, “Audio Notes”, and maybe even a dedicated “Post Banners” folder so your design assets don’t get mixed in with raw photos.
This simple structure saves hours later when you’re updating posts or re-using assets.
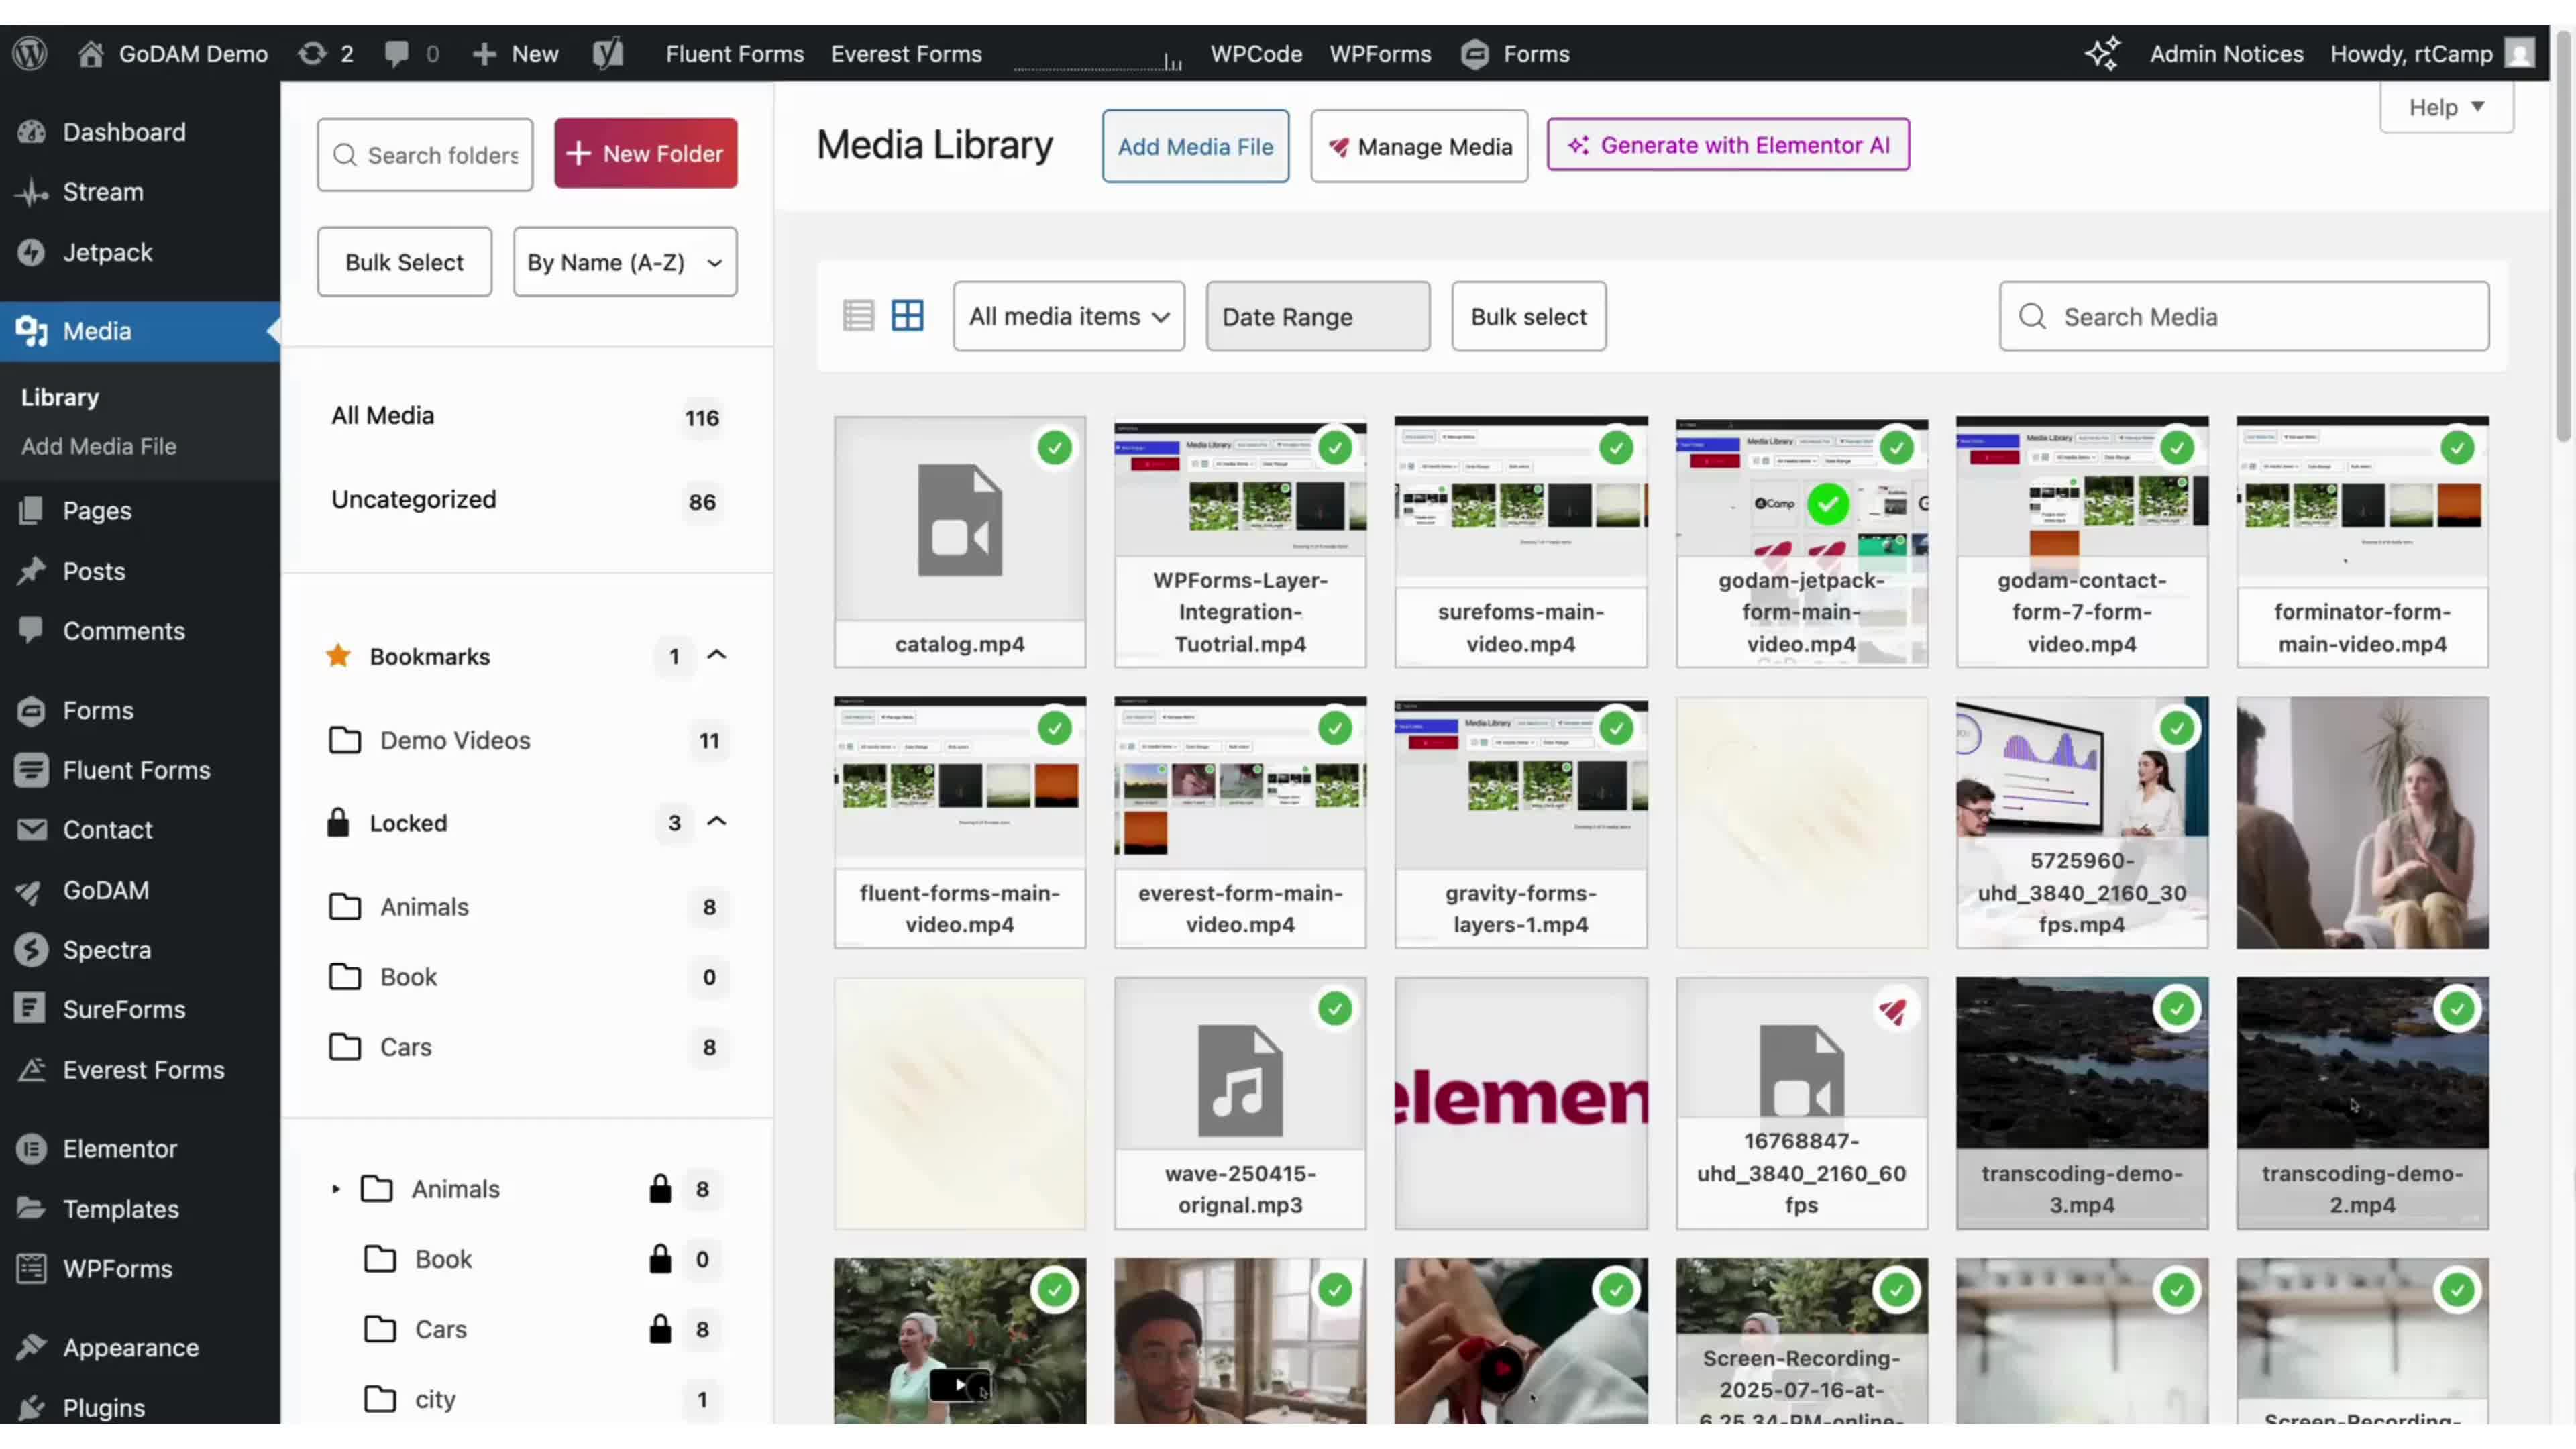
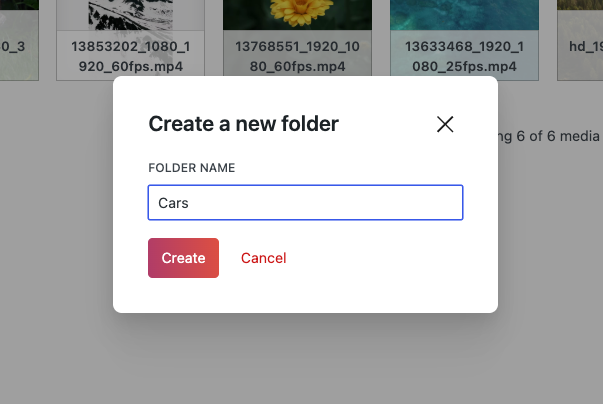
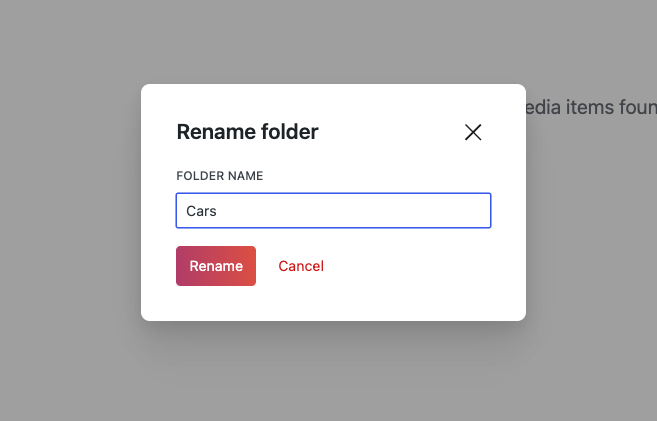
👉 With GoDAM, you can create unlimited folders and subfolders right inside your WordPress media library, even delete or rename them later. You can drag and drop files into the right place without breaking existing links in your posts or pages.
Separate Work-in-Progress From Approved Assets
If you’re working with a team, it helps to keep draft assets separate from the approved, published ones. This saves from accidental folder deletes or keep
For a campaign, you might have:
- A main folder for the campaign
- A subfolder for “Draft” versions
- Another for “Approved” files
- And maybe one for “Published” items
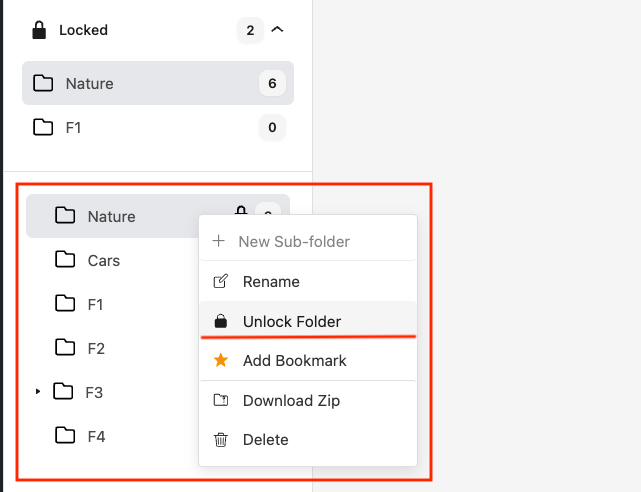
👉 GoDAM lets you lock folders, so once something is approved, no one can overwrite it by mistake. That one feature alone saves a lot of headaches.
Make Separate Folders
For Each Team Member
When multiple people contribute content like writers, photographers, editors – it’s easy for uploads to get jumbled together.
Create folders with name of person added as reference, for example:
- “Blog Images [Jhon]”
- “Social Media Images [Aliana]”
- “Product Videos [Carlos]”
This makes it clear which asset belongs to whom and team members can directly visit their folders without searching through all the files to find the ones they uploaded.
For Each Department
If your organization has multiple departments like marketing, sales, product, and support then keeping all their assets in one place can quickly get overwhelming.
Set up top-level folders for each department, for example:
- “Marketing Assets”
- “Sales Collateral”
- “Product Tutorials”
- “Support Guides”
Inside each department folder, you can further organize by campaign, content type, or project.
For Each Campaign
If you run multiple campaigns like seasonal promotions, product launches, or client projects then keeping all campaign assets in one giant library can get messy fast.
Instead, create a dedicated folder for each campaign. For example:
- “Spring Sale 2025”
- “New Product Launch – DP200”
- “Black Friday Ads 2025”
Inside each campaign folder, add subfolders for different types of assets, such as:
- “Videos”
- “Social Media Posts”
- “Landing Page Images”
- “Email Banners”
This way, your team knows exactly where to go to find all the materials related to a specific campaign eliminating searching through the entire media library.
These are just top-level ideas to create folders. You can structure them to match your own workflow, in whatever way, that makes finding and navigating to the files you need most efficient.
Bookmark the Folders You Use All the Time
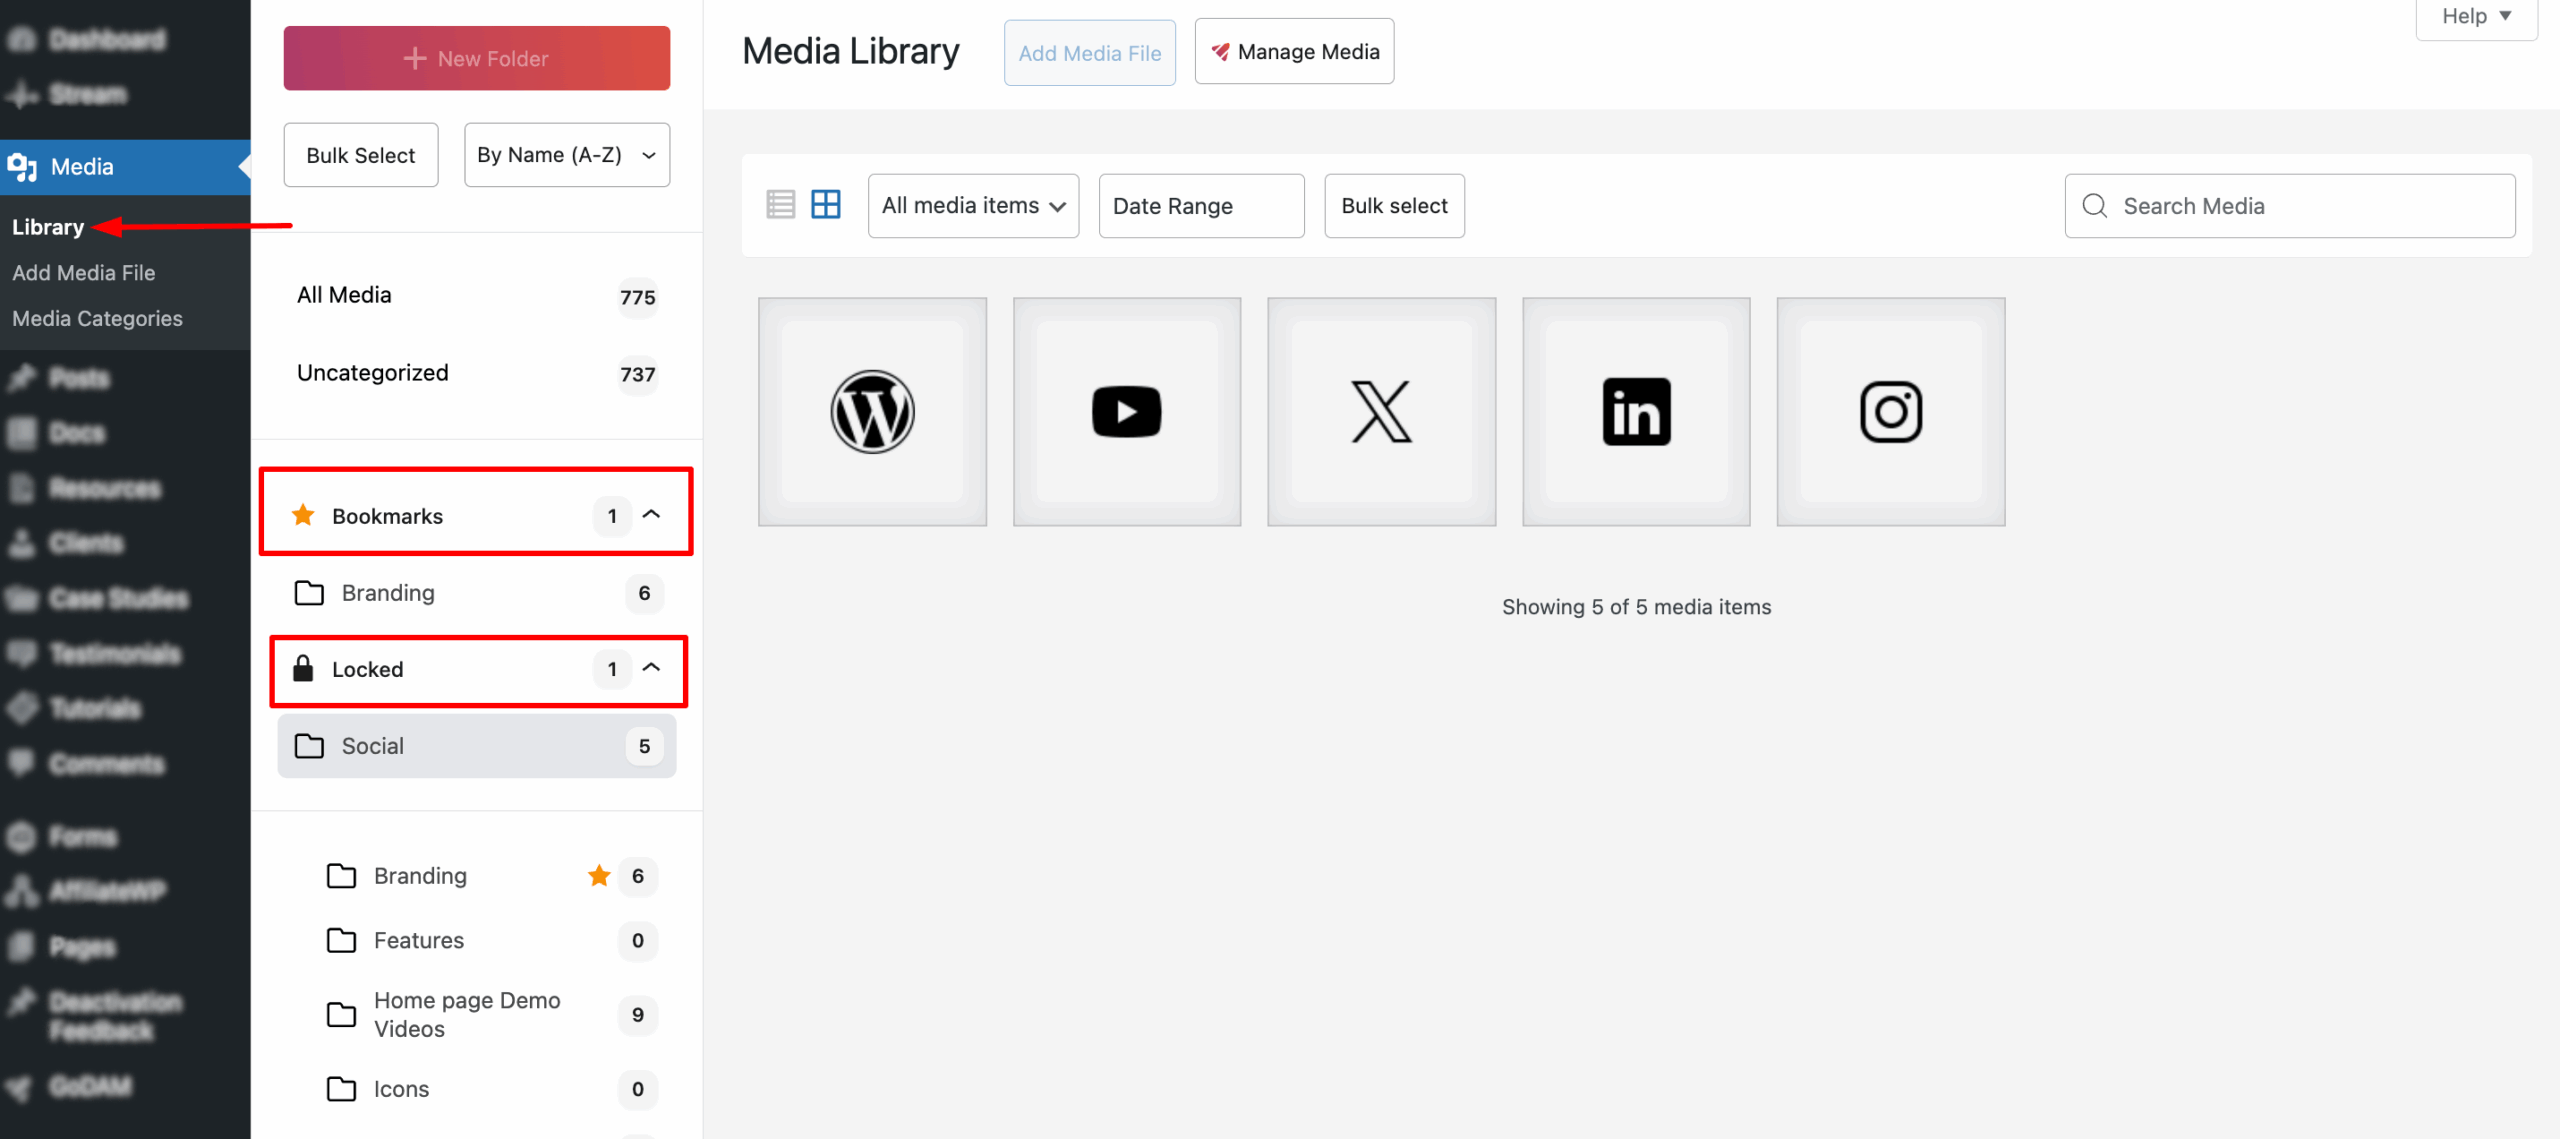
We all have a few folders we visit daily like “Weekly Blog Thumbnails” or “Product Photos.” Bookmarking them pins these folders at the top, separating them from the rest and helping you and your team access them with far fewer clicks and less scrolling.
👉 In GoDAM, you can star a folder to bookmark it. It shows up in its own tab for quick access. It’s a tiny thing but makes a big difference when you’re busy.
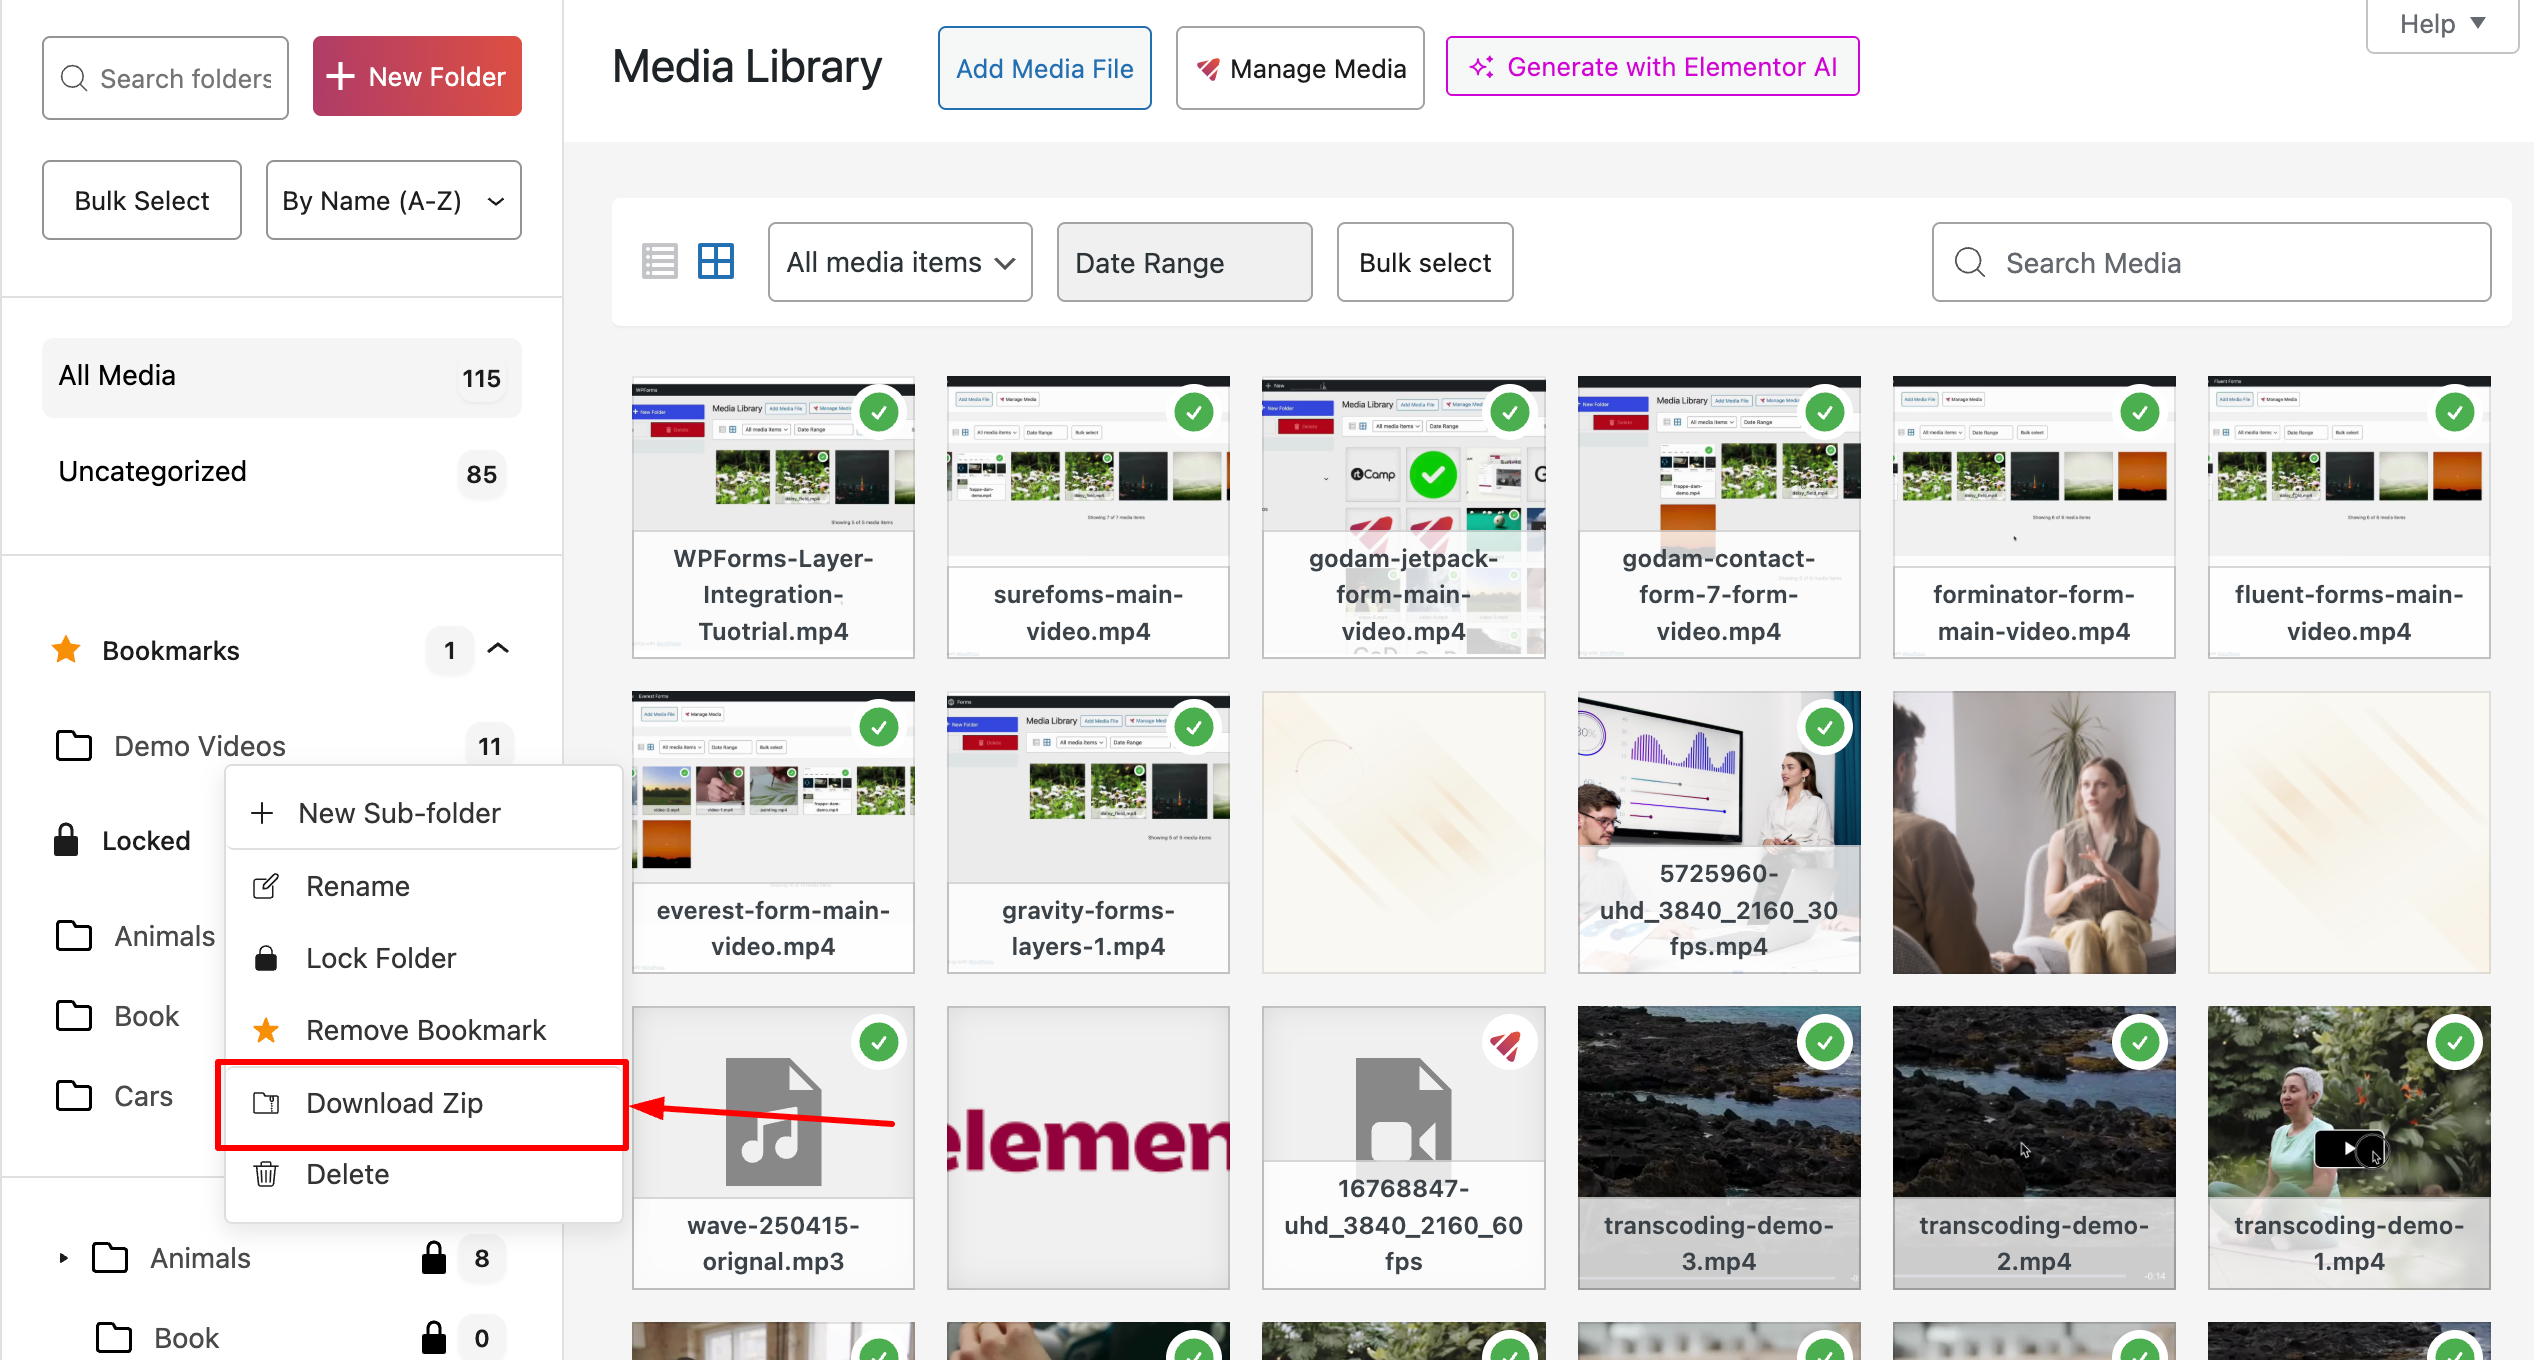
Download as ZIP
Sometimes you need to share a batch of assets with a contractor, client, or another team or just create a quick offline backup. Instead of manually selecting and downloading individual files, you can simply download the entire folder with GoDAM.
Summary
We hope you enjoyed this article and found it helpful in understanding how to bring order to your WordPress media library. With a clear folder structure, smart workflows, and useful tools like GoDAM, you can save time, keep your team organized, and make managing even the largest libraries feel effortless.
Download the GoDAM plugin and start organizing your large WordPress media library efficiently.
Get a 7-day Free Trial to try all GoDAM premium features.