If your WordPress media library feels like a cluttered mess, you’re not alone. Finding the right image, video, or document when you need it can feel like searching for a needle in a haystack – frustrating and time-consuming.
By default, WordPress stores uploaded media in the /wp-content/uploads folder which isn’t built to handle that kind of scale efficiently – especially when your site has grown to thousands of media files. That’s exactly why you need a powerful WordPress Media Library manager plugin. For example, if you need to reuse your website’s logo but don’t remember the exact file name, it could take a frustrating amount of time to find it.
In this post, you’ll discover a simple, free plugin that brings folder-based organization to your WordPress media library – so you can finally stay organized and work faster.
What if you could easily create a folder called “Website Assets” and neatly store your logo, banners, and site icons in it? Imagine breaking it down further with subfolders like “Homepage Banners”, “Blog Thumbnails”, or “Mobile Icons”- exactly the way you need. No more endless scrolling or guessing file names.
Tired of uploading the same image multiple times because you can’t find it?
Frustrated by the lack of structure when managing hundreds of client files or product photos?
Folders make it easy. Whether you’re a blogger, developer, marketer, or site owner, organizing your media into intuitive folders saves time, improves your workflow, and keeps your WordPress site running smoothly.
How to organize media files in folders?
With GoDAM’s free version, organizing your WordPress media library is incredibly simple. Our plugin lets you create unlimited folders and subfolders – no paid license required.
First, you need to install and activate the GoDAM plugin. For more details, see our step-by-step guide on how to install the GoDAM plugin.
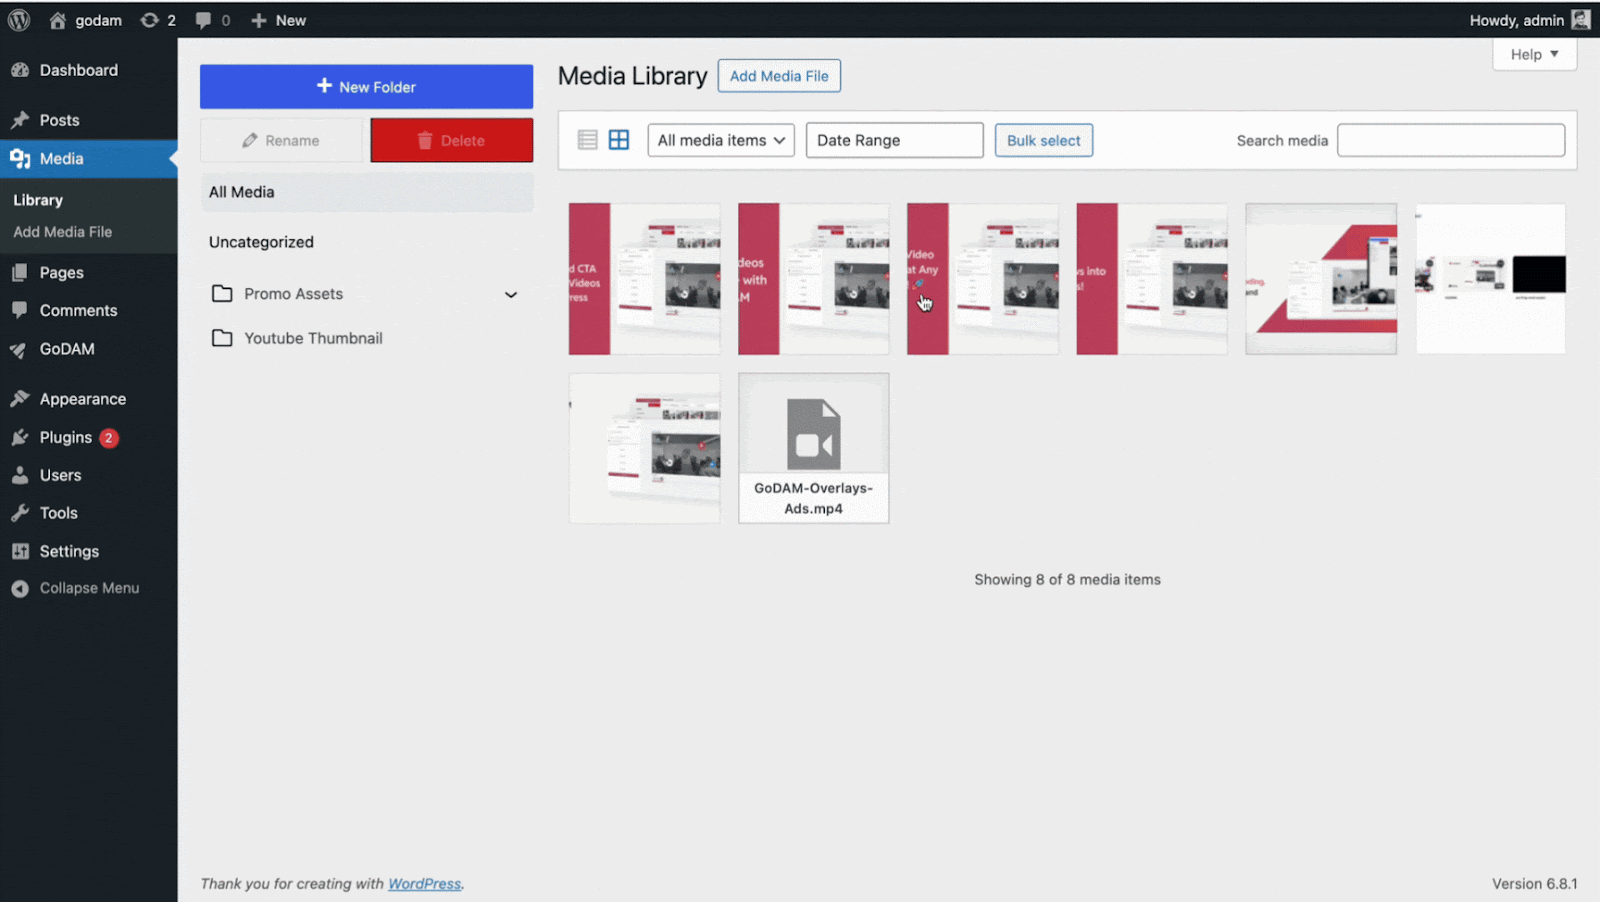
Upon activation of the plugin, visit the Media Library in the WordPress dashboard, you will find new options are available in the media library to create folders.
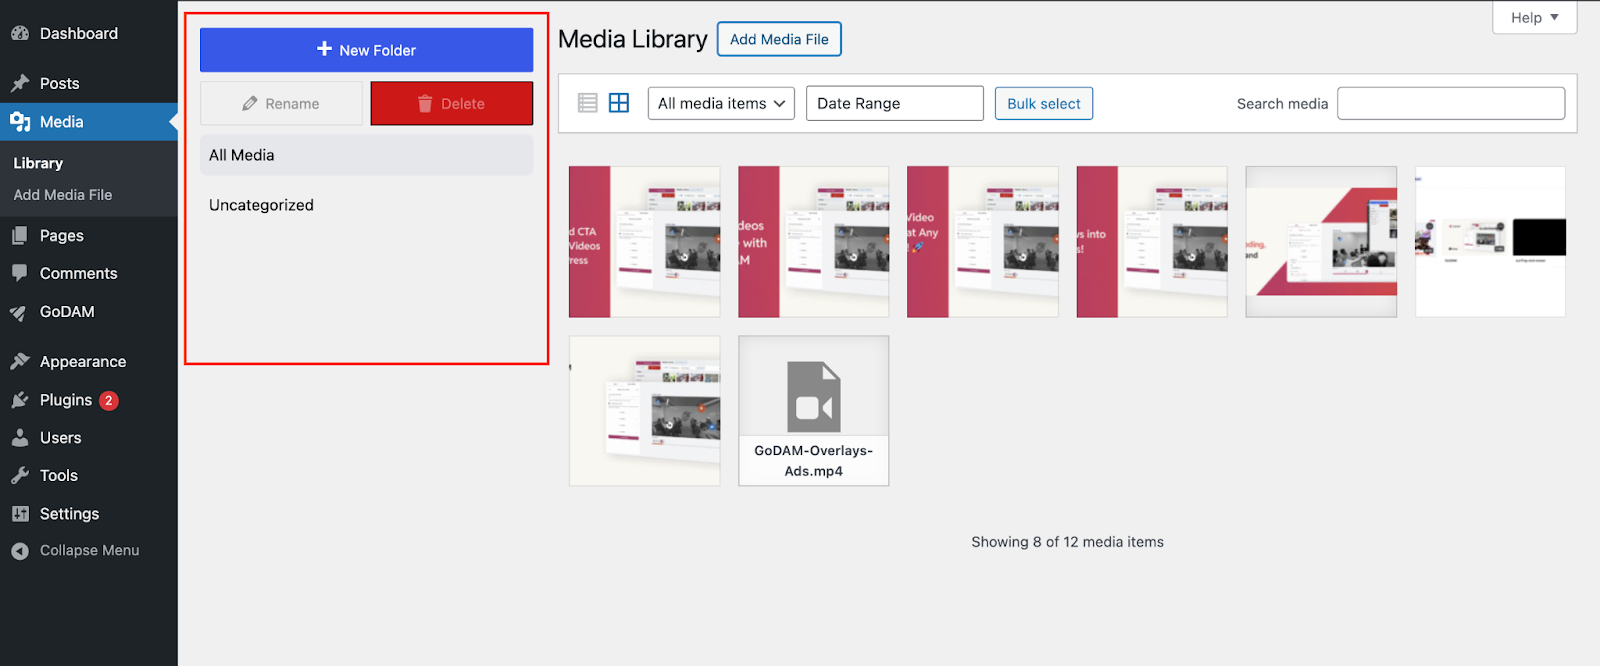
(WordPress Media Library with GoDAM’s folder organization feature)
From here, you can start creating your folder by the following steps –
- Click on “+ New Folder button”
- Next, a popup will appear prompting you to enter a folder name.
- Now, insert your desired folder name and click on Create Button
- You will find the new folder created with your desired folder name on the left sidebar.
Below is a video guide to make it easy for you.
Congratulations! You have now created your first folder.
Facing some issues? – Feel free to create a ticket on WordPress.org
How to move files into a folder?
You can add media files to folders in two simple ways: by dragging and dropping them, or by uploading files directly into the desired folder. Both methods are explained in detail below.
1. Drag and Drop Files Into Folders
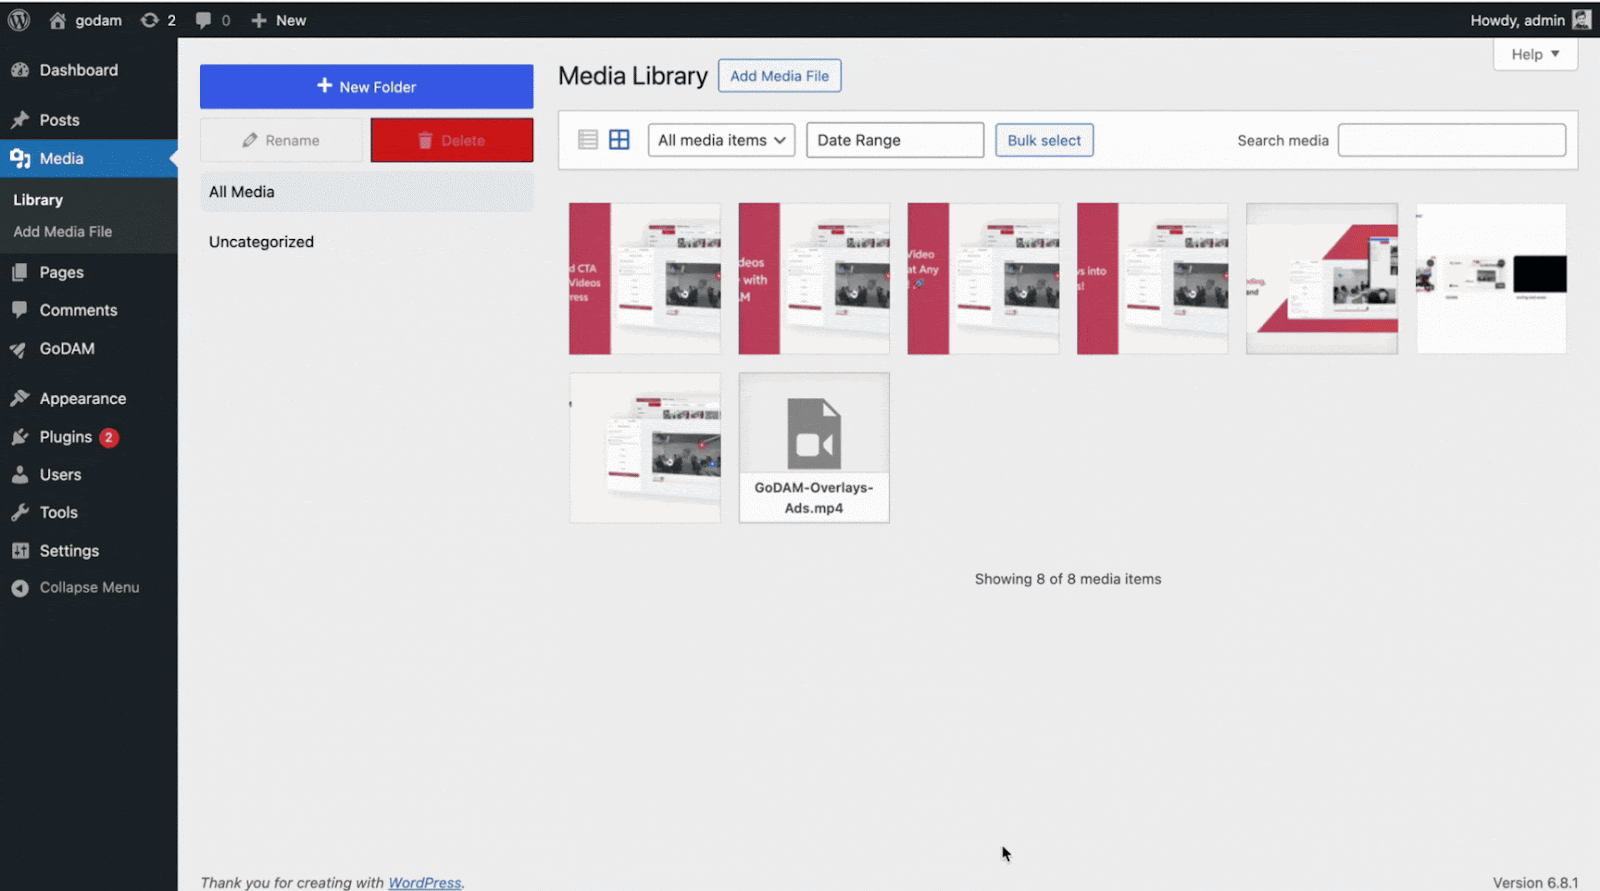
After creating a folder, you can easily organize your existing media by dragging and dropping files directly into it. Simply navigate to your WordPress Media Library, switch to the folder view, and select the media files you want to move. Then, drag them into the appropriate folder in the sidebar.
You can also move multiple files at once, just click on “Bulk Select,” choose 5 – 10 (or more) images or videos, etc., and drag them into the desired folder. It’s that simple!

2. Uploading files directly into the folder
To upload a file, start by creating a new folder. Once the folder is open, simply upload your media file – it will be automatically stored inside that folder.
How to create a sub-folder?
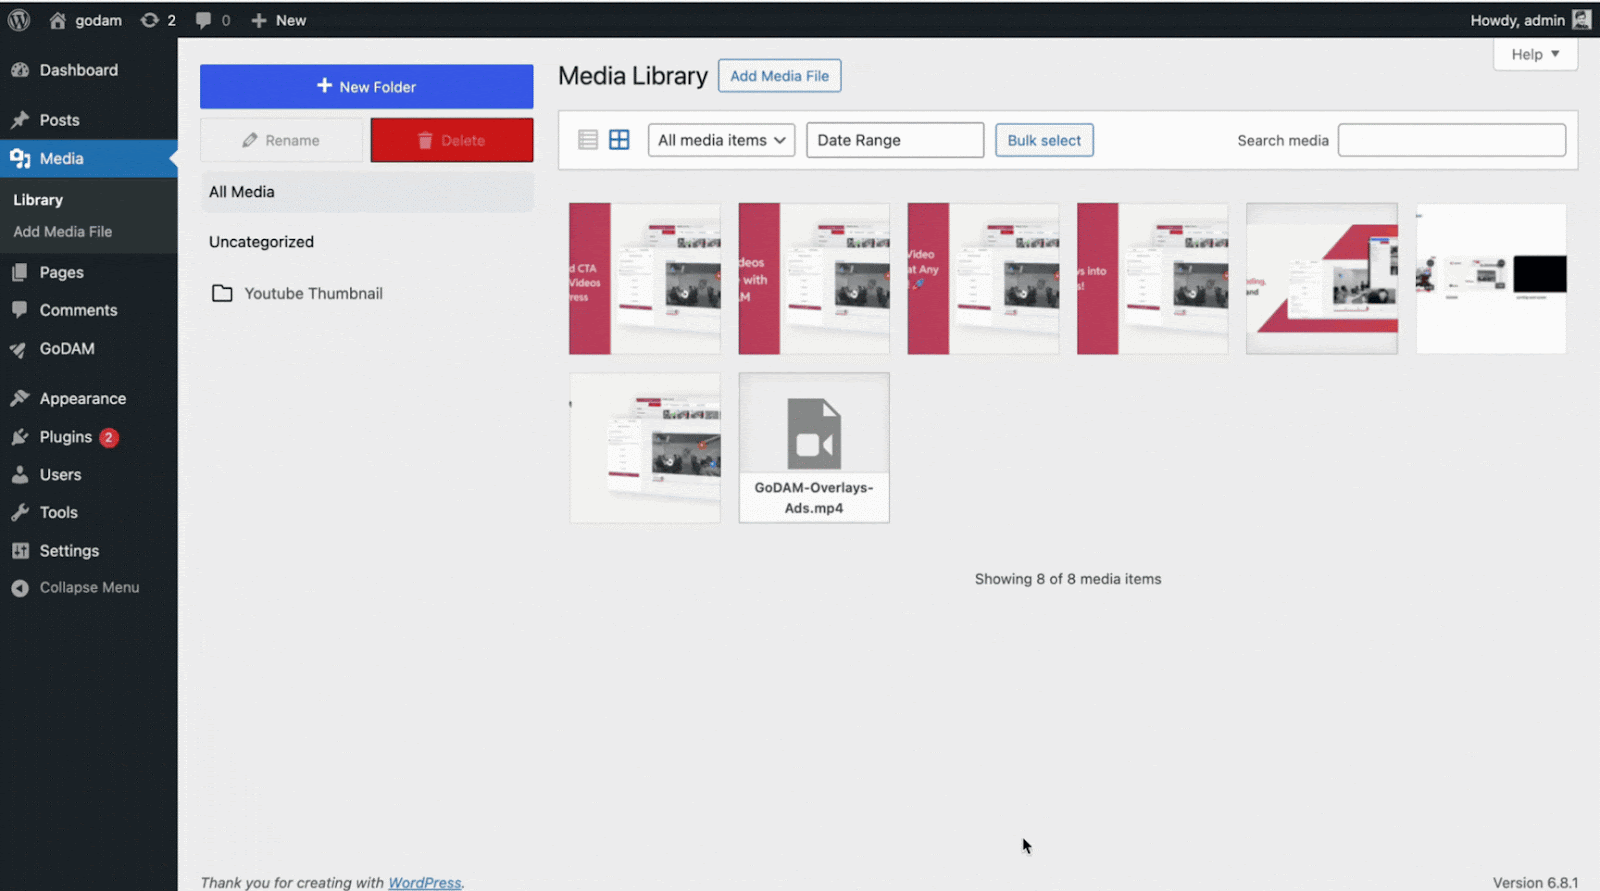
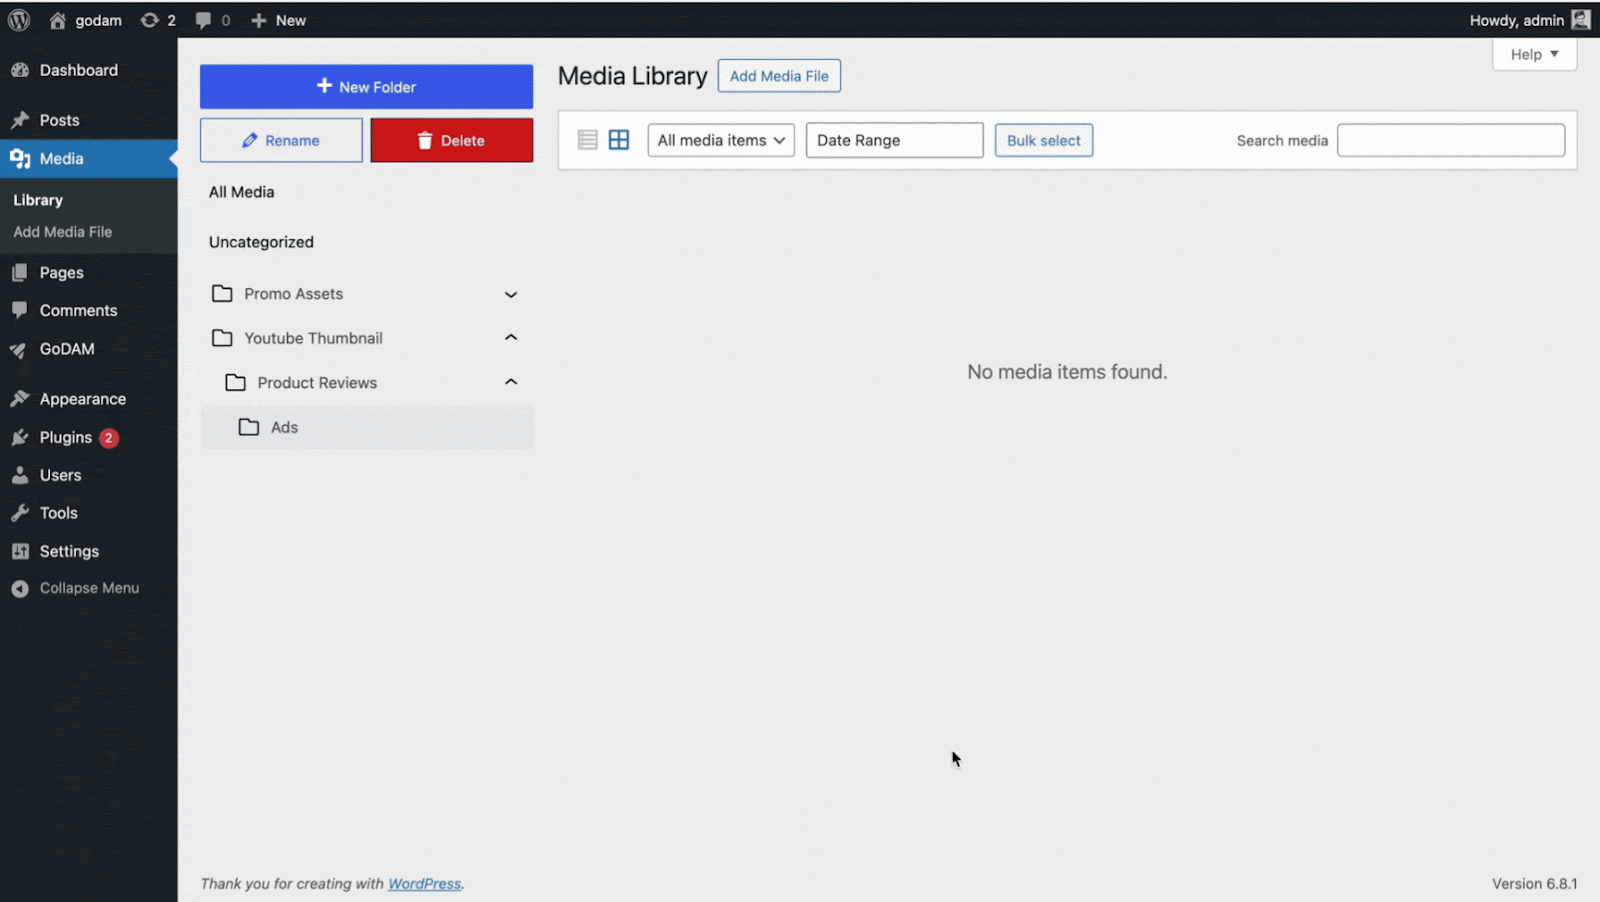
You can create nested folders in the media library, allowing you to organize your media even more efficiently.
- Navigate to the main folder where you want to create the sub-folder (e.g., open the “YouTube Thumbnails” folder).
- Click on the “+ New Folder” button.
- Next, a popup will appear prompting you to enter a folder name.
- Now, insert your desired sub-folder name (e.g., “Product Reviews”) and click the Create button.
- You will find the new sub-folder created inside the parent folder on the left sidebar.
The good part of GoDAM Plugin is there’s no limit to creating the number of sub-folders unlike other paid plugins.

Alternatively, you can create a new folder first and then drag it into an existing parent folder to make it a sub-folder. This drag-and-drop feature makes it easy to rearrange your folder structure as needed.
For instance, if you’ve created a folder named “Promo Assets” and later decide it should contain the “Marketing” folder, simply drag the “Marketing” folder under the “Promo Assets” folder and GoDAM Plugin will automatically turn it into a nested folder under “Promo Assets”. This allows you complete flexibility to organize media the way that works best for you.

How to delete a folder?
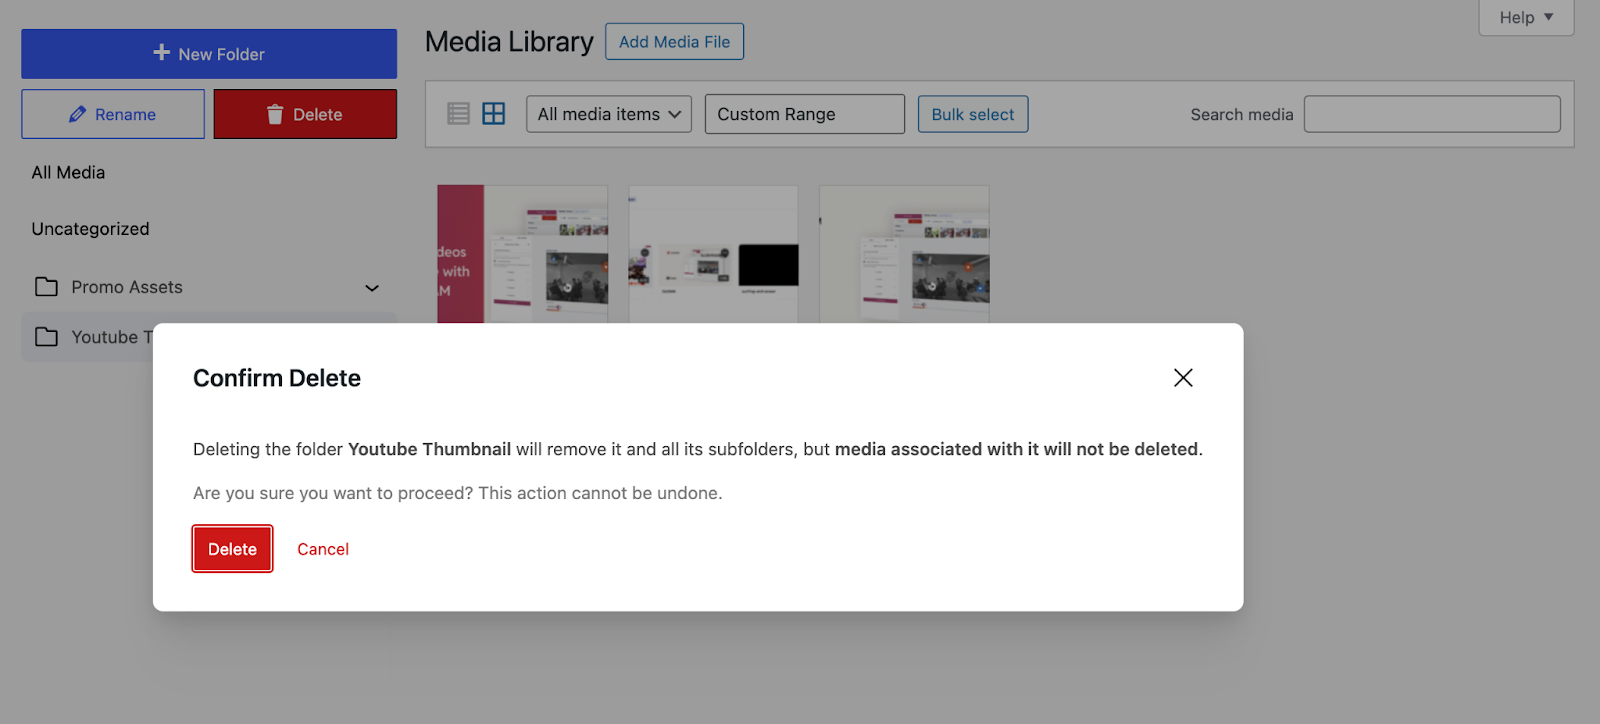
To delete a folder, simply select the folder you want to remove and click the “Delete” button. If the selected folder contains any sub-folders, those will also be deleted along with it.
Important: Deleting a folder does not delete the media files inside it. All media files will automatically be reassigned to the “Uncategorized” folder, so you won’t lose any content.
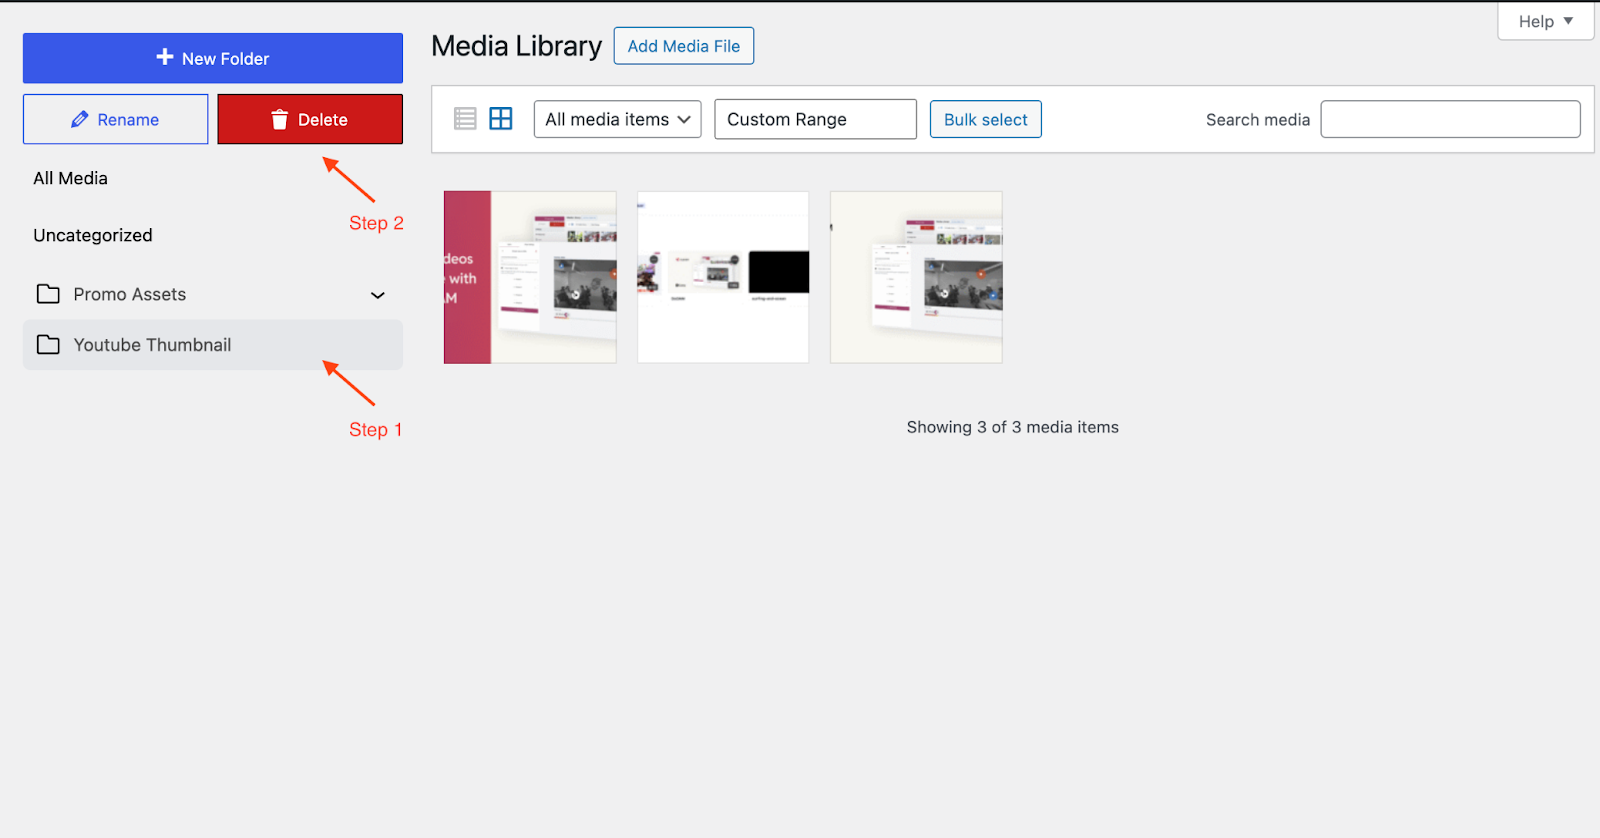
Follow the steps below to delete a folder:
Step 1: Select the folder
Step 2: Click on Delete button
Final Step: In the confirmation popup, double-check that you’ve selected the correct folder, then click “Delete” to proceed.
Bonus Feature: Date-Based Media Filtering
Beyond just organizing your media into folders, we’ve added a powerful date-based filtering feature. This lets you quickly filter and view media files uploaded within a specific date range – saving time by narrowing down your search to only the files you need, when you need them.
We hope this article helped you learn how to organize your WordPress media files using folders. If you found this guide useful, be sure to:
- Follow us on 𝕏 (Twitter) for news, insights, and community updates
Thanks for reading – happy organizing!