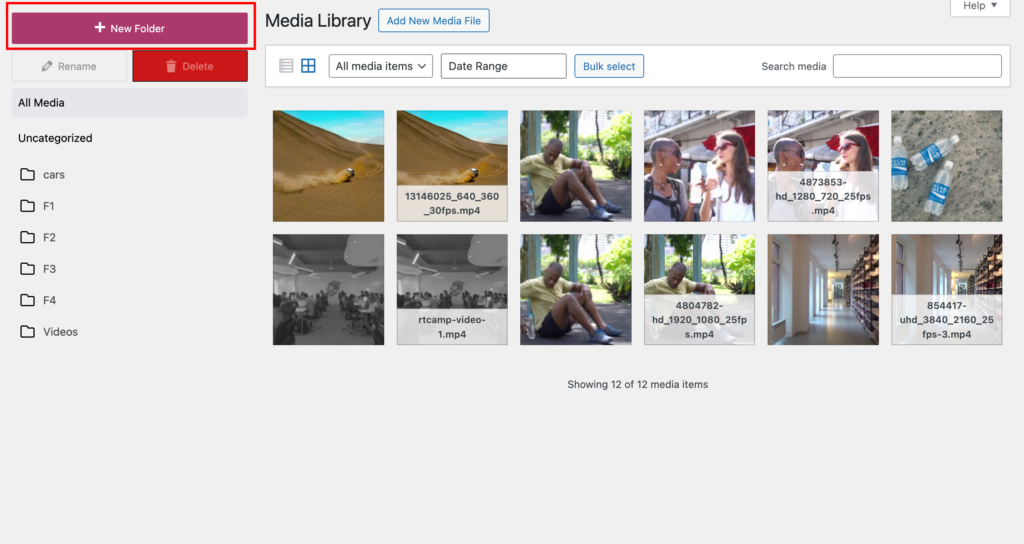
CREATE A FOLDER
Step 1: Click on “New Folder”
Step 2: Add the name of the folder and click on Create button
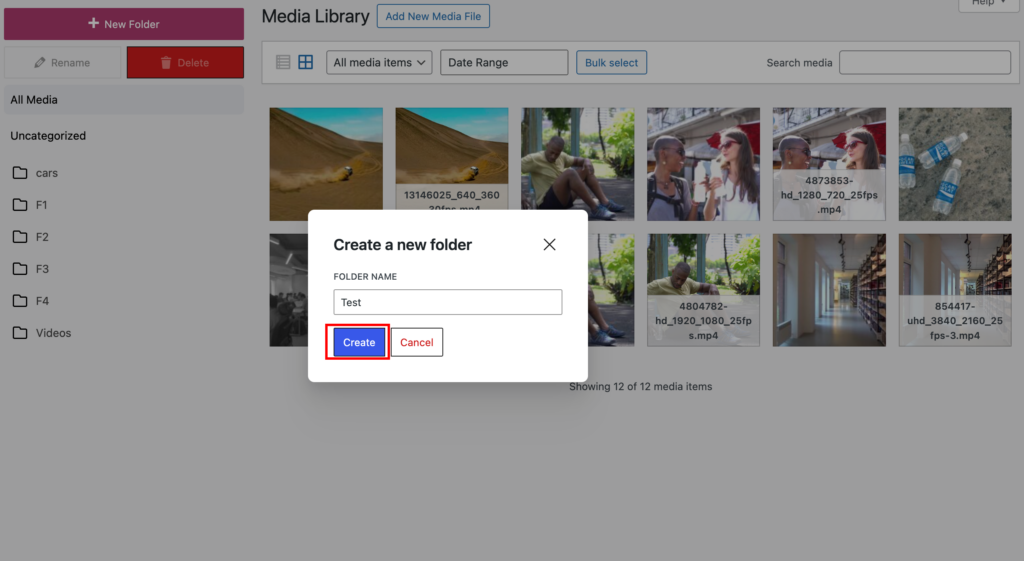
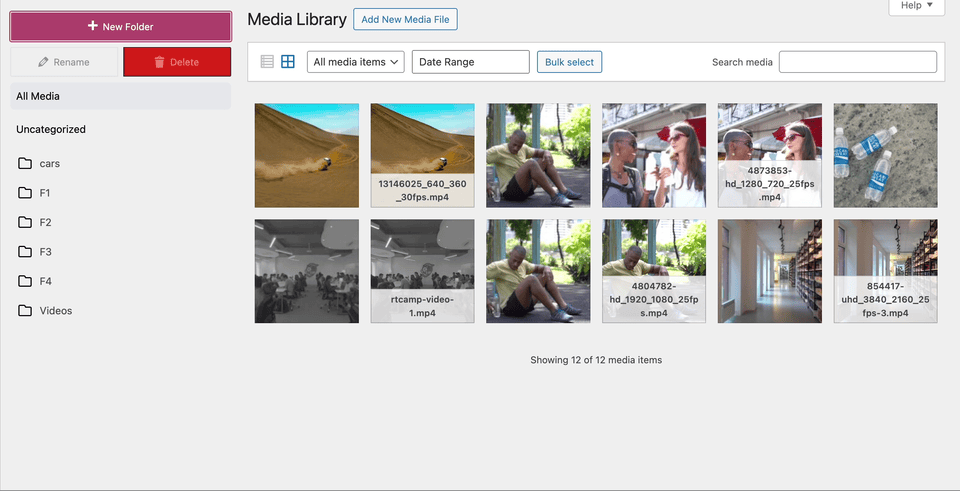
Step 3: You will see a popup with the message “Folder created successfully” upon success.
Here is the complete demo of all the steps mentioned above:
NOTE:
If an existing folder is selected, the new folder will be created as a child of the selected folder.
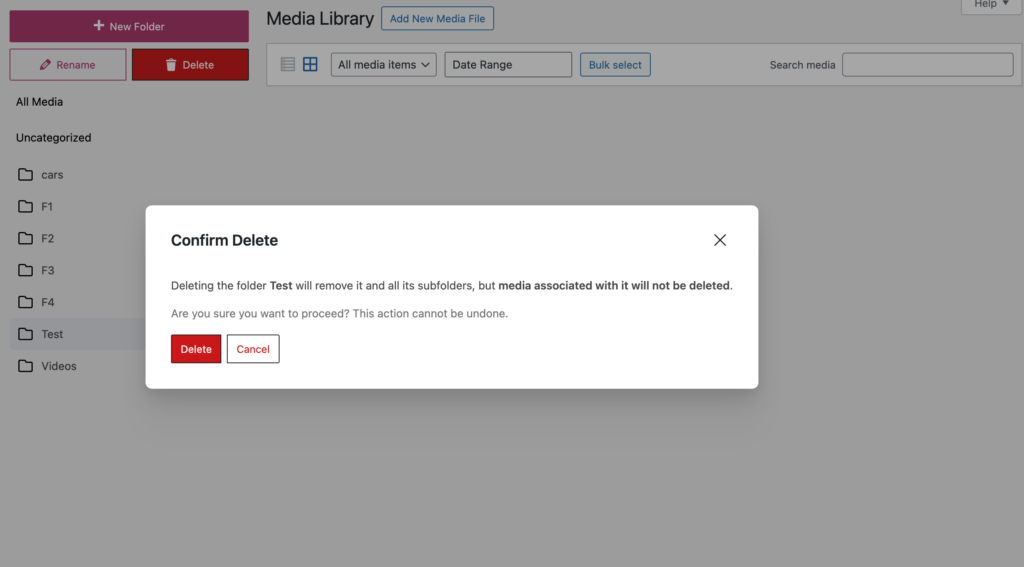
DELETE A FOLDER
Step 1: Click on the folder you want to delete
Step 2: Click on the Delete button.
Here is a complete demo of all the above mentioned steps:

RENAME A FOLDER
Step 1: Select the folder you want to rename from the left sidebar with folders list
Step 2: Click on “Rename” button
Step 3: Enter the name of the folder in the popup, and click “Rename” button.

Step 4: You will see a popup with the message “Folder renamed successfully” upon success.
Here is a demo of all the steps mentioned above:
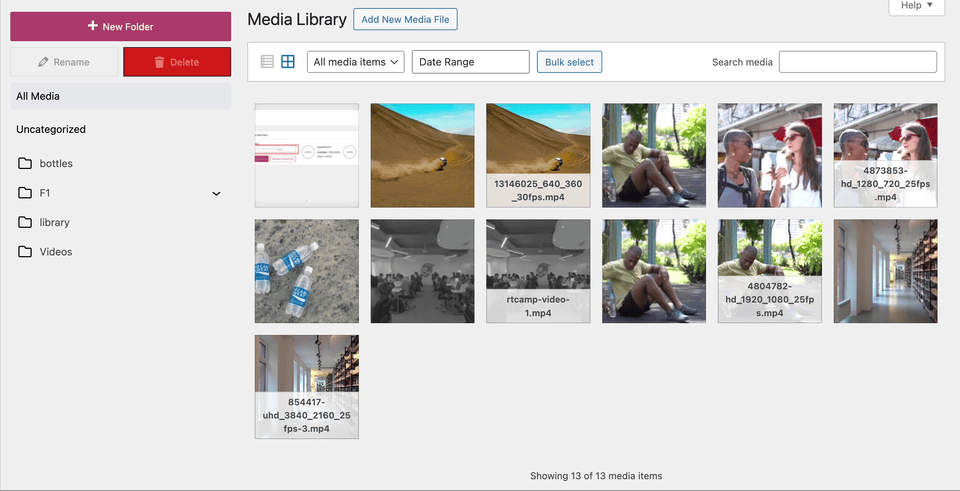
REORDER FOLDER
Users can reorder folders and create nested folders using the drag-and-drop functionality. Simply drag a folder, and a helpful indicator will appear to guide the user in reordering the folders as desired.
STEPS:
For reordering, you need to click on the folder for which you want to change the position and then drag and drop it to the appropriate folder.
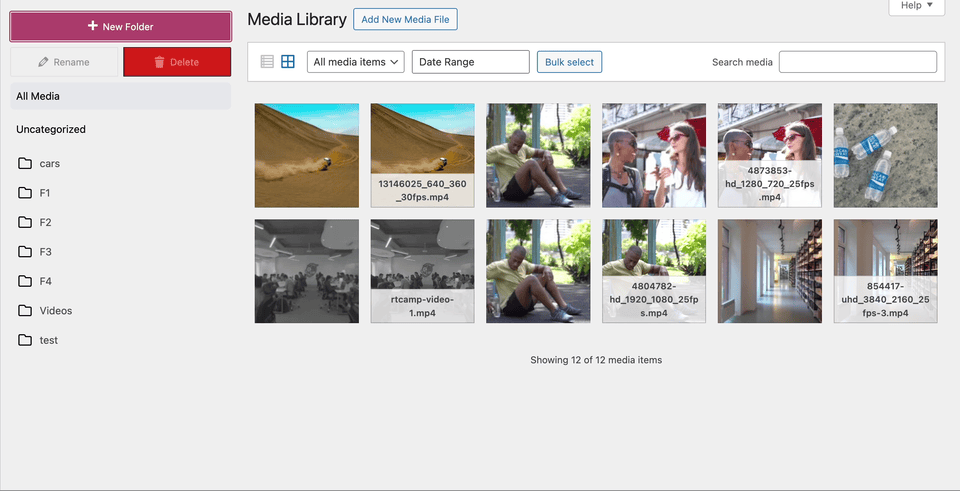
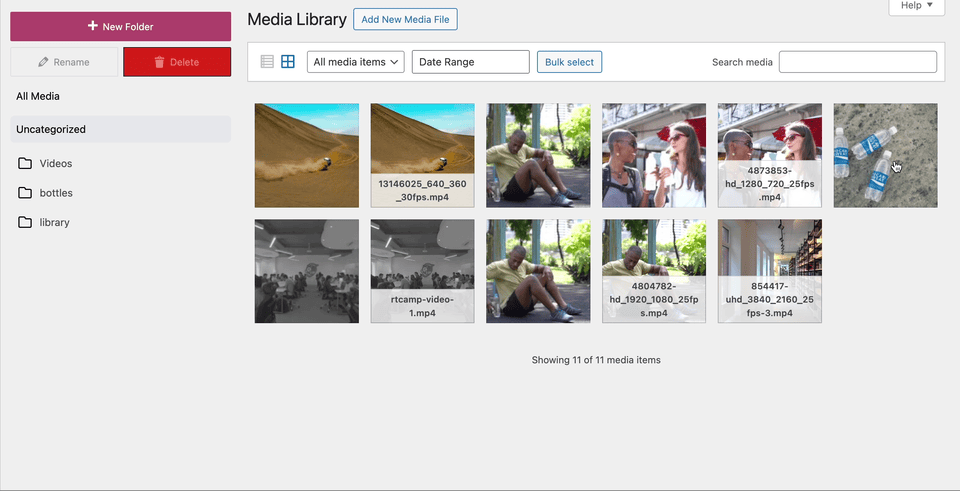
ASSIGN IMAGES
Users can assign one or more images to a specific folder by dragging the images to the desired folder.
NOTE:
When you upload an image, it is initially placed under Uncategorized or All Media, even if you upload it after selecting a specific folder. To assign the image to a folder, you need to manually drag and drop it into the desired folder.
FILTER IMAGES
In addition to the default WordPress filters, the plugin offers a custom date range filter, allowing users to query images uploaded within a specific date range.
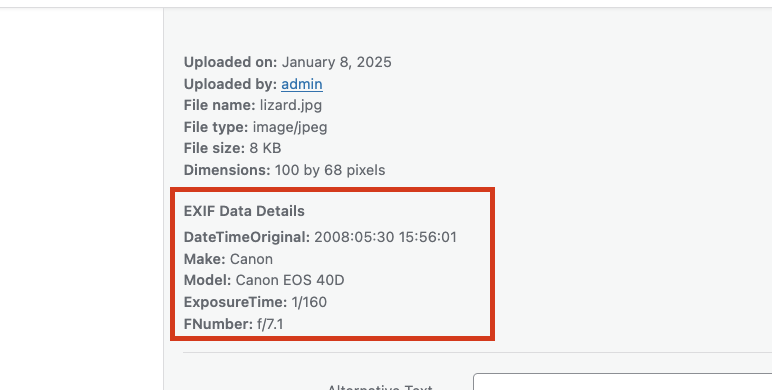
EXIF METADATA
Opening a specific image in the grid view allows the user to access additional EXIF metadata associated with the image.